
We’ll get all the deflated-feeling puns out of the way quickly – there are few things as frustrating as finding a flat tyre on your car, van or pickup. Unlike many modern cars, lifestyle and utility pickups still come with a spare wheel, a jack and tools to make changing the wheel a relatively quick process, as long as you’re on stable ground.
Although pickups are heavy, they’re not much heavier than many larger family cars, and the tools provided should make it possible for most adults of average strength and ability to safely get back on the road.

However, the wheels are large, and you do need to crawl about underneath the truck for some steps – if in any doubt, get assistance rather than risking your health or safety.
What to do when you have a flat tyre on your pickup
In a rush?
1. Check you have a spare wheel and tools.
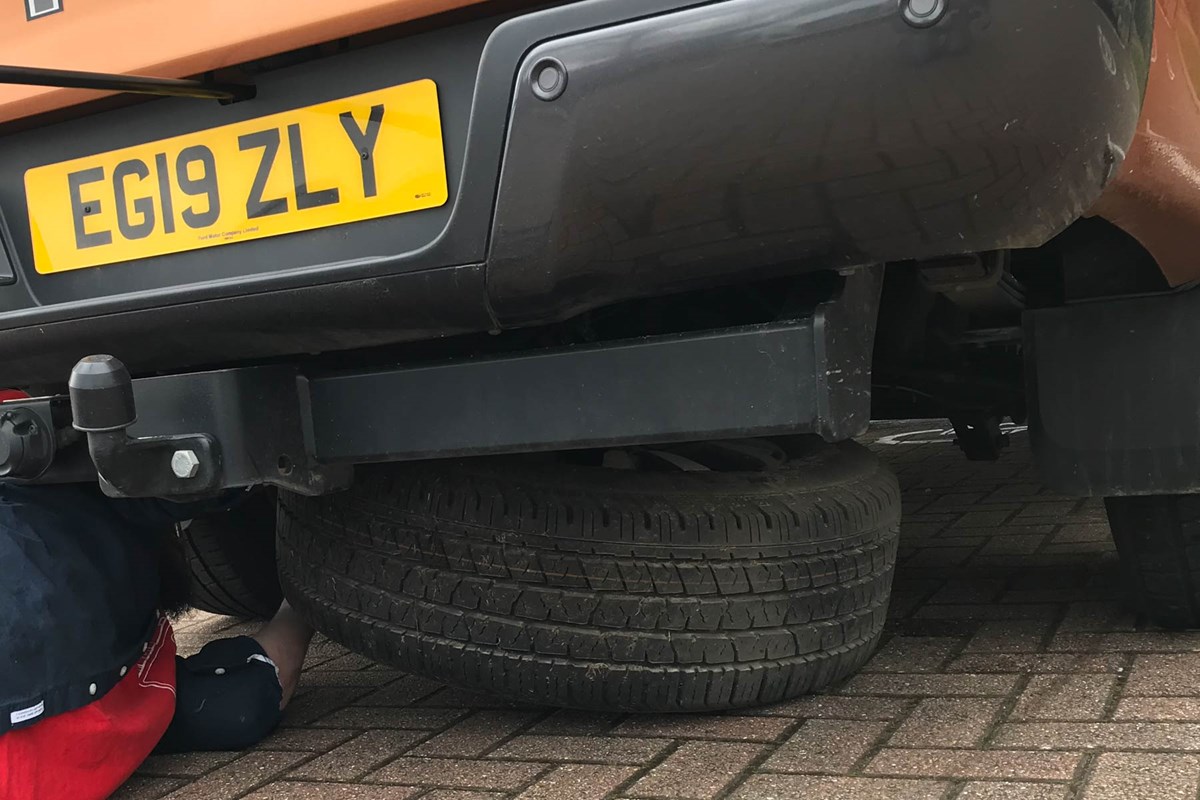
Spare wheel – under load bed, usually held with a chain and pulley to allow it to be lowered.
Tools – usually under the rear seat base where fitted, or against the rear bulkhead.

2. Lower the spare wheel to the ground with care – it can stick to the panels above and drop if you release too much chain too soon.
Drive forward if you can, detach wheel from chain.
If you can’t drive forward, use a ground sheet or mat to drag the spare out.
3. Secure the jack under the pickup, handbrake on and wheels chocked.
Loosen the wheel nuts – then jack the pickup up.
4. Remove the damaged wheel, fit the spare.
5. Tighten wheel nuts/bolts in a diagonal pattern, then lower the pickup and torque them up.
Don’t over-tighten.
6. Remove the jack.
It’s a pickup, so put the damaged wheel and tyre in the back rather than hanging it underneath, unless you’ve no space.
7. Wind the chain up (it’s easy to overlook), put the tools away, check the pressure on the replacement tyre and get a new tyre on your now-spare wheel.

Changing a Ford Ranger wheel – in pictures
If you’ve returned to your parked pickup and found a flat tyre, check the surrounding area for debris that could have caused it before proceeding. Use an air compressor to inflate the tyre before moving – this will not only identify if the cause is malicious, such as someone letting the tyres down for a prank (are the dust caps present?), it’ll highlight how serious the damage to the tyre is.
If you can identify the leak, hear any hissing of escaping air, or see any foreign objects around the centre of the tread area – replace the wheel where you’re parked, and take the damaged one to be repaired, rather than driving on it.

Don’t trust a damaged, deflated tyre that holds air to do so at high speed or under load even if it looks okay – there could be something in the puncture that moves and causes a sudden deflation or blowout.
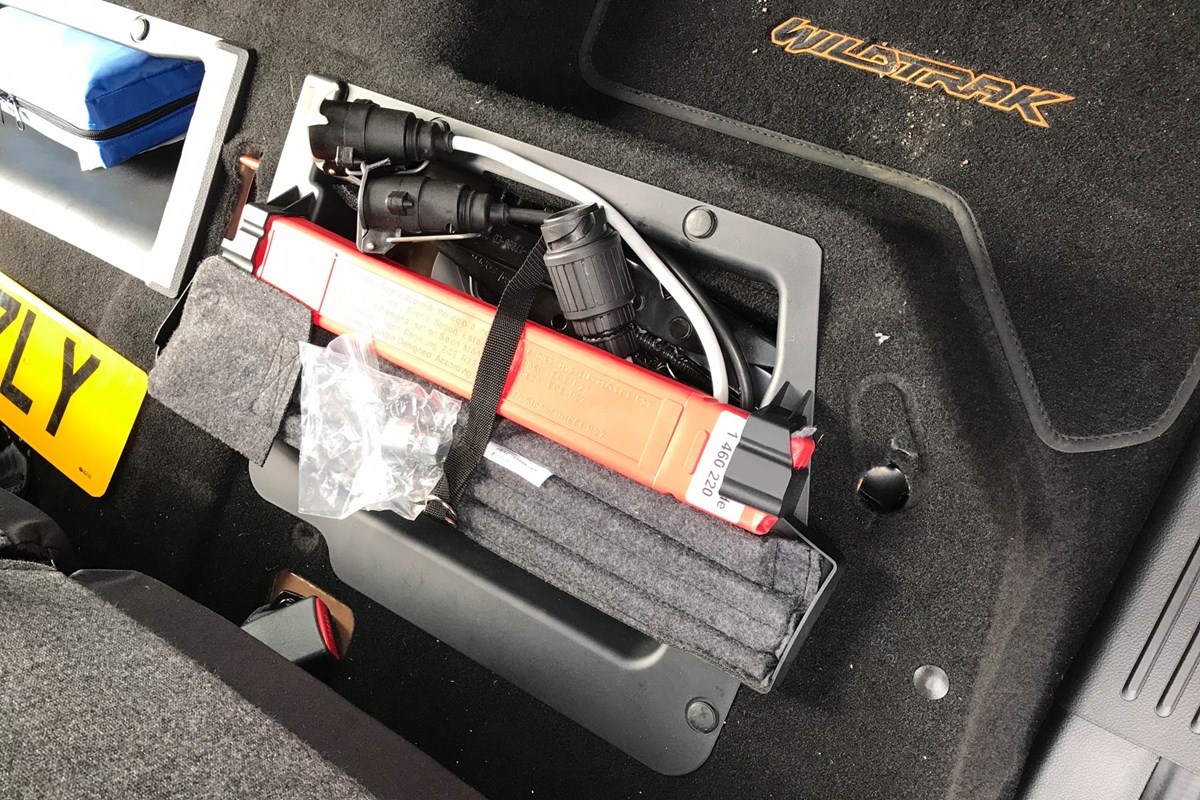
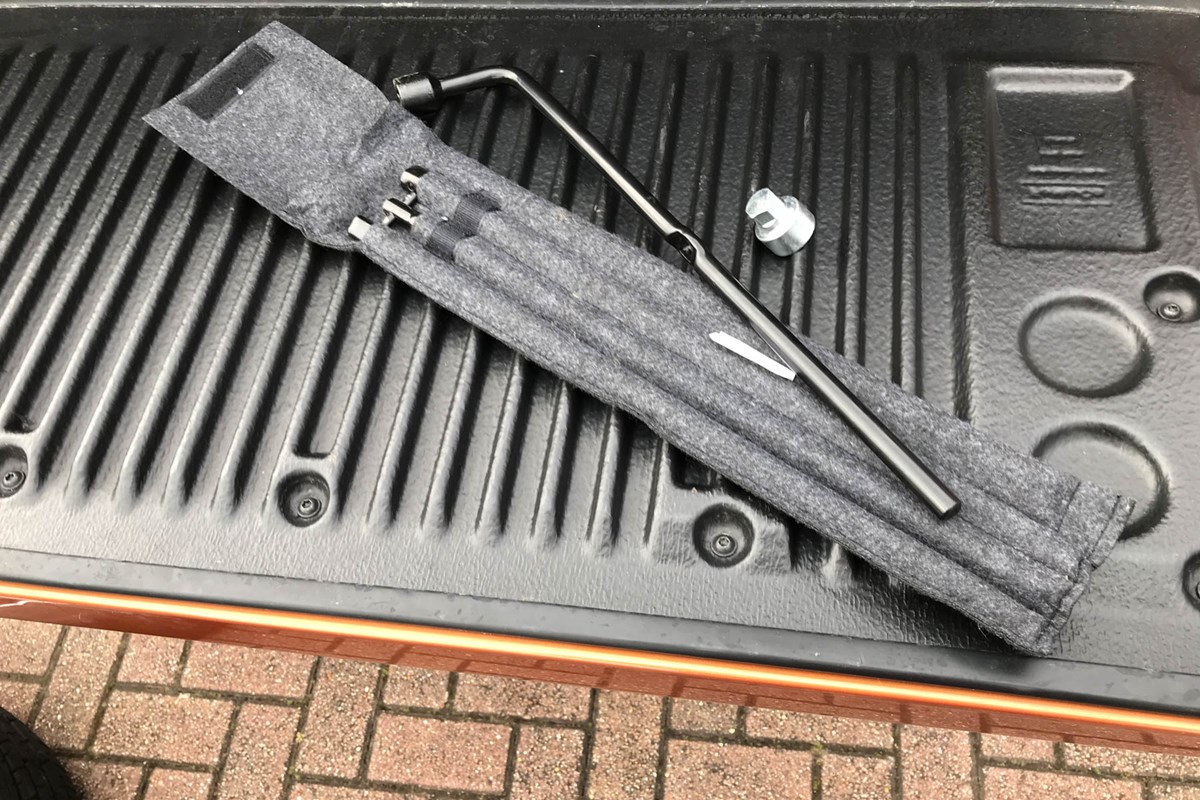
Check that everything is present before starting. At the very least you should find these items inside the pickup, usually against the rear bulkhead or under the rear seat (some older models may store tools under the bonnet).
- >> A jack – this could be a scissor type, or a bottle jack.
- >> A wheelbrace, with a socket to undo the nuts or bolts holding the wheel on.
- >> A handle for the jack which in many cases, will also be used as a handle for the spare wheel carrier.
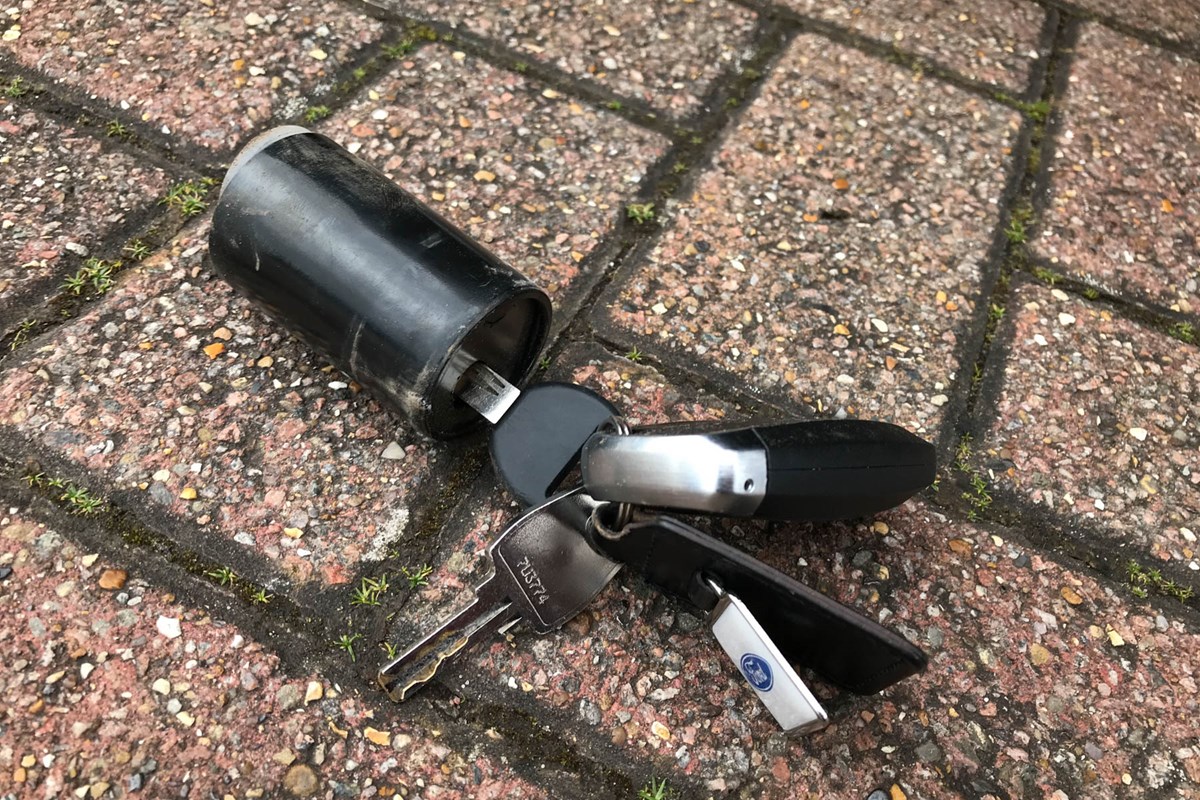
There may be extension pieces too – check the owner’s handbook to make sure you have all the pieces and how they fit together. - >> A locking wheelnut, particularly if you have alloy wheels.
- >> A spare wheel. Yes, that seems obvious, but spare wheels (particularly on vehicles with alloys) are often targeted by thieves.
- >> A key for your spare wheel lock – see above…
What you can add to that kit to make your life easier:
- >> Gloves – the thin, but rubber coated gardening gloves are ideal.
- >> A plastic groundsheet at least a meter square – ideally quite robust. This can be used to avoid kneeling in mud, but is also handy to drag the spare from under the truck if you can’t drive forward.
- >> A torch – your smartphone probably has one, but torches are cheaper when dropped. Get a USB chargeable LED worklight and you can top it up in the truck.
- >> Folding wheel chocks, if not already included.
How to change your pickup’s wheel
Find somewhere level and solid to stop if the puncture happens while driving, such as a layby and don’t forget to put hazard lights on and set up your warning triangle according to local regulations (in the UK, at least 45m before your stopped car except on motorways). If the puncture is on the driver’s side (offside) and you’re on a smart motorway or busy road, we’d recommend getting recovery as pickups need more space than cars and you’ll be next to the flow of traffic.
If you’re off-road then the standard jack won’t be much help, and if you’ve found a puncture on your parked pickup, then it’s down to the nature of the damage if you want to try changing the wheel, or inflating and driving to an appropriate supplier.
As a rule sidewall damage isn’t repairable, other punctures may be but only if you don’t drive on the flat tyre – unless you have tyre pressure warning, changing the wheel is always the safest course of action.

Get the toolkit out, find the wheelbrace and extensions, and check that the chain drive turns. There will usually be a hole in the panel below the tailgate that the extension pieces go through.
Before lowering the wheel, remove the spare wheel lock if fitted.

Start by releasing the chain a small amount, then make sure the tyre isn’t stuck to the pickup’s floor. They’re usually exposed to the elements and any rustproofing products; if you release too much chain and the wheel is sticking, it could detach suddenly.
If you have one, unfold your ground sheet or tarpaulin under the spare wheel area, and lower the spare wheel to the ground. There will usually be enough chain to leave a bit of slack – unwind the chain fully if you can, as it makes extracting the wheel and tyre easier.
Drive forward a little bit so the wheel is exposed – or crouch under the pickup if you can’t move it – and lift the spare wheel in order to remove the bar and chain.

Once the chain is removed, drive the pickup forward enough to clear the wheel. If there’s no space to do that, pull your ground sheet backwards – it’s easier than trying to wheel the spare out at an angle and prevents damage to alloys from dragging.
Check your spare wheel is in good condition and at the right pressure, then position the jack according to the instructions;

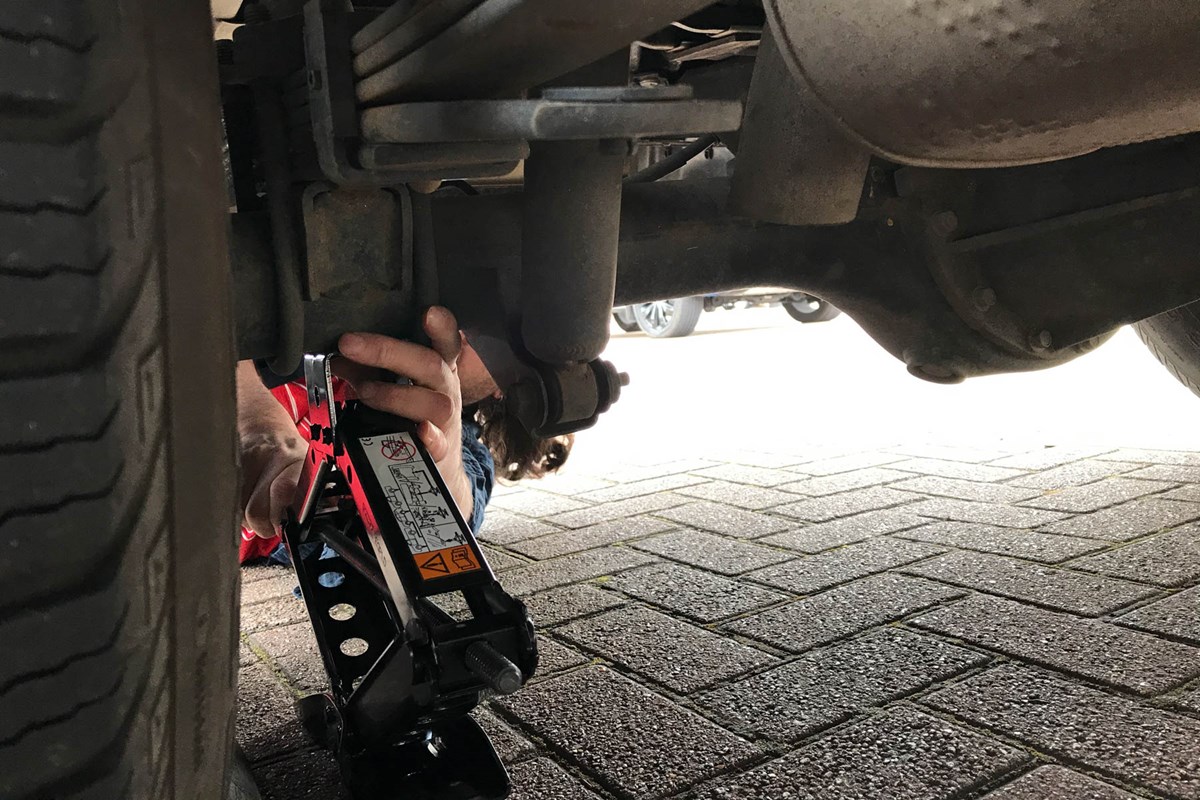
With the Ford Ranger, the instructions on the jack are very clear – for the front there are dedicated jacking areas, on the rear you jack up the rear axle. This makes it rather easier as you aren’t trying to jack up the suspension travel as well. There’s a positive location pin and on solid ground the Ranger’s jack is more than stable enough.
Position the jack under the axle, make sure it is securely located but don’t jack the pickup yet, and if you have suitable wheel chocks secure the front wheel/s as appropriate. Apply the handbrake.

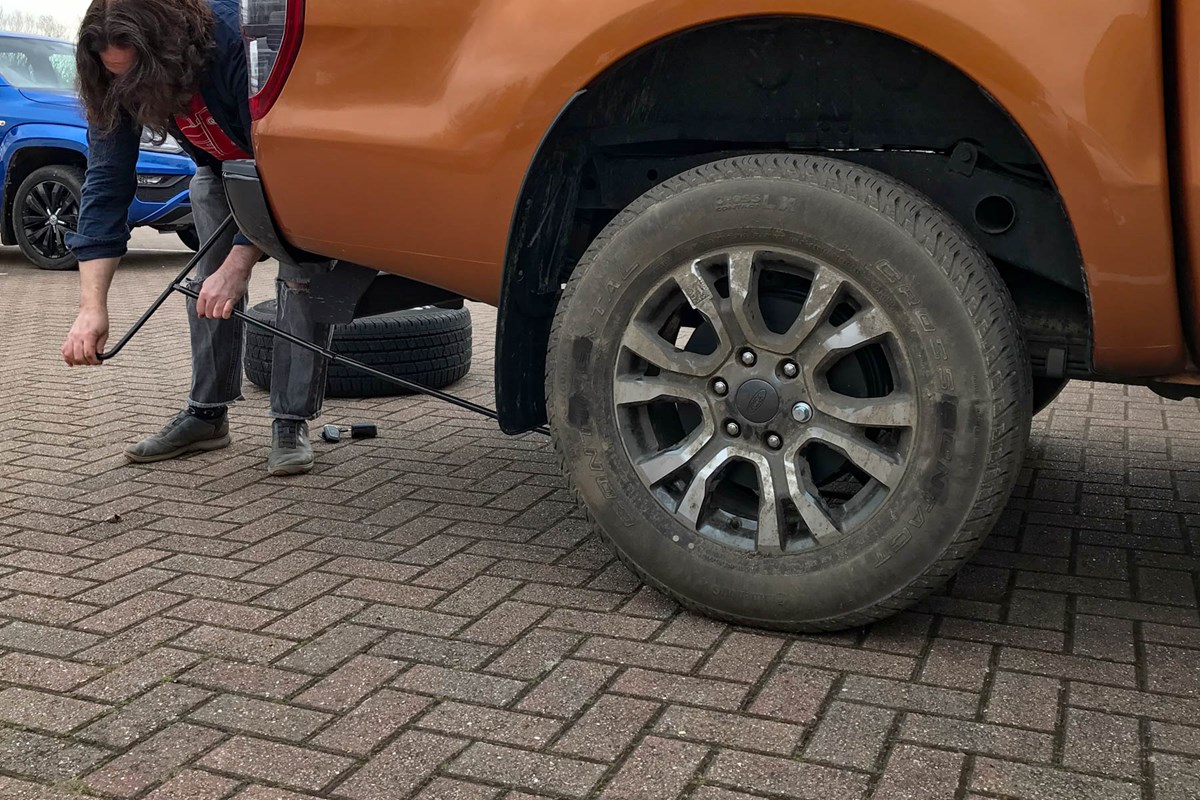
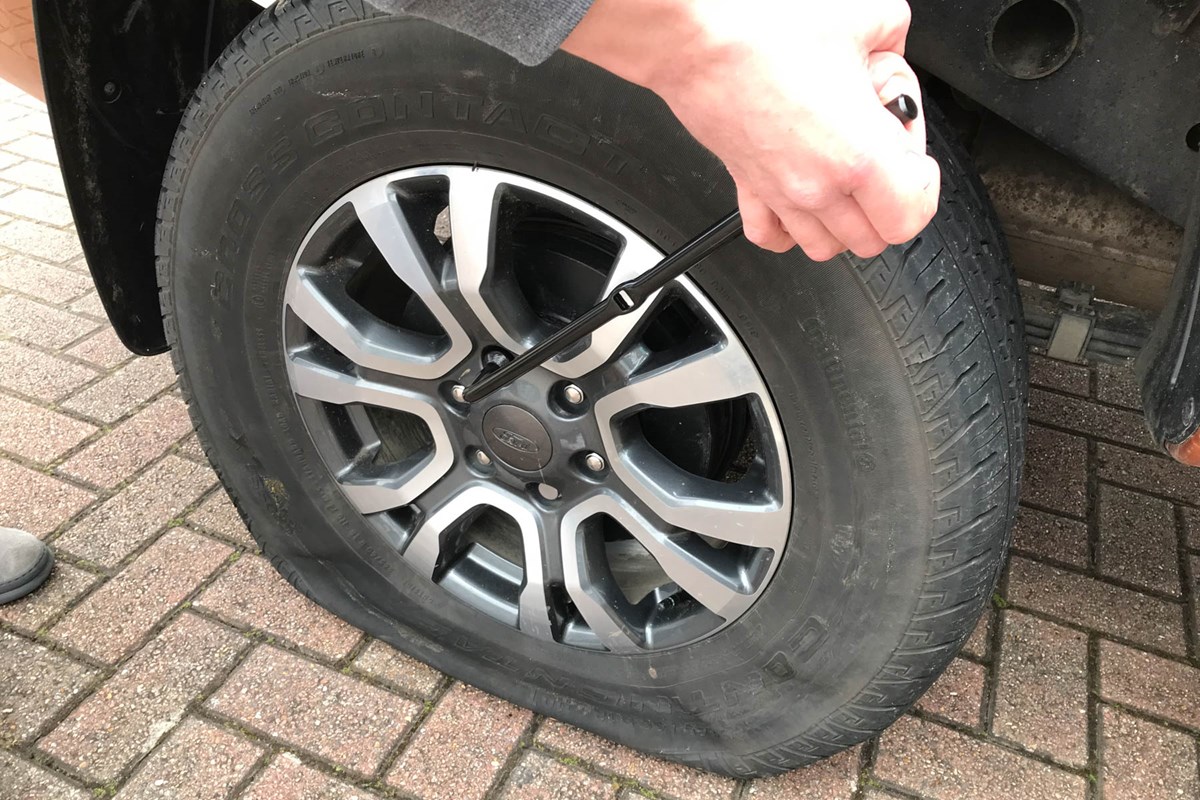
Loosen the wheel nuts with the wheel brace; you may need to apply a lot of force. We’d suggest starting with any locking wheel nut first, then moving diagonally (most pickups have five or six bolts or nuts holding the wheel) to loosen them equally.

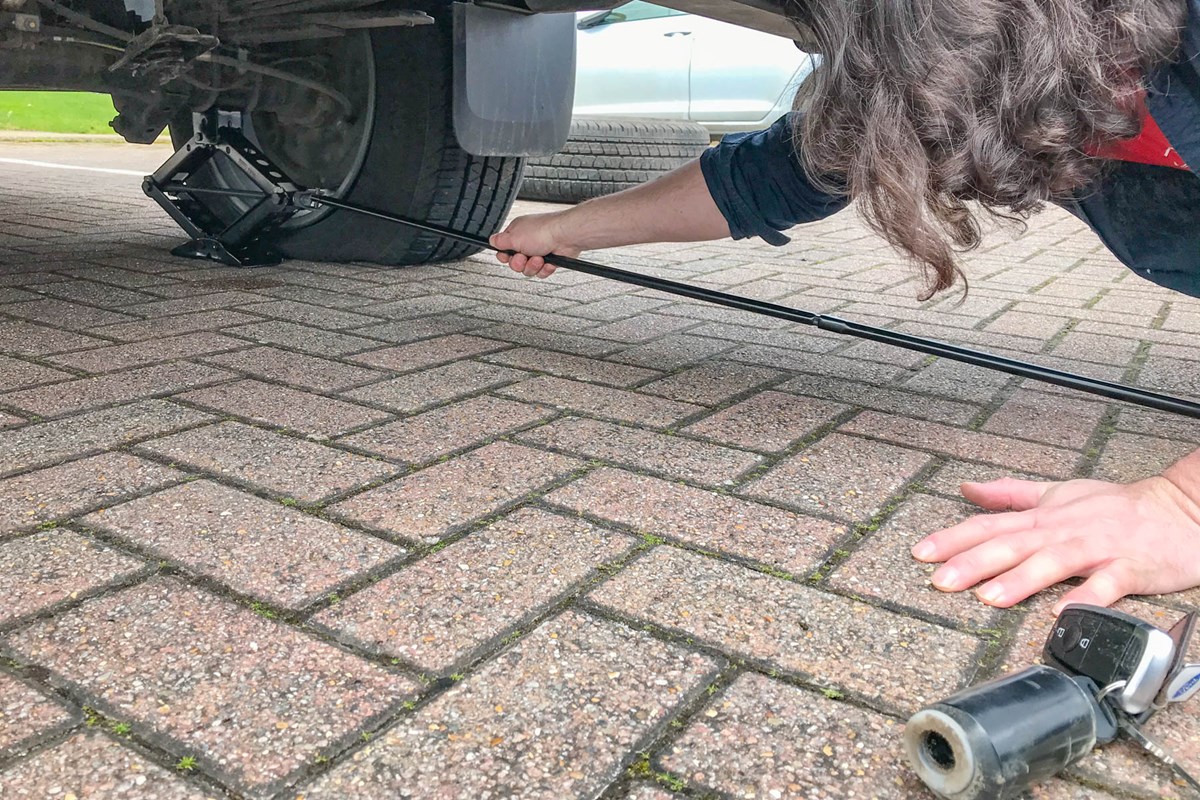
Jack the pickup up slowly. If you are jacking by the axle rather than the body, you only need to create enough clearance to fit the inflated tyre. The pickup’s tool kit should have sufficient extensions to allow you to jack safely from behind or to the side of the pickup without going underneath.

Once the wheel is clear of the ground, slacken the wheel nuts but don’t undo them yet. On pickups with alloy wheels in particular, the rim can stick to the brake disc or drum so give it a push or careful kick all the way around to make sure it’s loose (the wheel nuts will stop it falling off).
Once you’re sure it’s free, remove the lowest nuts/bolts first, and lift the wheel off the studs or centre of the hub. It will be heavy, and you’ll appreciate those gloves. If a pickup uses bolts rather than nuts there may be a guide pin in the toolkit, in which case remove the top bolt first and fit the pin, then remove the rest.
Line the new wheel up and check that the studs are raised high enough to fit it – you may need to jack the axle up a bit more. Once aligned, fit the wheel nuts, tighten them finger-tight all around then go diagonally with the wheelbrace enough that there’s no play in the wheel.

Lower the jack, and torque the nuts using the wheelbrace. It’s long enough that you don’t need to stand on it for sufficient torque, just ensure the nuts are tight and then push for a 1/4 turn. You can always get the torque checked by a dealer if you don’t own an appropriate torque wrench.

Unless your pickup bed is full, there’s no point hooking the spare wheel up to the chain and winding it under the load bed – just pop it in the back and take it to be replaced or fixed. However, it’s easy to forget to wind the chain up – do that before packing the tools away.
Pickup spare wheels – hints and tips
Check it’s there when you wash the pickup. If you’ve got time, try the chain and spare wheel lock for operation, and apply grease where needed. Your dealer will – well, should – do this during a service and inspection but on older 4x4s it’s easily forgotten.
Lower the spare every six months or so and check the pressure and condition of it. If you’re feeling agile, you can do that without removing it entirely.
Do get a spare wheel lock if you don’t already have one.
Do remember to polish and wax your alloy spare. Putting it in a binbag or similar might protect it visually but it can cause damp and corrosion, so applying plenty of wax and leaving it free and ventilated is arguably better.
On older pickups, check the condition of the spare wheel when buying. The tyre may never have been used, but it could have sidewall damage from storage, or perished sidewalls.