


You may be planning to just use your campervan over summer, taking it off the road for winter – as many owners do. Trouble is, British winters absolutely hammer vehicles that aren’t being used, especially if they’re stood outside. But, if you properly prepare your campervan for winter, it should still be in good enough condition to get straight to work come spring.
There’s quite a lot to do in the preparation process but, with experience, you should be able to get everything done in half a day or so. It’s certainly time well spent – it could save you an awful lot of hassle and expensive sorting out the problems poor preparation can cause.
In this guide, we’re going to go through what’s included in the preparation process. We’re focusing on campervans, but everything applies to caravans and motorhomes, as well. It’s all simple stuff that doesn’t require any specialist expertise.
We should note we’re only covering the camper elements of the vehicle; there are extra measures to take to prevent the vehicle itself deteriorating over winter which you can read about in our page on preparing a car for storage. You can also read about what to check before getting the vehicle on the road again.

Disconnect the leisure battery
A campervan’s leisure battery powers the electrics in the living space. Turn everything off then at least disconnect the battery to prevent it going flat over winter. Better, yet connect it to a smart charger to keep it topped up with electricity. If you’re storing the vehicle outside, it may be best to bring the battery inside to keep it charged. Doing so will help maximise its life as cold accelerates a battery’s degradation.
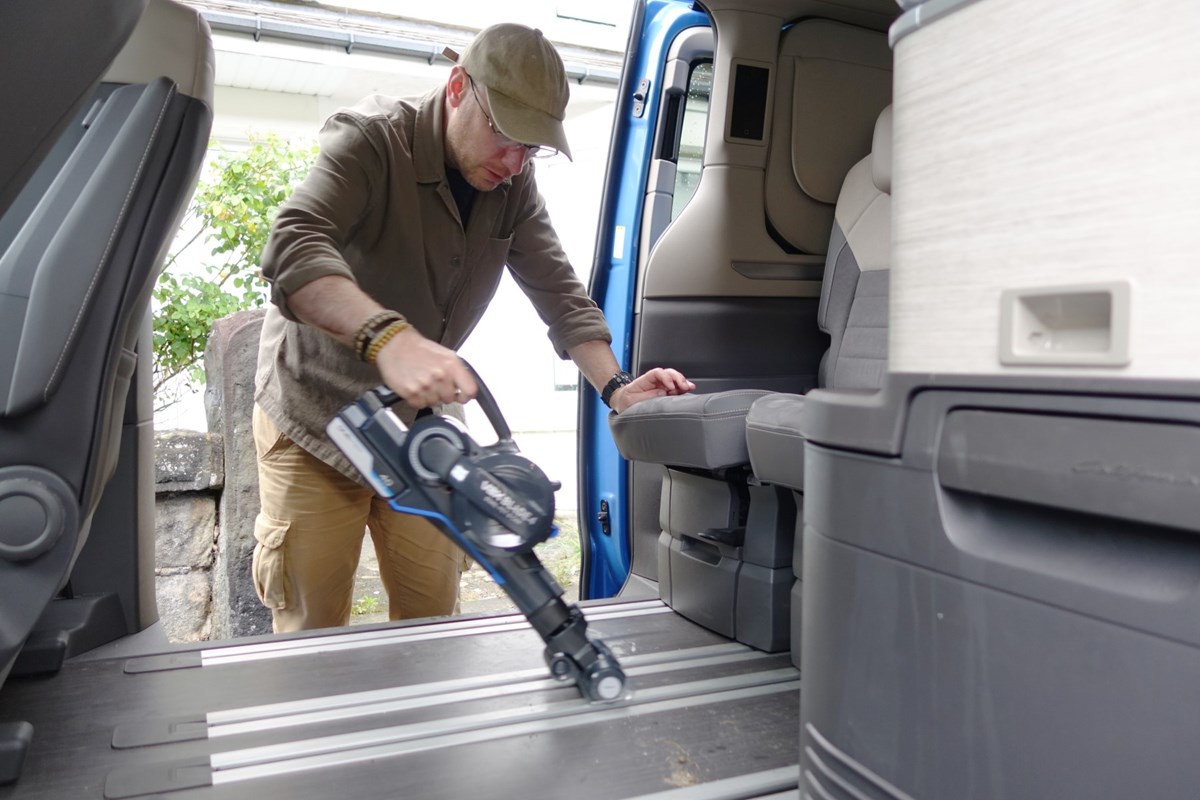
Clean the interior
You don’t want mould do develop in your campervan over winter, so give it a very thorough clean before taking it off the road. That includes the insides of the cupboards and storage lockers. Then let it air out before closing up. It would also be sensible to remove any supplies you keep in the vehicle throughout the camping season. Check the van periodically throughout winter to see if mould is developing. If so, clean it immediately.

Prevent damp
A campervan’s interior can become damp very quickly when it’s stored outside. Check the vehicle thoroughly for signs of water ingress during the preparation process. If you find any, get them sorted immediately and dry out the effected areas.
A few dehumidifier packs places throughout the interior are an effective preventative measure. If the vehicle is being stored in a building, open the windows a little to get some airflow. Check the vehicle periodically to see if damp has appeared. If so, attend to it straight away.
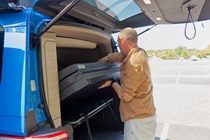
Remove the soft furnishings
Soft furnishings such as mattresses, cushions, bedding, curtains, even the carpet generate dust and attract damp, so it’s best to remove them from your campervan if possible. If not, move everything that can be towards the centre of the vehicle and leave some dehumidifier packs in there.

Clean and disconnect the fridge
Disconnect the fridge and freezer from their power supply – electric or gas – then clean and dry them thoroughly. Leave the doors ajar so get some air in. You could use a dehumidifier pack to prevent condensation developing; some people also suggest a small dish of coffee granules has the same effect and neutralises odours.
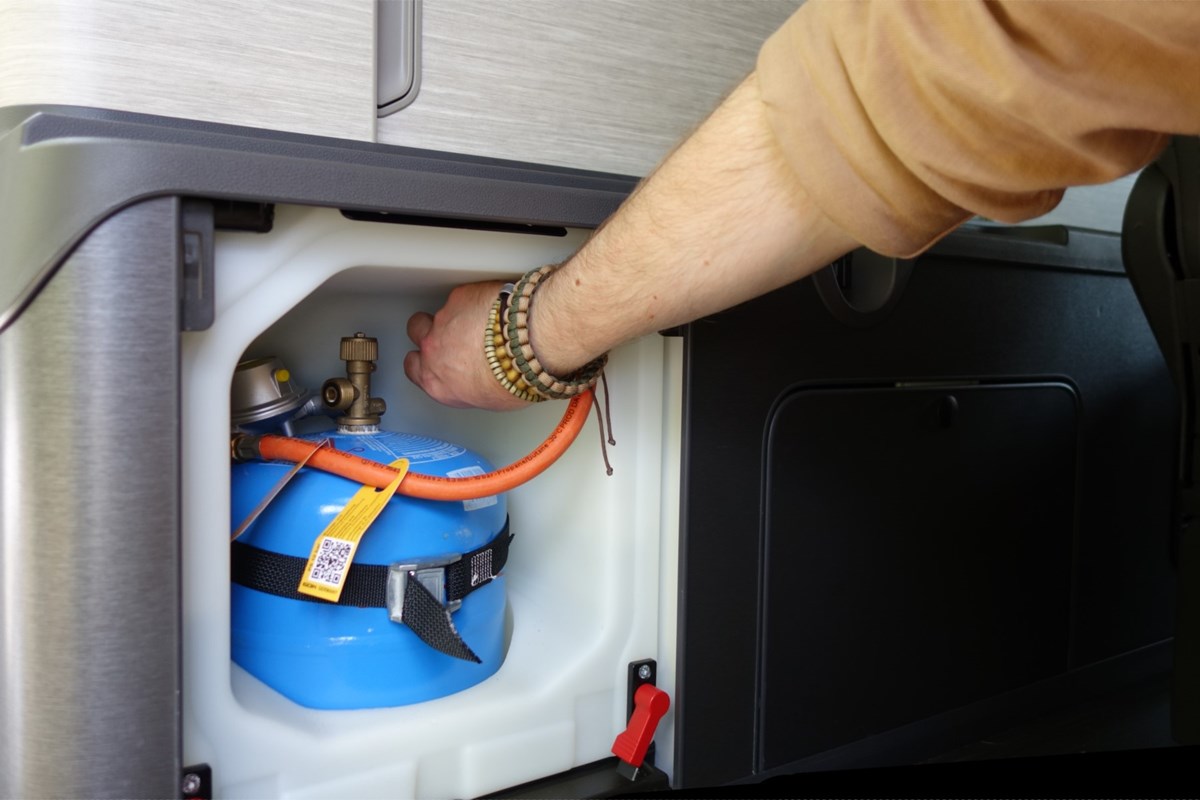
Disconnect the gas
Ideally, you should run the gas cylinder empty before taking your campervan off the road. Disconnect it and make sure the valve is tightly closed. The cylinder can be stored outside the vehicle in a garage or shed, but make sure the space is well ventilated in case there are any gas leaks.

Drain the water system
Ideally, you should drain the water system after each trip anyway. Once that’s done, remove and thoroughly clean both the fresh and waste water tanks. If you can store them indoors, do so. If not, make sure the insides of the tanks are completely dry before putting them back in your camper and leave the caps off, otherwise mould can quickly develop. Don’t forget to remove and clean any filters in the water system, as well.
Empty and clean the loo
If your campervan has a chemical toilet, don’t forget to empty it at a designated point after your last trip. You can’t just empty it down the loo at home. Give the toilet a very thorough clean inside and out, and make sure it dries out completely. If the toilet is removable, you could keep it in a garage or shed to prevent condensation forming.
Check the camper throughout winter
Every couple of weeks, open your campervan up to get some air moving through it. Also check if any mould, damp or condensation has formed. If so, deal with it immediately. Also check as best you can to see if any pipes have split, joinery joints have separated and so on.
Things to do after winter
It’s best to do a full post-winter systems check before embarking on your first campervan trip of the new year. Carry out a thorough inspection of the vehicle’s general condition inside and out; reconnect the electricity, water and gas; replace everything you took out of the vehicle.

Then turn everything on to make sure it all works. Turn on all the lights. Test all the sockets. Turn the fridge on and make sure it gets to temperature. Light the gas burner hobs. Run the water. You could even spend a night in it at/near home – it’s the best way to test everything and find anything that’s not functioning.
Just so you know, we may receive a commission or other compensation from the links on this website – read why you should trust us.
Just so you know, we may receive a commission or other compensation from the links on this website - read why you should trust us.