


Why are scratch repair kits worth your while? Simply put, cars go through a lot during their lives. Tens, if not hundreds of thousands of miles of being exposed to varying weather conditions, materials, and the odd objects resting on top. Look closely, and you may notice the paint could do with a good polish.
That is all unless you happen to keep your car absolutely immaculate by the means of a polishing kit. But most people won’t be used to that level of car detailing, yet the sight of swirl marks and light scratches will just plague some car owners’ minds.
With that said, plenty of scratch repair kits are available from the top car cleaning/polishing manufacturers. They are designed as packs which provide you with what you need to tackle light scratches and swirl marks on your bodywork. Car polishing kits are available for the main stages of scratch repairs. Bear in mind that if a scratch is simply too deep, you will need to get it professionally stripped back and repainted. Most light scratches will only appear on the surface of the clear coat of a car’s paintwork.
The best scratch repair kits at a glance:
Most scratch repair kits feature a mild abrasive compound that gently removes a small area of the clear coat in and around the scratch area, leaving it flush with the surrounding bodywork by filling in the remaining defect. This is the main stage that professional detailers do to repair a section of scratches. Beforehand, some tend to use clay bars to remove contaminants before the main polishing stage.
The best scratch repair kits
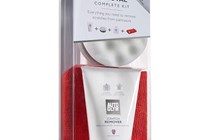
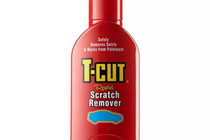
The best scratch repair kit


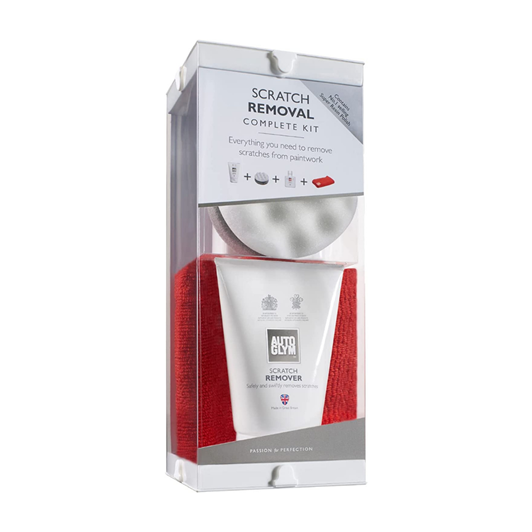
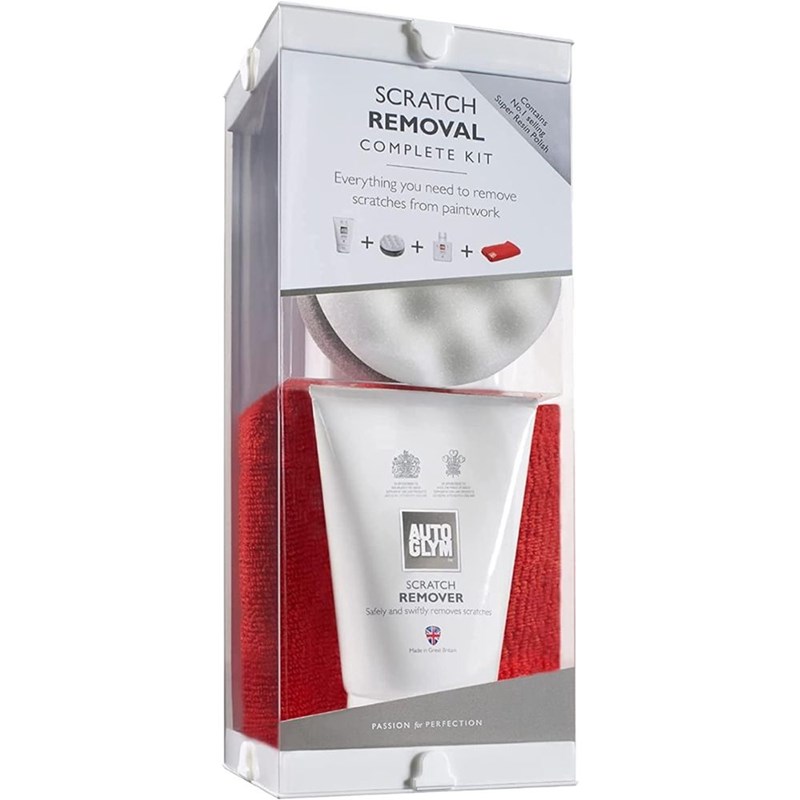
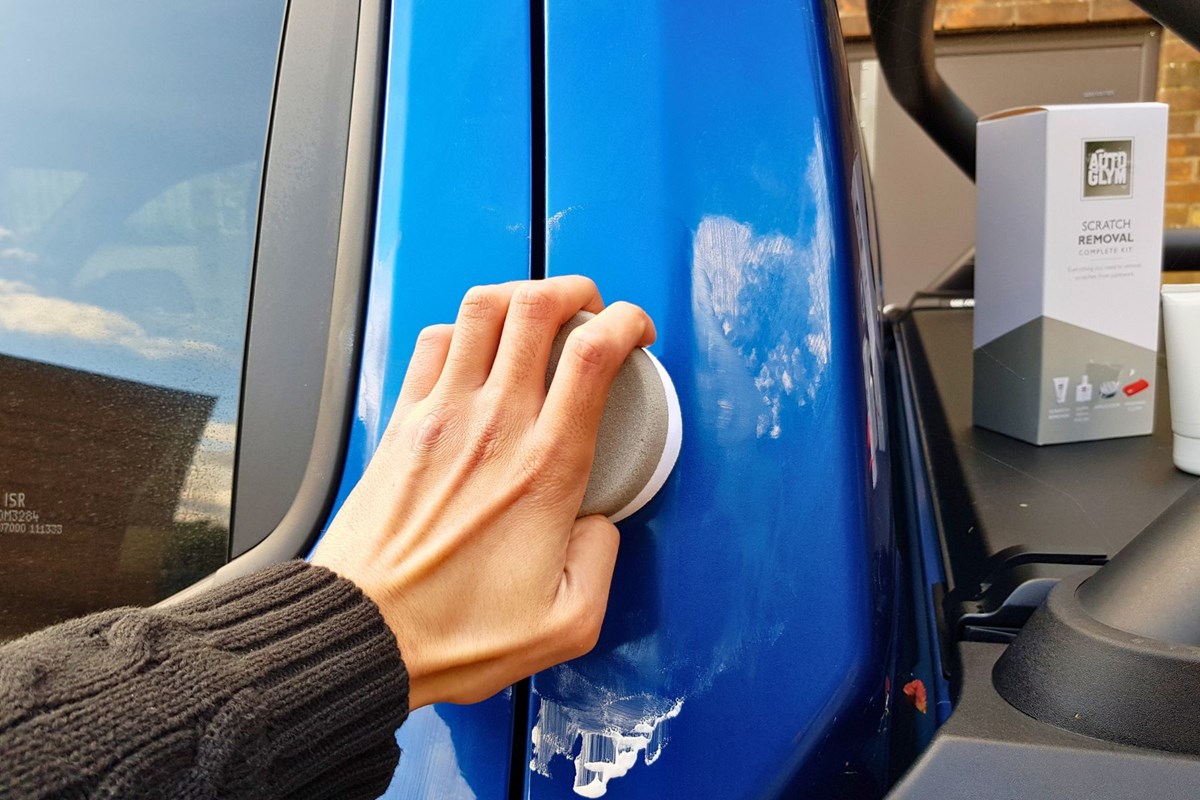
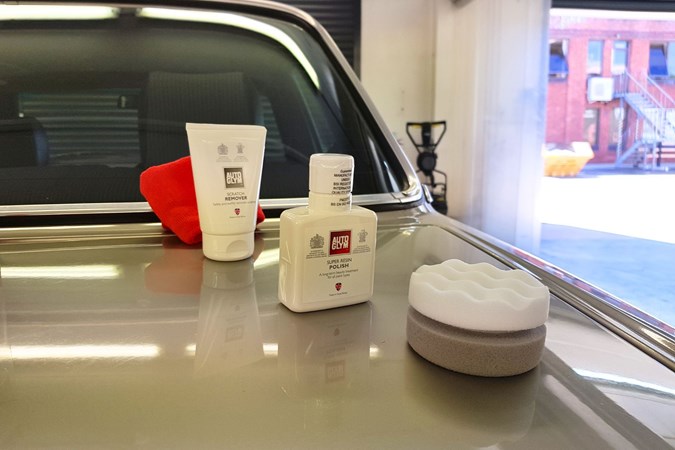
I noticed a few little imperfections on our VW Amarok long term test vehicle, and decided to give the pack a thorough go. Included in the pack is an applicator, microfibre cloth, Super Resin Polish and the Scratch Remover itself.
The instructions are quite specific; you have to shake the scratch remover before applying it to the scratch (after cleaning and drying the area) in a horizontal and vertical motion. Afterwards, you buff off the residue before applying a bit of Super Resin Polish and if needed, repeating the process until the scratch is removed or improved.
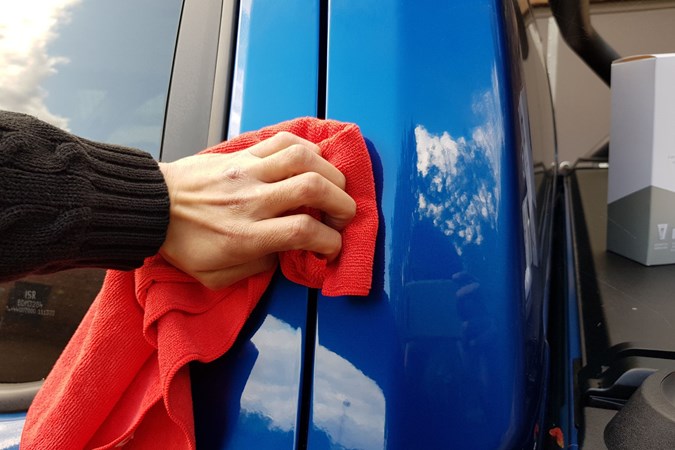
The results on our test were very impressive. The scratch I attempted to fix was a little bit deeper than it first looked, yet this kit did a fine job at improving the offending area. Once you're in the rhythm, the process is very straightforward and easy to remember and this kit is essential for light scratches or swirl marks that may annoy you.
Review by Aaron Hussain
Pros
- Ideal kit for beginners as the instructions are easy to follow
- Good value for money at a hair over £20
- Does a great job at removing light scratches and swirl marks
Cons
- You'll need more equipment to get started, such as all-purpose cleaner
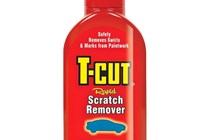
Best budget scratch remover
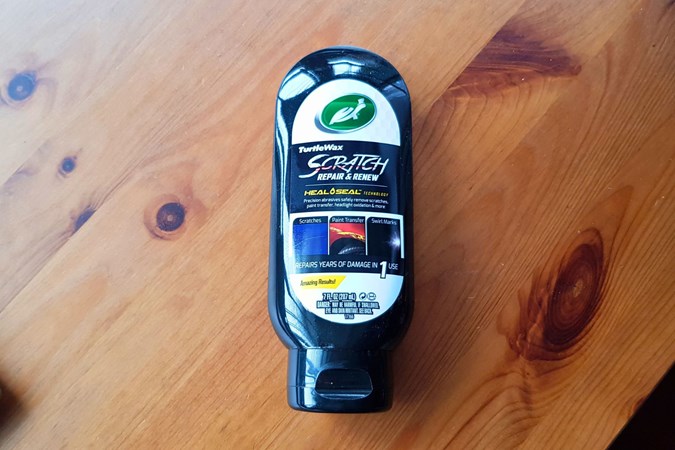
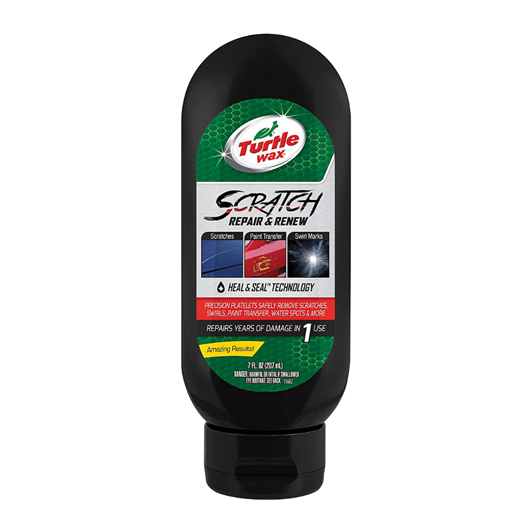
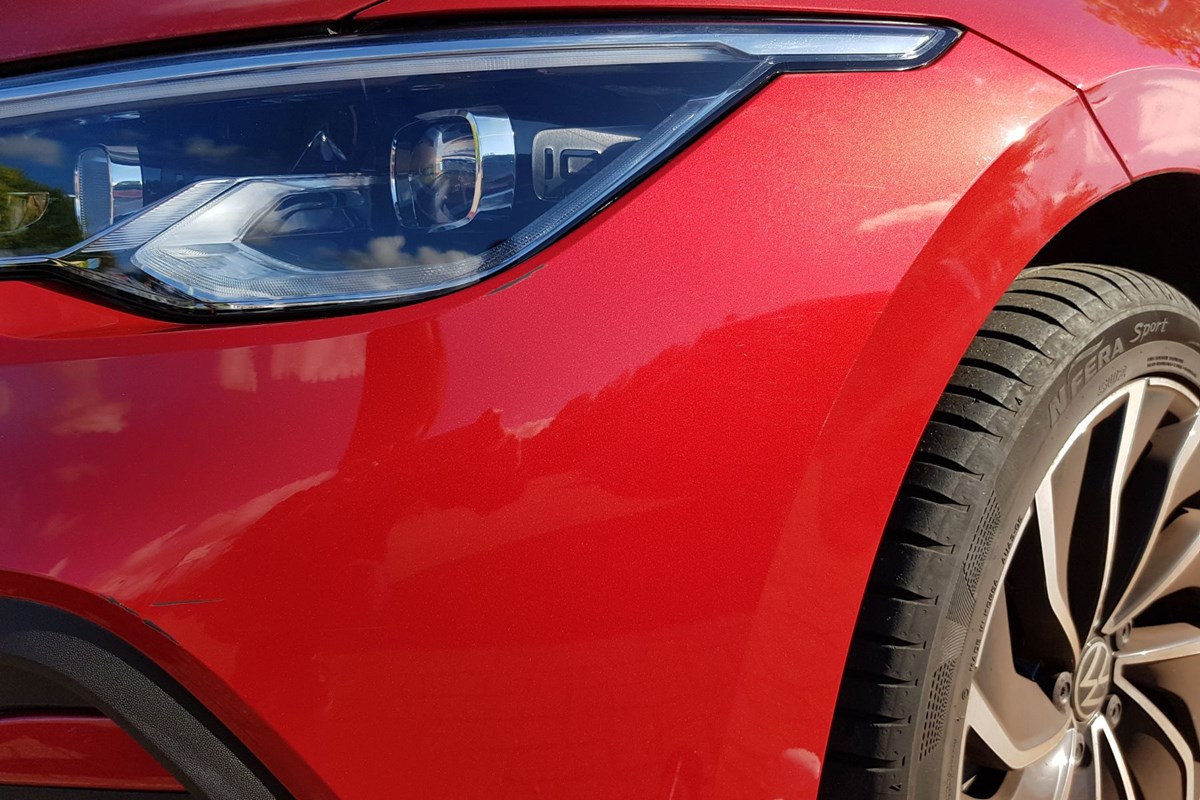
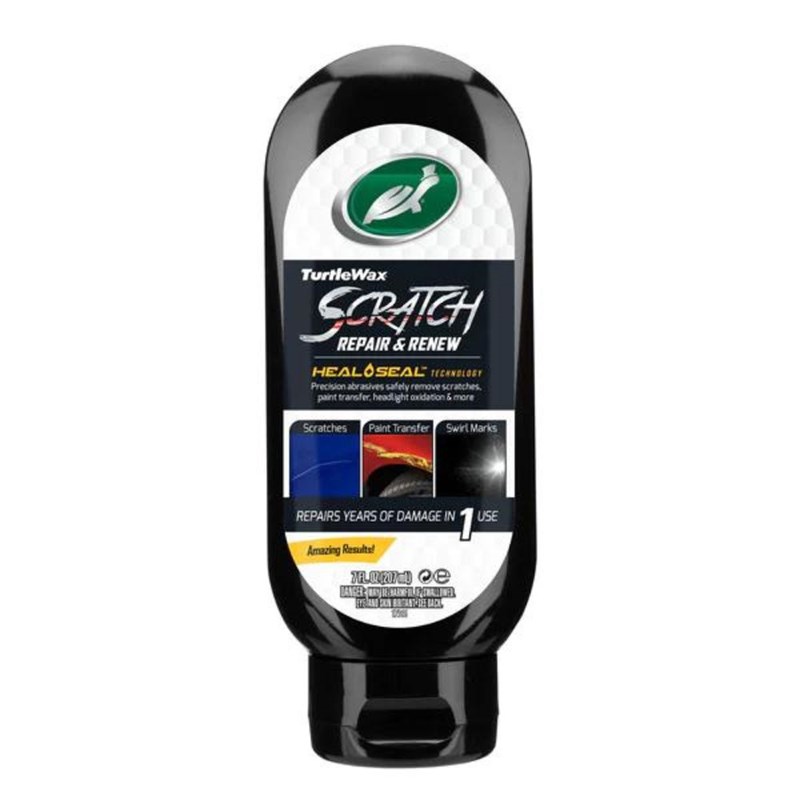
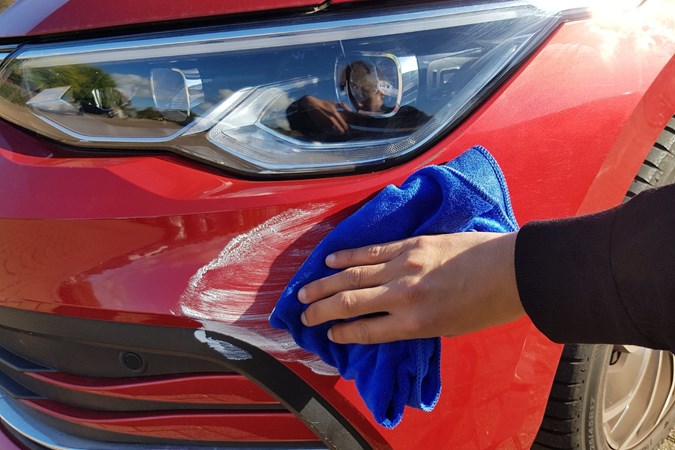
We tried it for ourselves, attempting to repair a nasty set of marks on a MK8 Volkswagen Golf. I simply applied a small amount to a microfibre cloth (a Bilt Hamber one) and set about repairing the damage.
It was no mean feat either, because in what felt like seconds, the light marks were no longer visible. You have to keep in mind that if a scratch can be dug in by your fingernail, it's probably too deep to cure. This was evident of the paint chips on the outer edges of the scratch, but the rest of it more-or-less disappeared as if they were never there.
I was astounded by the performance of Turtle Wax's scratch remover, and it made me think that in this instance, it may not be worth bothering upgrading to the higher-end products. Why? Because the performance of this one really is that good.
Review by Aaron Hussain

Pros
- Very affordable at £8.50 for a 207ml bottle
- Works almost like magic and makes scratches disappear
- You don't even need to use that much to get a great result
Cons
- Complete kit not included, so you have to provide your own cloth/applicator
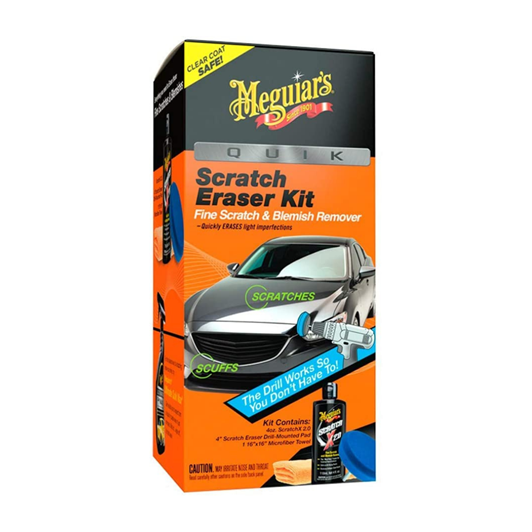
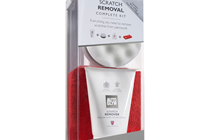
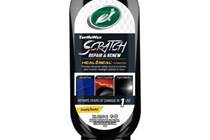
The best scratch repair kit for beginners
Rrp: $28.00
Rrp: $28.00
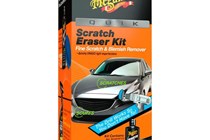
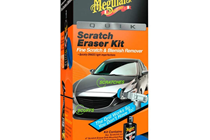
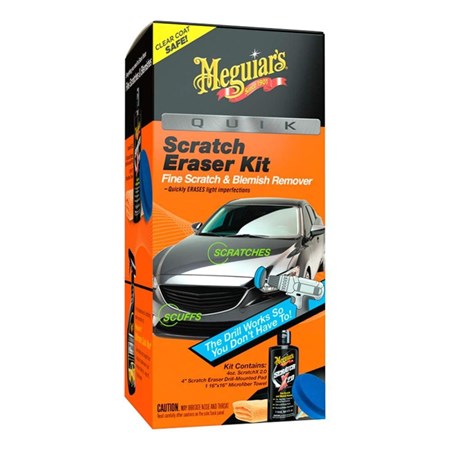
To remove your scratch using a drill, begin by attaching the applicator pad to a standard household drill, then apply a small amount of the Meguiar’s scratch remover to the surface. Use the drill to press the eraser pad into the scratch and begin making overlapping passes, running the drill at medium speed.
The consistency in movement provided by a rotating drill head will evenly file the bodywork down, filling in the remaining scratch marks and gently polishing for a shiny finish. Using a drill saves time and energy, but make sure to follow the directions included in the pack for the best results.
Pros
- Comprehensive little kit
- Good value
Cons
- You'll need to provide your own machine
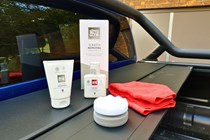
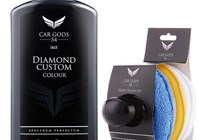
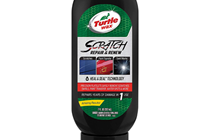
Best scratch removal kit for black cars
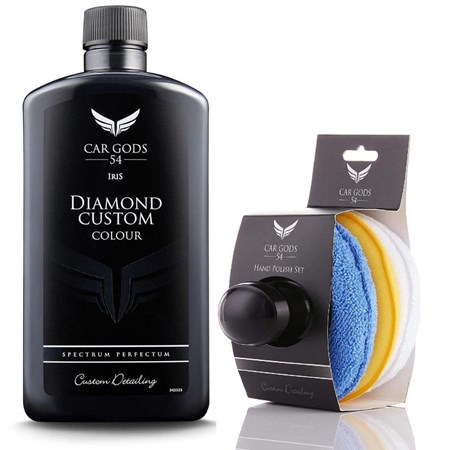
The polish contains little black pigments to help restore the glossy shine of your black car. But not only that, it also contains carnauba wax that leaves behind a layer of protection. This ensures your car is kept looking fresh and protected for longer.
Pros
- Contains carnauba wax to leave a protective layer
- Very effective at restoring a glossy black
Cons
- Won't be suited to any other colour
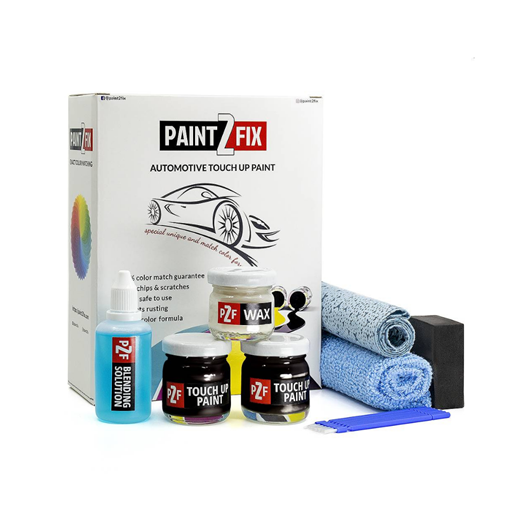
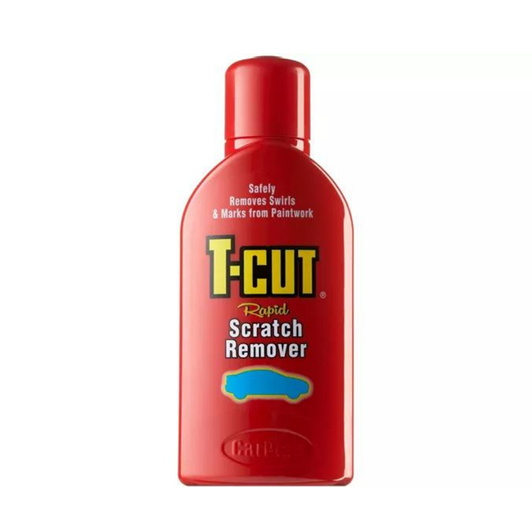
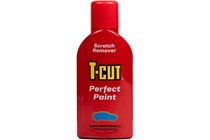
The most simple scratch remover
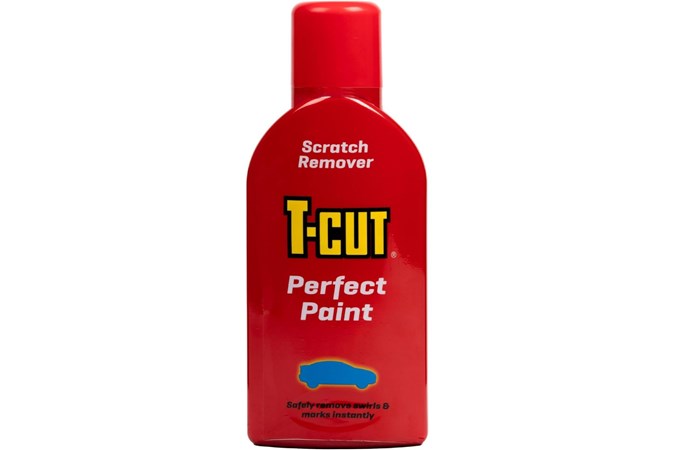
Like the other products on this list, it’s a simple process, but must be performed with care for the best results – go slowly and check your progress throughout.
Pros
- Very simple process
- Renowned name in paint restoration
Cons
- No other equipment included
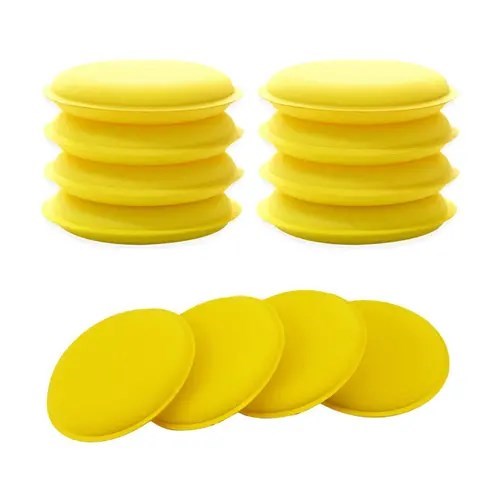
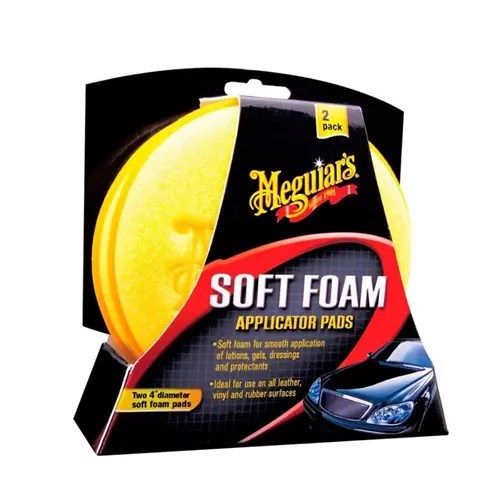
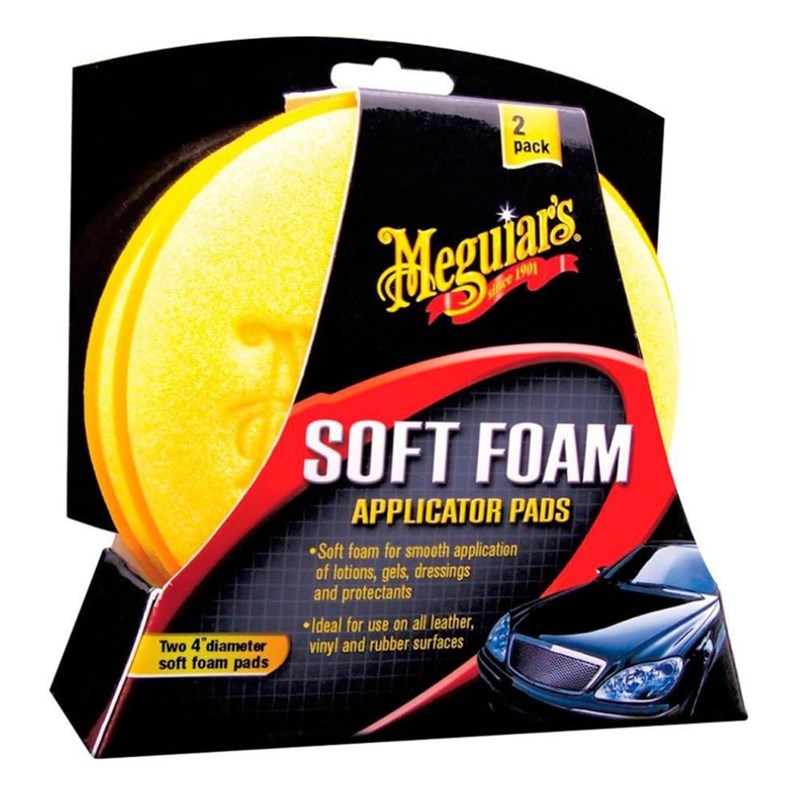
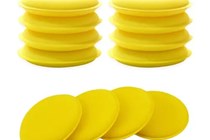
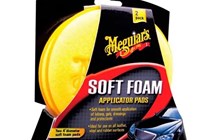
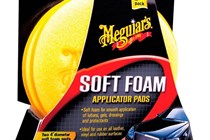
Best applicator pads


Apply dressings with just your fingertips using these applicator pads -the four-inch diameter makes them perfect for handheld use. The applicators do not absorb the wax or polish, meaning there is no wastage of dressing or scratch remover when in use.
Pros
- Great value
- Four applicators included
Cons
- No polisher or extras included
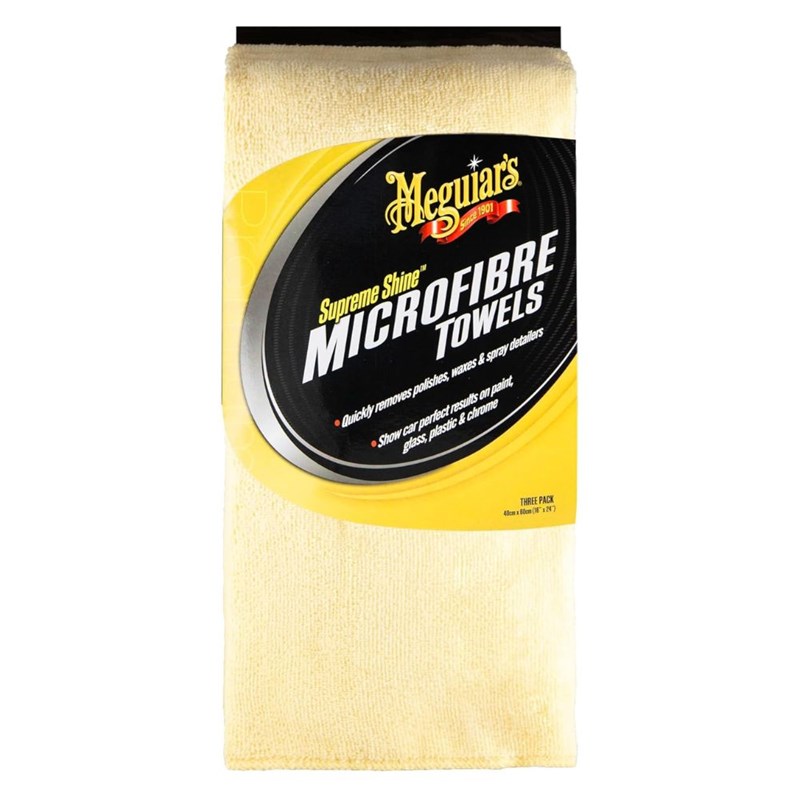
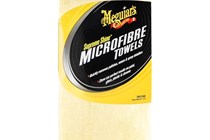
Best microfibre towel
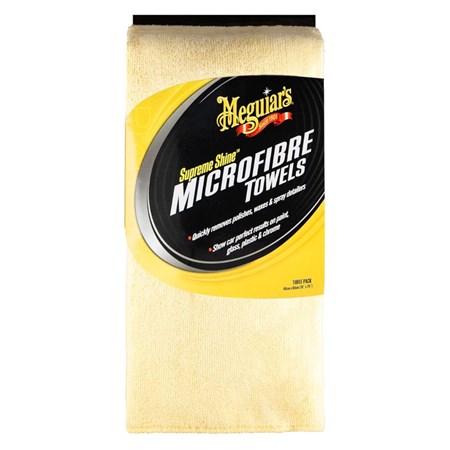
This microfibre by Meguiar's comes in a three-pack and it's designed to buff out and remove polishes, waxes, and spray detailers in a breeze.
Pros
- Great quality microfibres
- Comes in pack of three
Cons
- No other equipment included
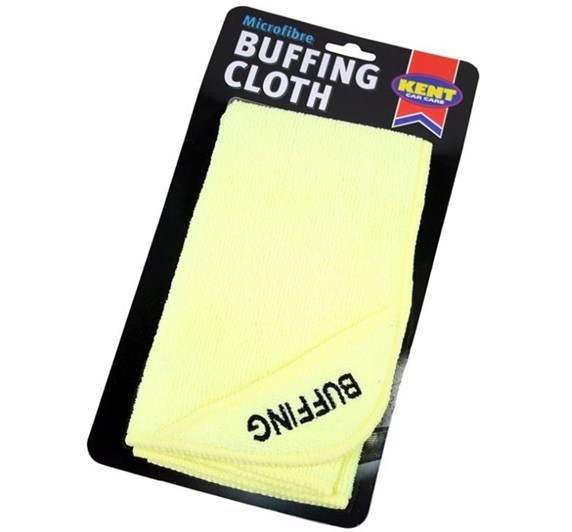
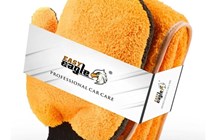
Best buffing microfibre cloth
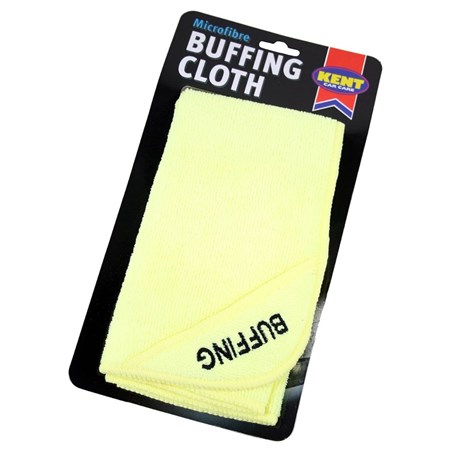
Pros
- Perfect for buffing
- Very affordable
Cons
- It's only designed purpose is for buffing
Things to remember about scratch removal
How to get rid of scratches professionally
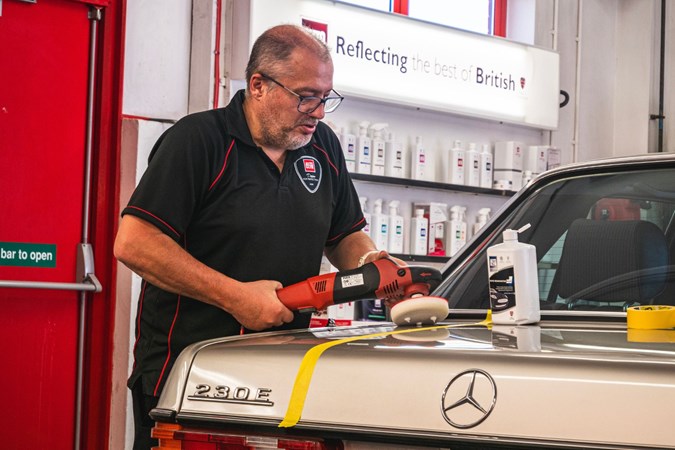
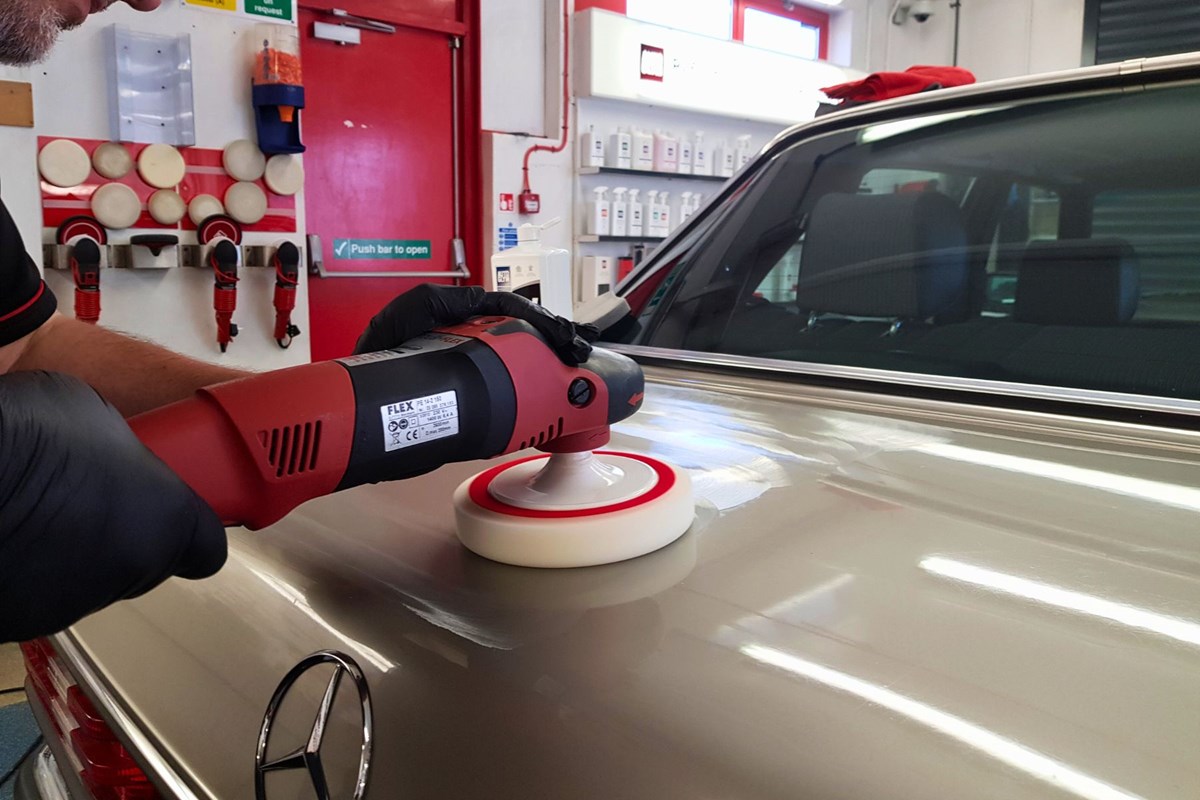
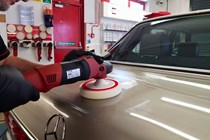
To gain an expert opinion on how you should approach polishing a car to remove light scratches, we visited Autoglym for a full rundown. It was in the brand’s wash and polishing bay, where we got an insight into how the pros get rid of scratches, as well as how you can do it at home. International Technical Services Manager, Karl Heath, was armed with the tools and equipment to demonstrate how it’s done properly.
Before starting any work, you should assess the scratch and affected area you want to tackle. Heath used a paint thickness gauge to assess the different areas of the vehicle, and he could even tell which scratches were so deep, the area would have to be stripped of paint completely before being repainted again.
The first stage of any scratch removing or any polishing process is to clean and decontaminate the area you want to tackle. Contaminants and dirt can easily affect the results, so make the effort to ensure it’s immaculate. So get the car clean with a good shampoo before using a clay bar to ensure it isn’t filthy in any way.
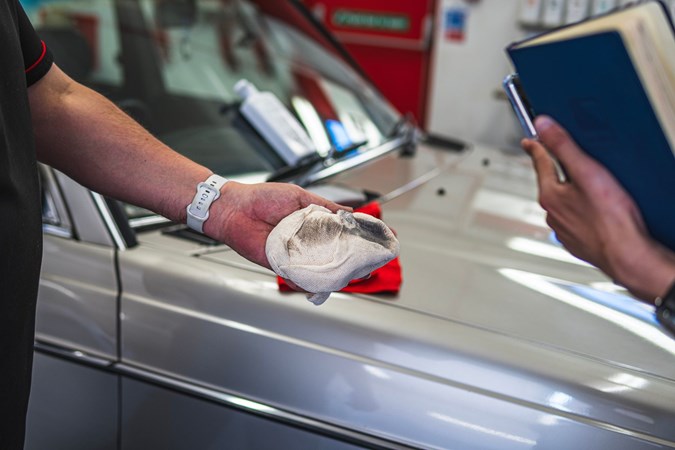
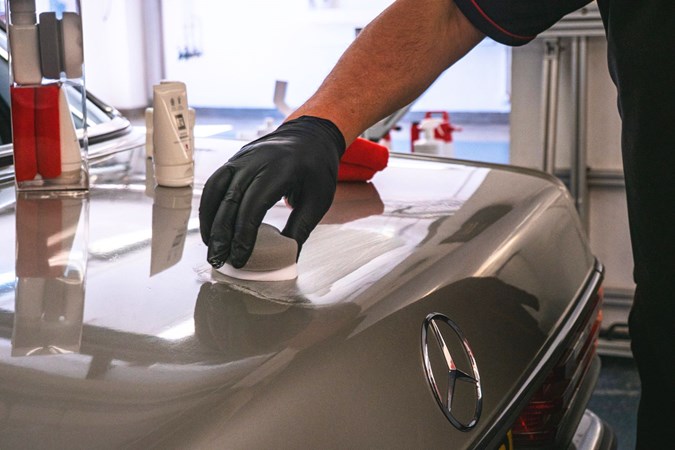
A full preparation, including a clay bar, is essential if you’re going to go over a whole car. Here however, we skipped the clay bar as we just focused on one panel: the boot lid of my Mercedes-Benz 230E. With this demonstration, the paint thickness gauge was showing 127 microns which is about average for most paint finishes. Usually, the threshold, is between 90 to 160 microns.
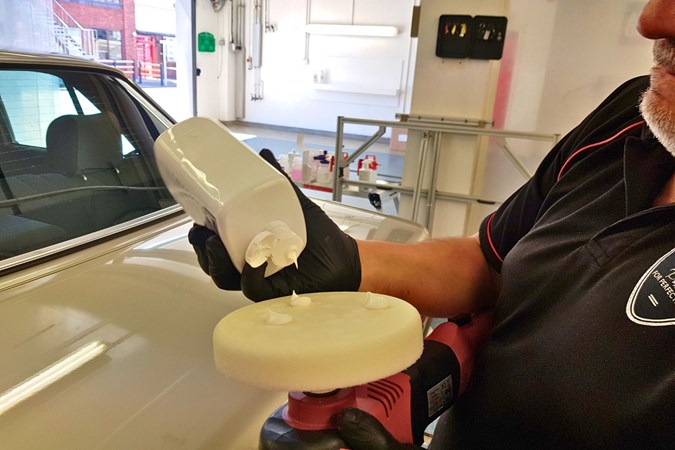
Next up, apply the scratch remover to the provided foam waffle applicator (if included) and using firm pressure, rub over the affected area. Go up and down, then side to side and check the area after around 30 seconds and apply more if needed.
Next, grab a rotary polishing tool to prime the surface to remove any pigments. This process exfoliates the paint and primes the surface to ensure it’s ready for the main renovation process.
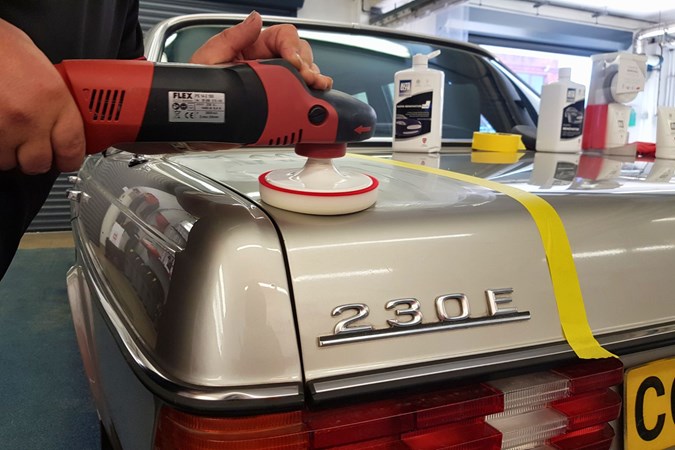
During the renovation stage, we used Autoglym’s Rapid Renovator and applied three spots on a medium pad and worked over the affected area with a rotary machine with speeds no higher than 600 to 800rpm. Apply a medium level of pressure while keeping the pad flat on the surface when working across it. You simply guide the machine left and right up to five to six times. As the Renovator became semi translucent, we overlapped onto the next working area.
With the surface covered in a film of product we then repeated the process but raised the speed to approximately 1000rpm. Once the area is clear, grab a clean microfibre cloth and inspect the area closely to see if you’ve achieved what you wanted.
Next up, switch to dual action polisher with a soft pad and renovating product. Remember to be gentle at this stage and set the RPM a lot higher. We set the machine in the bay at around 5,400rpm.
Afterwards, grab a bottle of Super Resin Polish, apply spots on the applicator and you simply apply it by hand – going in circular motions and being gentle throughout the process.
Finally, in order to keep your hard work lasting, it’s a great idea to apply some car wax apply to protect the area for protection. We applied Autoglym’s Ultra High Defenition (UHD) Wax in this case, but many other carnauba-based and paste waxes are suitable for this.
Ceramic coatings also work as well as spray wax, depending on paint type and preferences. Because the paint on the boot of the Mercedes is original, it had single-stage paint, which means that a carnauba wax was the most suitable for the surface. With more modern water-based paint finishes, you can use all manner of spray waxes.
What about a normal scratch repair kit?
If however, you’re using a scratch repair kit as listed in this article, the steps are much more simplified, but don’t necessarily expect a better result than if you’re using thorough equipment.
Again, the first thing you need to tackle is cleaning and decontaminating the area. As ever, full preparation including a clay bar is needed if you intend to go over a whole car.
Next, apply Scratch Remover to the foam waffle applicator and using firm pressure, rub this over the affected area. You should move up and down, then side to side repeatedly. Check after 30 seconds and apply more if needed.
Upon renovation of the area, we applied Autoglym’s Super Resin Polish, and you can easily do this at home to improve the area you’ve covered.
Finally, apply a coating of wax to protect the area you’ve improved. The principle is exactly the same here as it would be with a professional job, whereby the type of wax or coating is dependent on the paint type at hand.
For example, single stage paint finishes benefit best from carnauba-based waxes, although ceramic coatings work well, too. With more modern paint finishes, you can use spray waxes or pretty much anything you think would work best.
Sign up to the Parkers Newsletter to keep up to date with more of the latest reviews, news, and recommendations from the Parkers team.
Just so you know, we may receive a commission or other compensation from the links on this website - read why you should trust us.