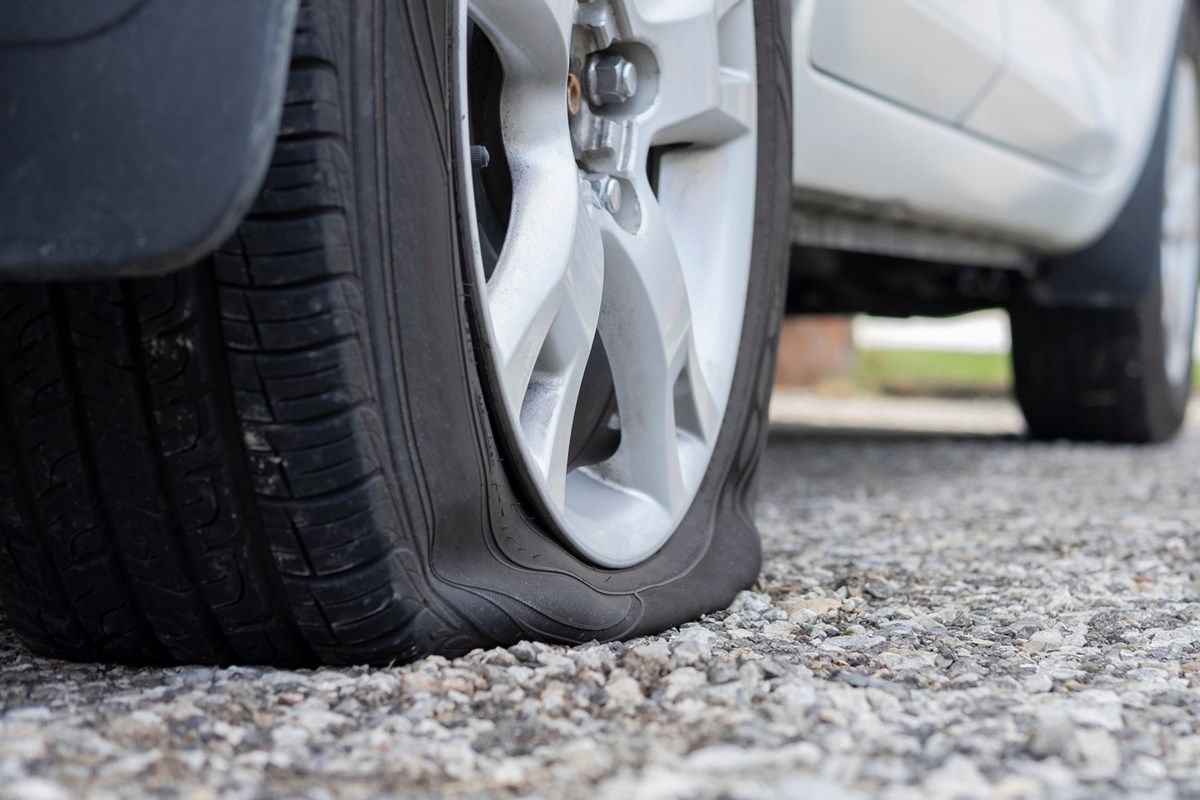


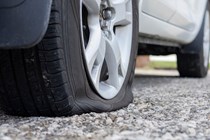


Having to change a tyre due to a puncture is never less than inconvenient and frustrating, especially days when you’re in a rush. Knowing how to change a car wheel can make the situation less stressful. Fortunately, many cars come equipped with a solutions like a space-saver spare or a tyre sealant kit, allowing you to quickly get on the road.
However, if you’ve never changed a wheel or used a puncture repair kit, the process can be daunting. Thankfully, it’s not actually as difficult as you might think. Our guide takes you through every step of the process on how to change a car wheel or use a sealant kit, so you can get your day back on track.
What do you need to change a wheel?
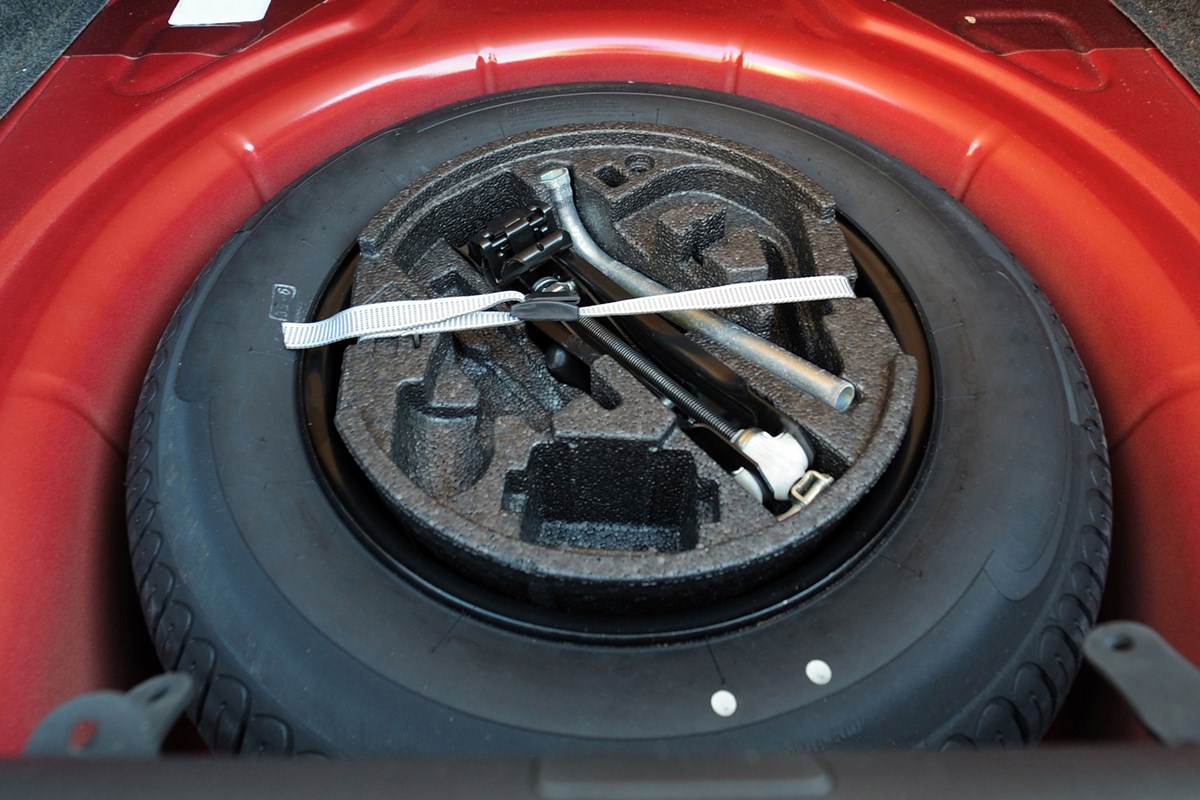
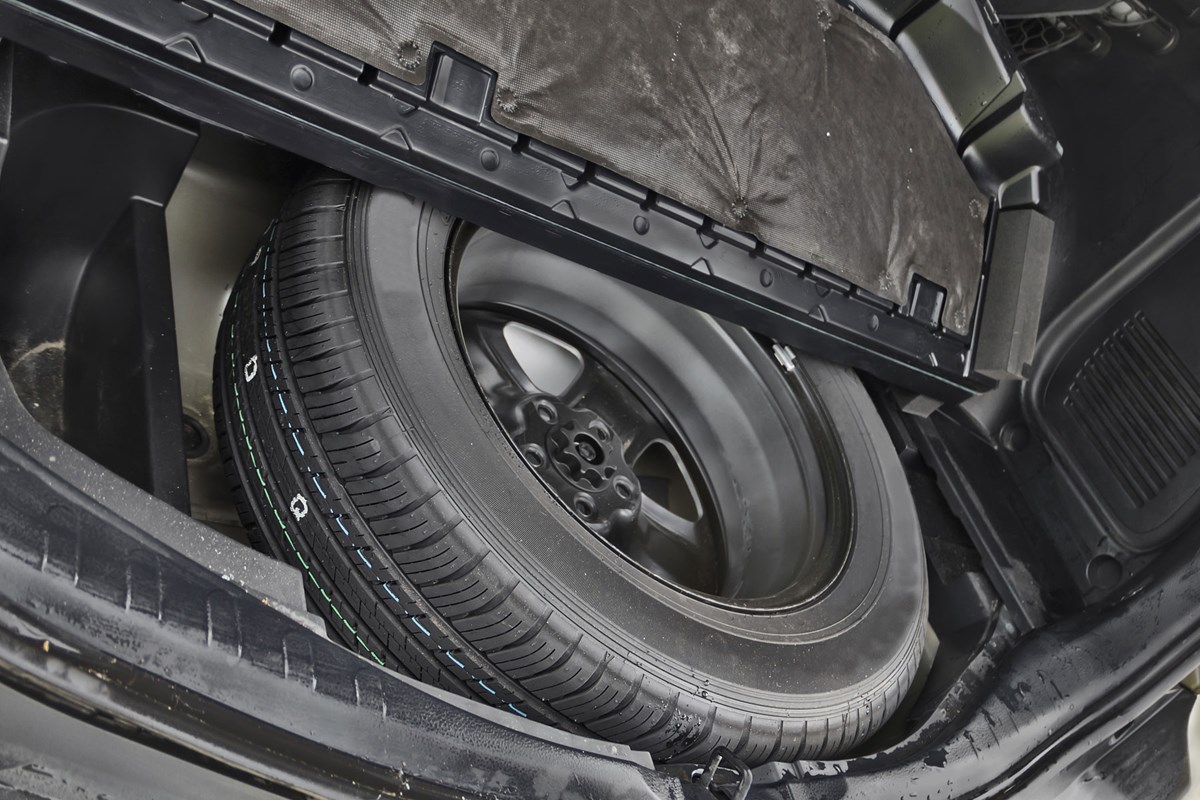
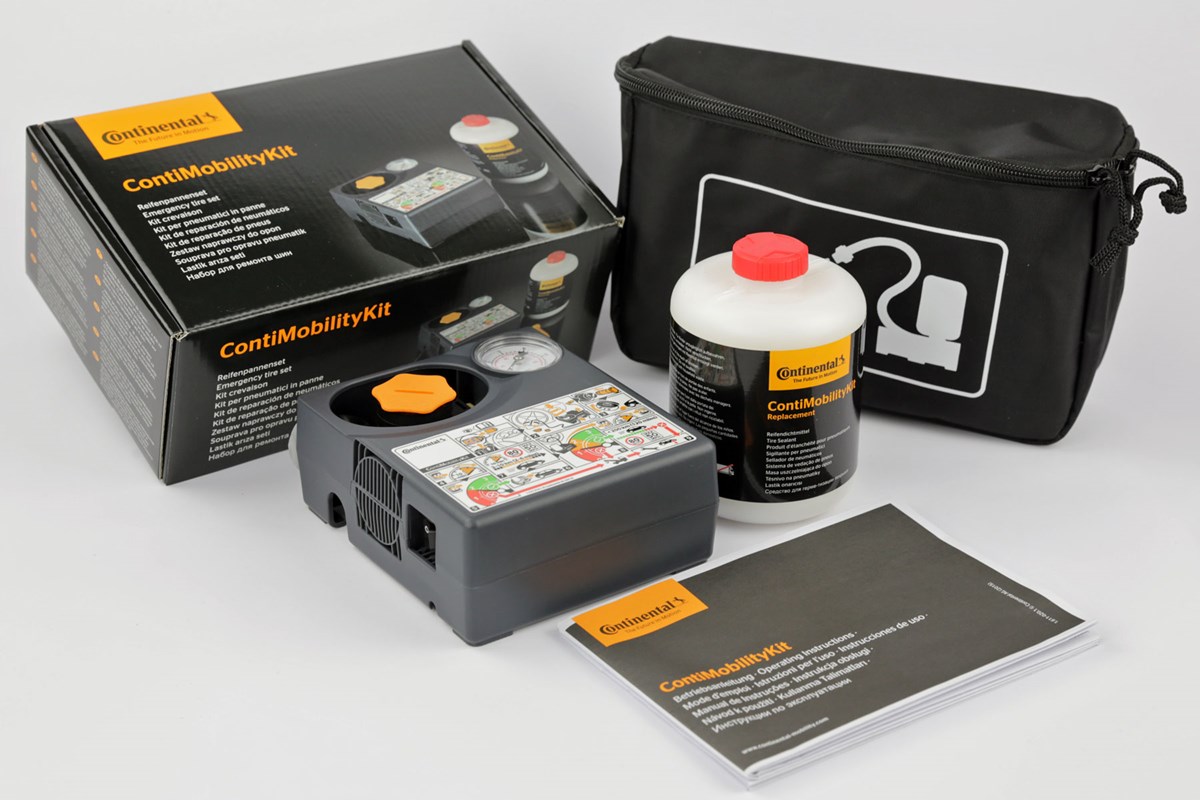
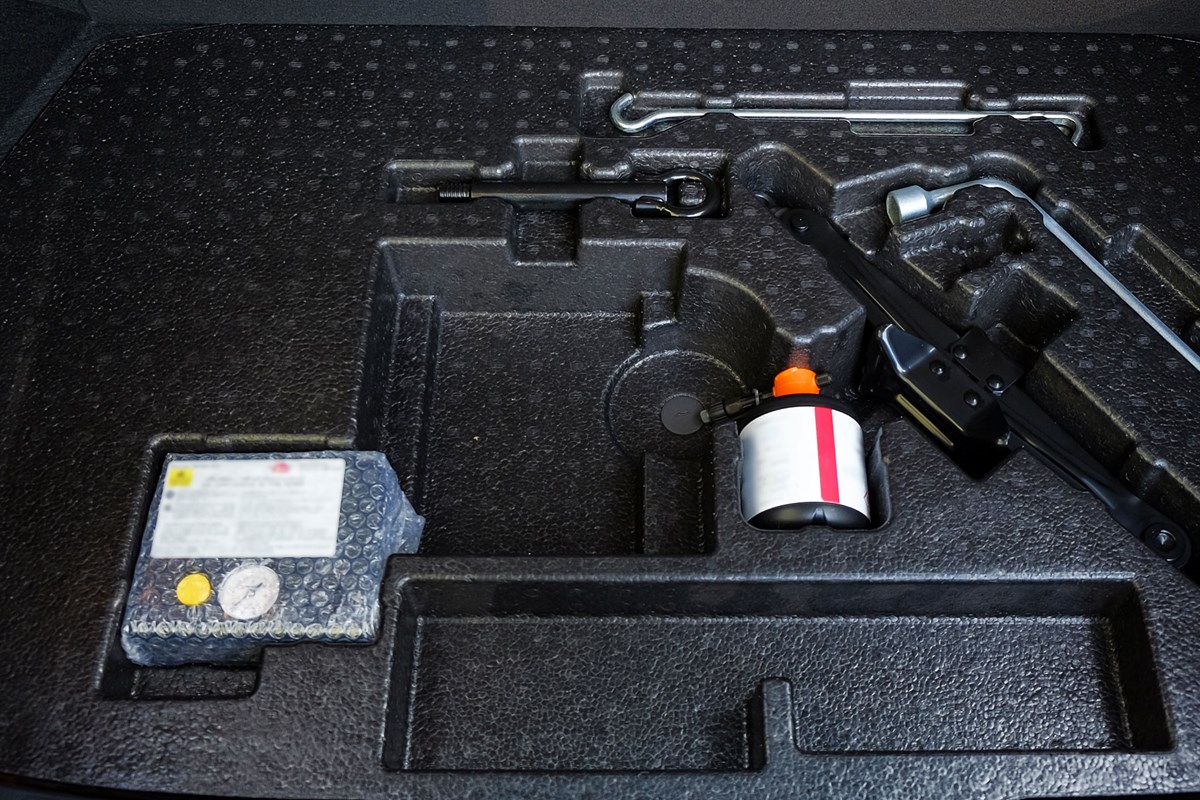
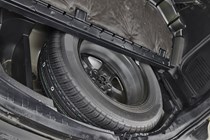
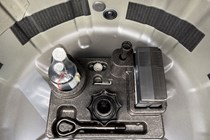
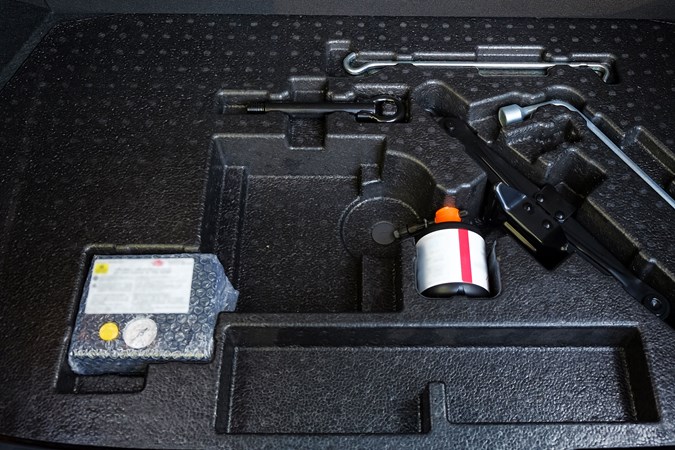
This depends on your cars equipment. Most new cars don’t include a spare wheel and are instead equipped with a can of sealant and a compressor that can be used to temporarily fix a punctured tyre. Some cars come with a space-saver or full-size spare wheel, along with the necessary tools to change it. You’ll find the equipment in the boot, under the floor, or behind a side panel. In some cases, the spare tyre is underneath the car and requires getting on the ground to access it.

It’s best to check what equipment is in your car before you have a puncture in case anything is missing, hard to find or unusable. A moment’s preparation could save you a lot of annoyance when a puncture strikes.
Here’s what you ideally need to change a wheel with a flat tyre for a spare or space-saver wheel:
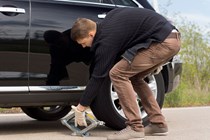
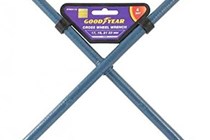
• Wheel chocks
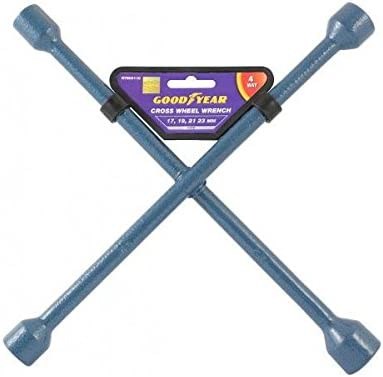
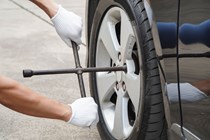
• Wheel wrench
• Locking wheel nut key if applicable
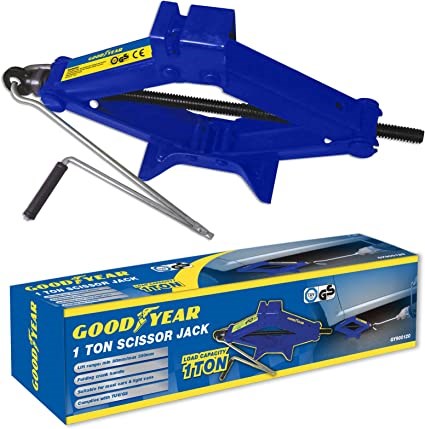
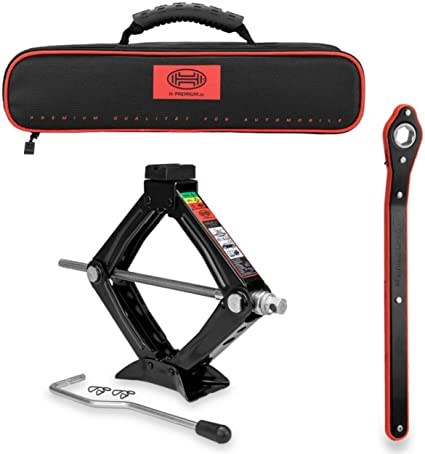
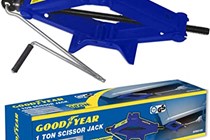
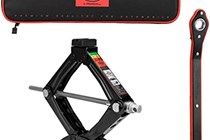
• Car jack
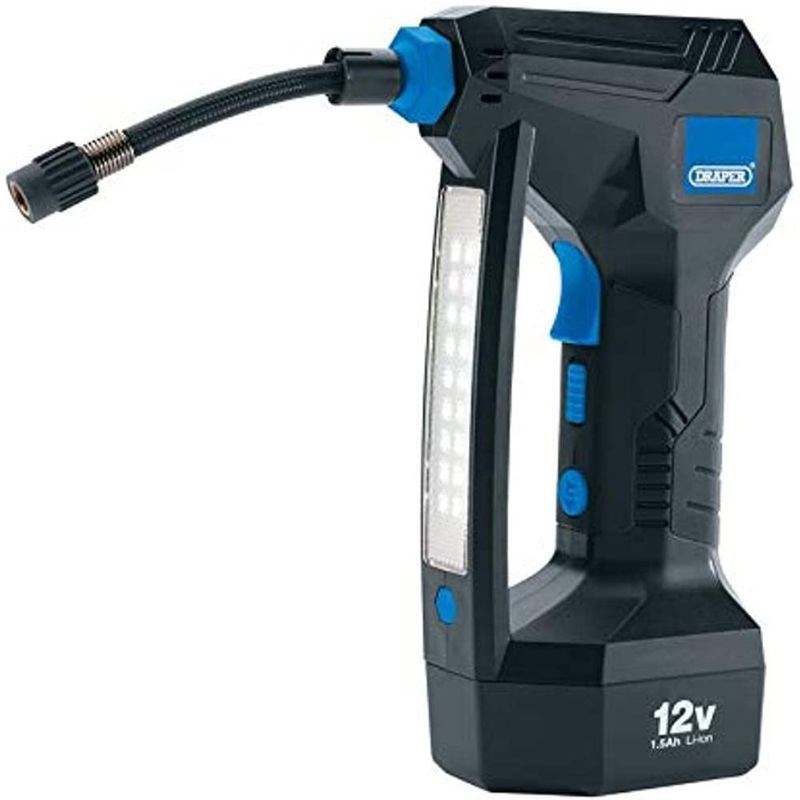
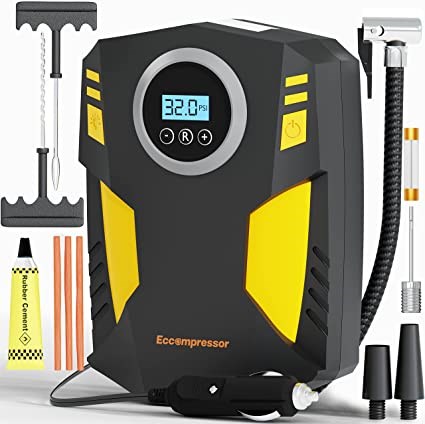
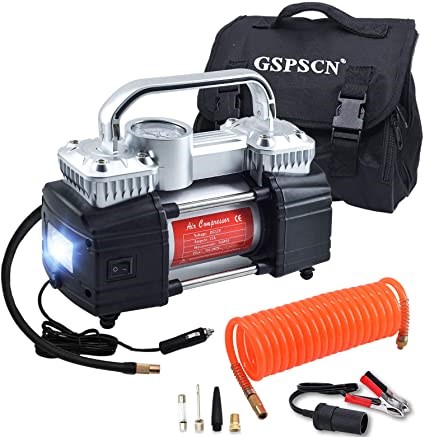
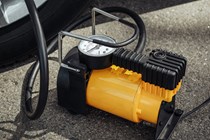
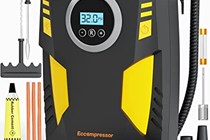
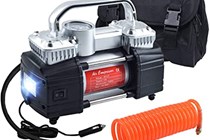
• Car tyre pump
• A high-visibility jacket
• A warning triangle
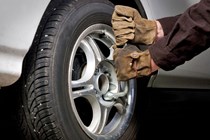
• Gloves
If your car only comes with a can of sealant, then you will need:
• The unused and sealed can of sealant
• The included air pump or a tyre pump of your own
• A high-vis jacket
• A warning triangle
• Gloves

How to change a wheel
If you’ve never changed a wheel before, it can be easy to miss an essential step that can leave you struggling down the line. To make it easier and to cut down the hassle, here’s a quick step-by-step guide to changing a car wheel.
1. Consult your car’s manual
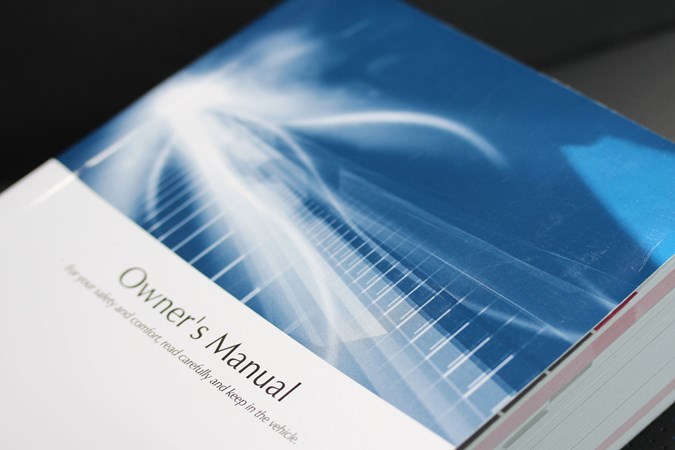
It’s worth checking the owner’s manual for your car before going any further. It may lay out a specific wheel-changing process and draw your attention to any issues that you need to be aware of.
2. Move your car to a safe place

When you’re ready to start changing the wheel, make sure your car is parked in an area where you can do the job safely. If you can at all avoid it, don’t use the hard shoulder of a motorway, or the edge of a busy road. The car also needs to be on level, hard ground that is suitable for jacking the car up, such as concrete or Tarmac.
3. Prepare your tools

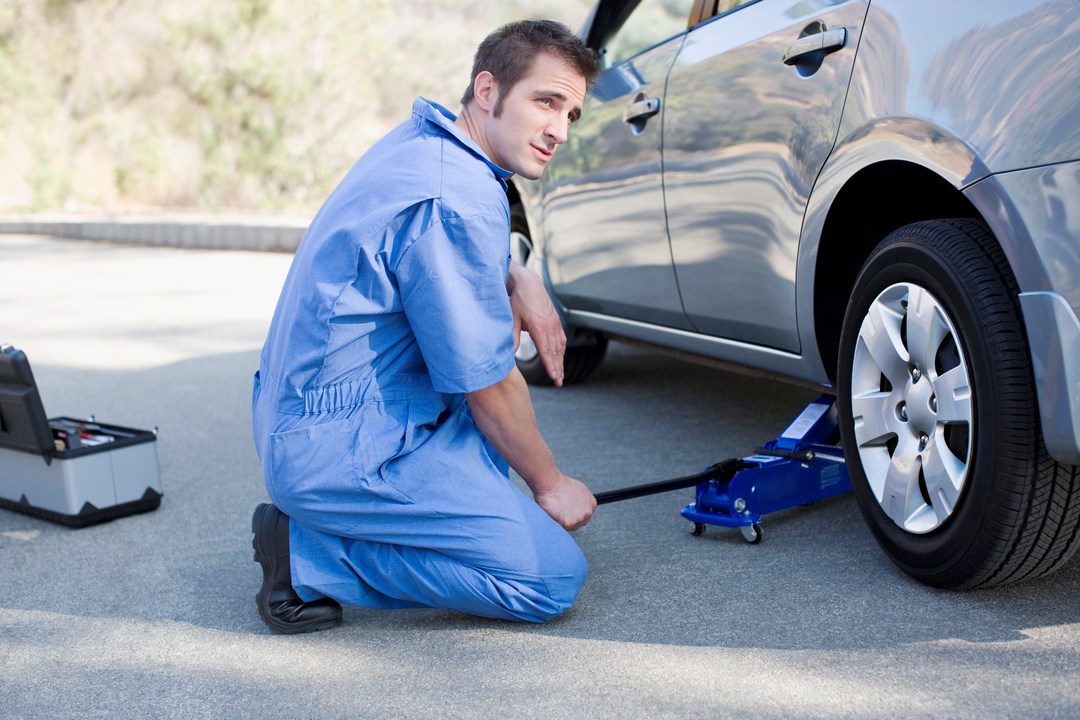
Get everything you’ll need to change the tyre out of the car – the spare wheel, locking wheel nut key, wheel wrench jack and chocks if you have them. Put on a high-vis jacket if you have one, and put out the red warning triangle which should go far enough behind the car to give oncoming drivers plenty of notice. If you have wheel chocks, now is the time to use them. See if you can find some gloves, too, as your hands are going to get messy without. Get any passengers out of the car, as well.
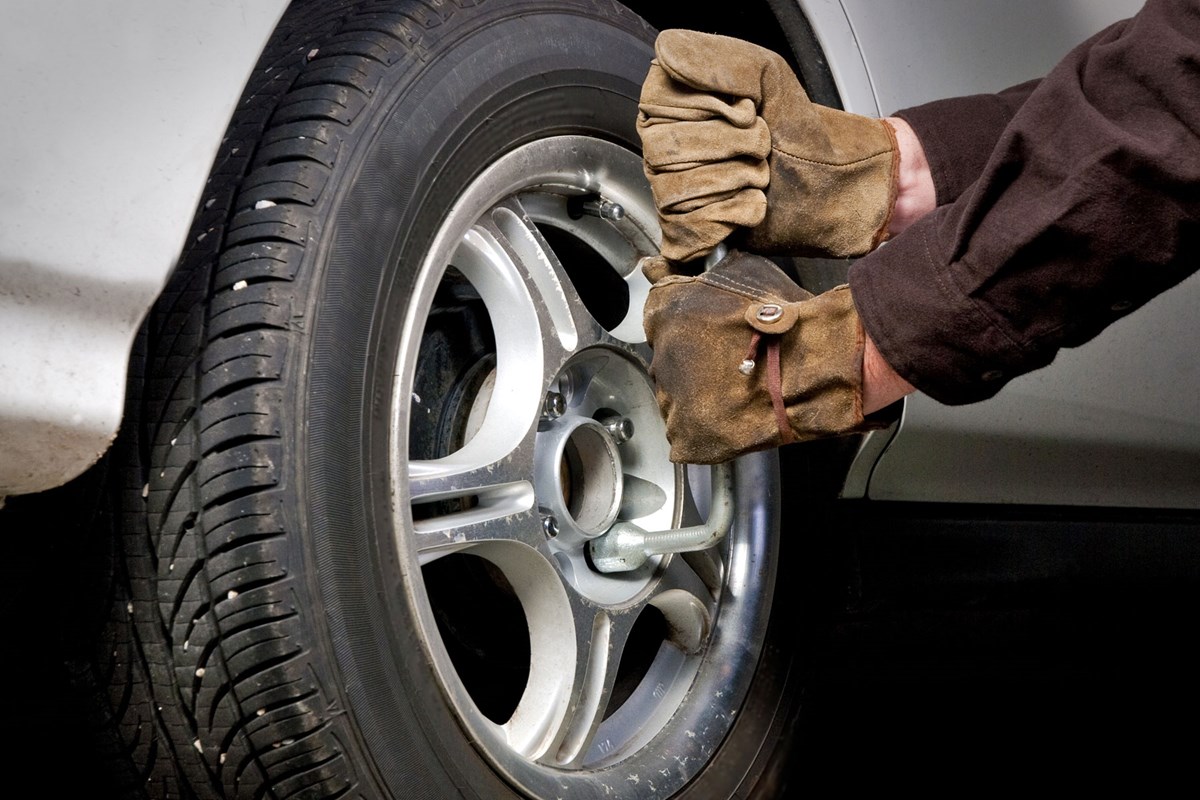
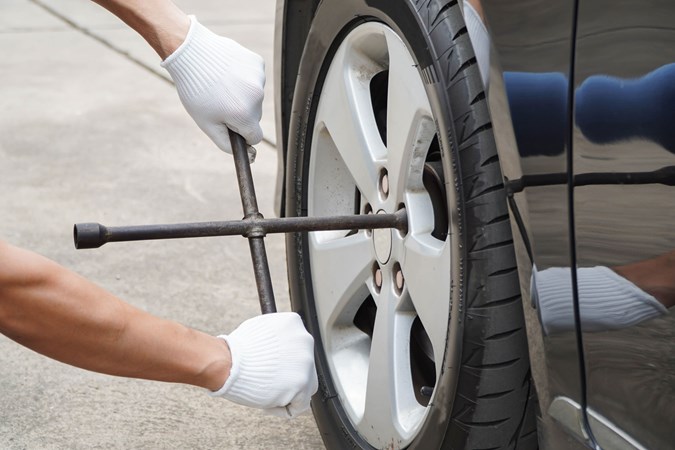
4. Loosen the wheel nuts

You may have to remove cosmetic caps to expose the wheel nuts. Next, and before you jack the car up, use the wrench to break the nuts free. Just loosen them to the point they can be turned with the wrench. Remember, lefty loosey, righty tighty.
If the nuts are particularly tight, find a longer bar for the wrench or shock them by kicking the wrench. Note that you may need to use the car’s locking wheel nut key which slots into the wrench socket.
5. Find the jacking point

Consult your car’s owner’s manual to find the designated jacking point. The jack that comes with the car is designed to lift from that point, which is sometimes indicated by an arrow on the car’s side sill. The head of the jack should fit comfortably onto the jacking point, providing a safe and stable lift. Position the jack anywhere other than the jacking point and you risk damaging the car.
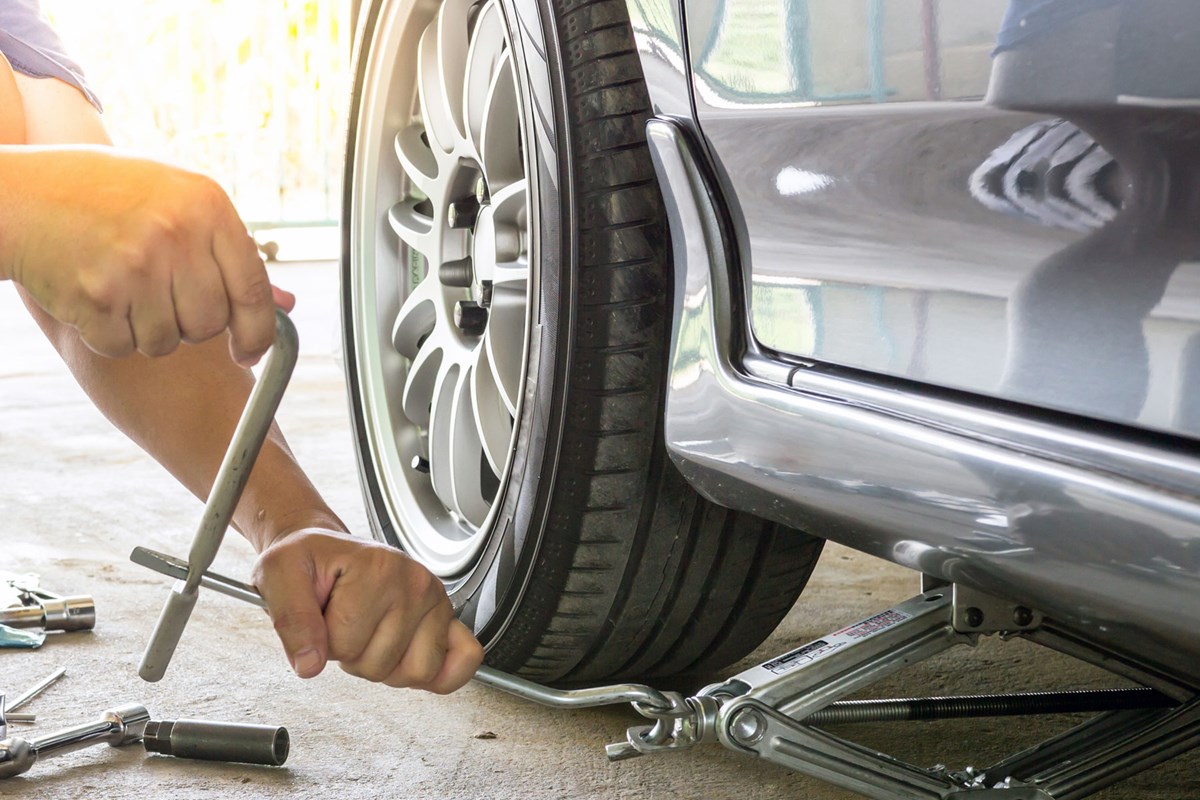
6. Fit the jack and start lifting

Place the jack under the jacking point and raise it until you achieve solid contact between the two. Make sure the jack is stable and not sinking into the ground. Raise the car until the wheel your going to change is off the ground. If something doesn’t look or feel right, stop and check before proceeding to the next step.
7. Remove the wheel

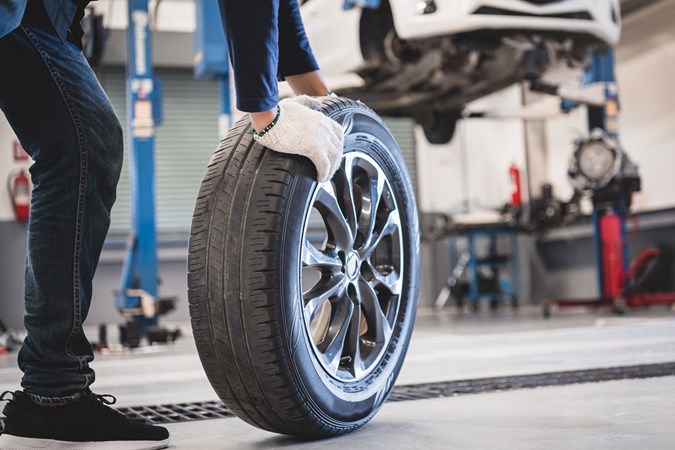
With the tyre clear of the ground, remove the wheel nuts or bolts. Remember that the wheel might drop off when you remove the last one, so be prepared and make sure your feet aren’t going to get crushed. If not, lift and pull the wheel away before putting it on the ground. Wheels can be pretty heavy, so be careful not to strain yourself. Wheels sometimes get stuck on the hub, usually through rust. A stout kick should free it off, however, be mindful not to knock the car off the jack.
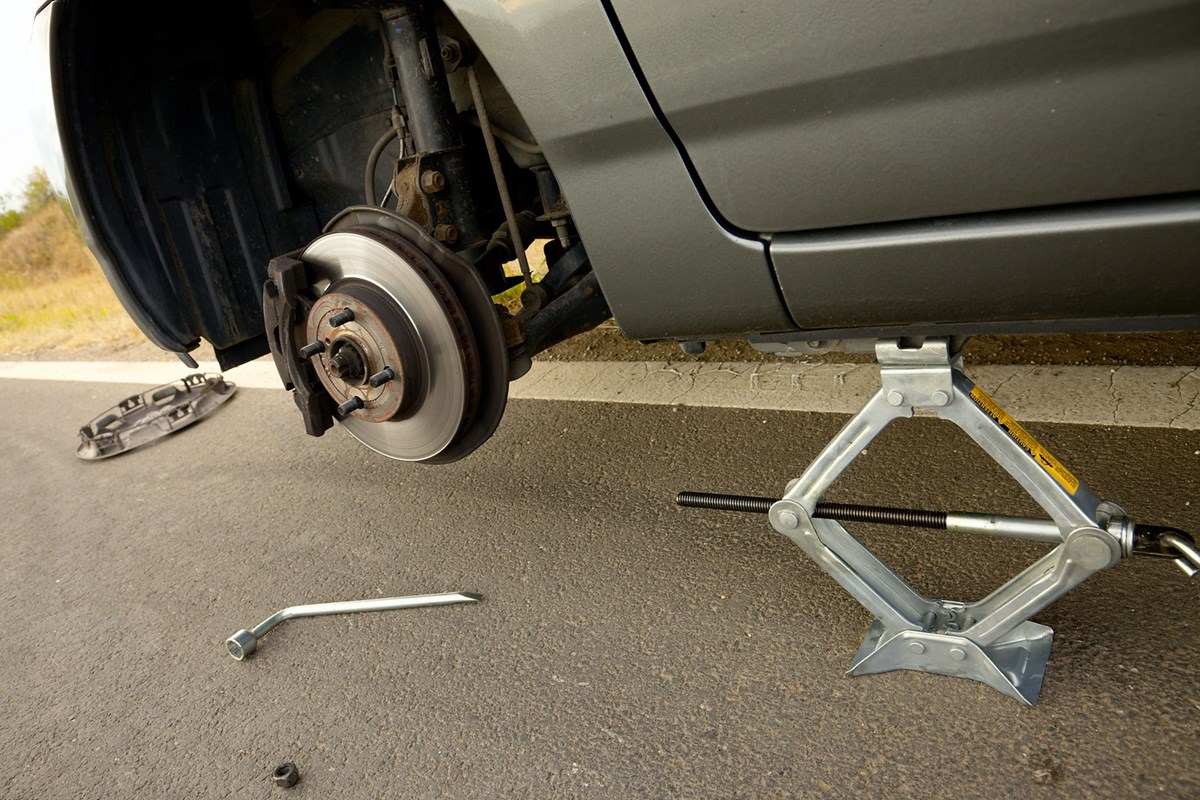
8. Put the spare wheel on
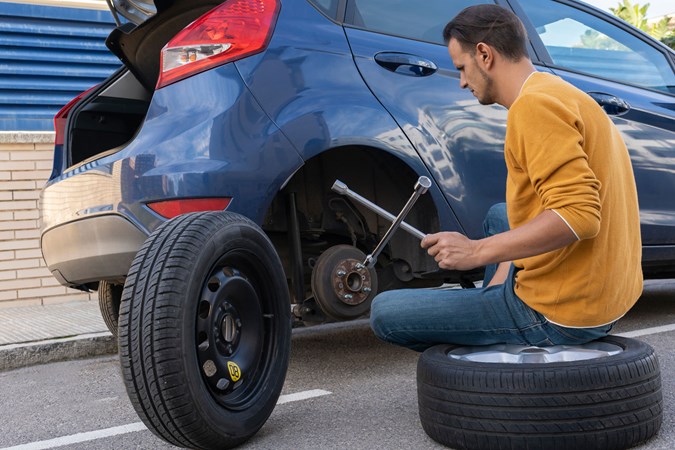
Take a moment to align the holes on the spare wheel with the studs or holes on the hub – if the car has wheel bolts there should be a tool to help you align the wheels with the bolt holes. Lift the wheel up onto the hub, again being careful not to strain yourself in the process. Replace the nuts or bolts and tighten them incrementally until the wheel fits squarely on the hub. Tighten the nuts in opposing pairs, for instance the ones at 3 o’clock and 9 o’clock, and at 12 o’clock and 6 o’clock. Otherwise, you might distort the wheel.
9. Lower the car and tighten everything up
Once you’ve got all the wheel nuts or bolts tightened up as much as you can, slowly lower the jack until there is no weight on it. Then tighten the nuts as much as you can, moving in a pattern between the fixings; if the wheel has five nuts, for example, move in a star pattern between the five nuts and tighten them up in stages.
10. Get the pressure right

If you haven’t already, use a tyre pressure gauge to check the air pressure in the spare tyre. If it’s low, top it up using a foot pump or an electric compressor. The owner’s manual will tell you what the required pressure; it may also be on a sticker inside the driver’s door or fuel filler flap. If all else fails, check online. While you’re at it, make sure the other tyres are up to pressure.
11. Final checks

Pack all your tools away, make sure any wheel caps have been replaced, that there’s nothing left under the car or in front of the tyre. You may see tyre pressure warnings or ABS and traction warning lights if the spare wheel has a smaller diameter than the original.
12. Take your punctured tyre for repair
Once you’re back underway, make a beeline for a tyre repair shop or garage so you can get a new tyre fitted or your damaged one repaired. This is important because you don’t want to suffer another puncture and then be left without a usable spare. Provided you can, make a tyre change your priority. Listen out for any odd noises while driving, too; if you hear or feel anything, stop and check the tightness of the wheel nuts in case they’re coming loose.
If you’re still not confident that you’ll be able to change a wheel, it’s best to call out a breakdown service to do it for you.
Why won’t the wheel come off after removing all the nuts?
Corrosion between the mounting face of the wheel and the hub that it bolts to can cause the wheel to become stuck. If you have only a basic jack and wheel wrench to hand, try giving the wheel a stout kick. If that doesn’t work your best bet is to call a recovery service and get the car towed to a workshop where the wheel can removed. Don’t be tempted to hit the wheel with a rock or something similar to free it off, as you risk damaging it.
What tools might be useful to keep in the boot for changing a wheel?
The bare minimum needed to change a wheel is a jack, something to remove the wheel nuts or bolts, and a locking wheel nut key if required.
However, for safety and simplicity’s sake, it’s best to have some extra tools and bits to hand to help you easily change the wheel. If you’re going to be setting off on a long journey, especially one that takes you deep into the countryside, it’s definitely worth collecting these bits and stashing them in your car’s boot. Looking for tool recommendations? Check out our best car tools guide.
Torch: For working at night. Check its batteries regularly.
Gloves: The wheels will be covered in dirt and you don’t want to transfer it to your car’s interior.
Reflective jacket: Makes you visible and keeps you safe.
Warning triangle: Alerts other drivers to your stranded car.
Short plank of wood: Serves as a flat and steady surface for the jack, or as something you can kneel on.
Tyre pressure gauge: Allows you to check the tyre is properly pumped up.
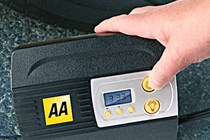
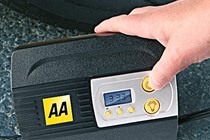
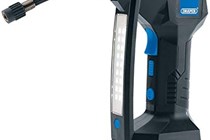
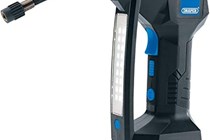
Portable compressor: Preferable alternative to a manual tyre pump.
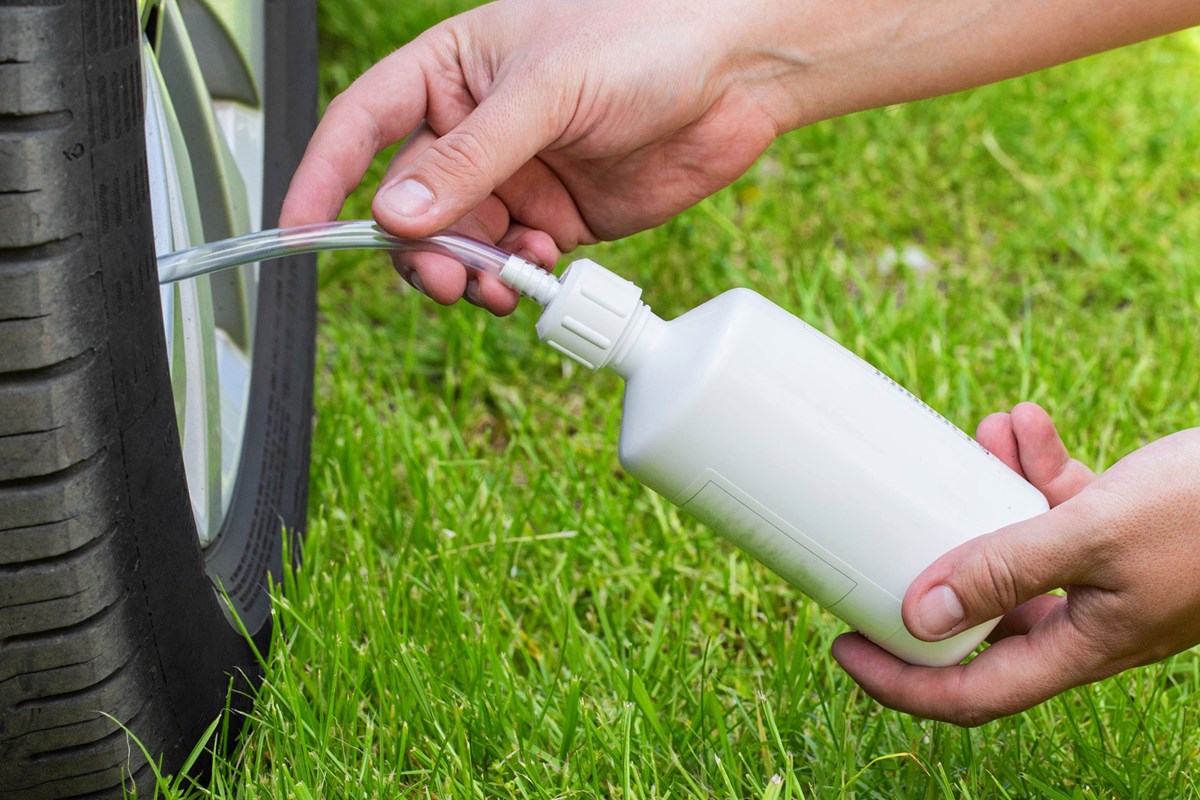
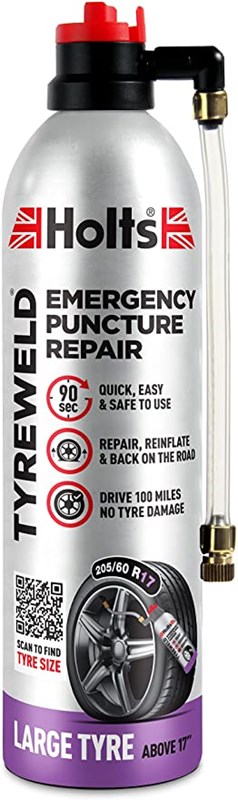
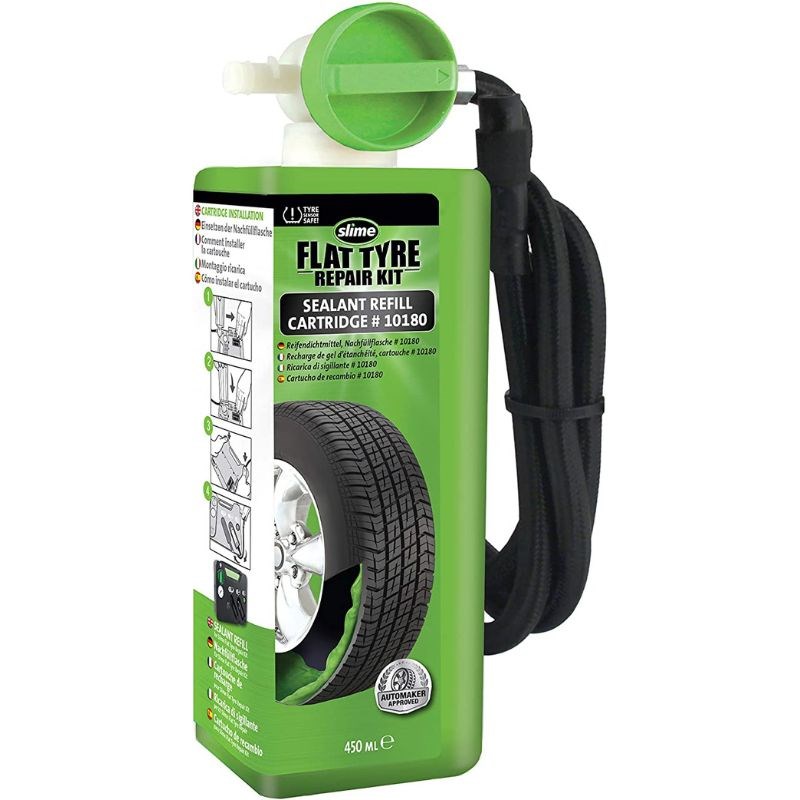
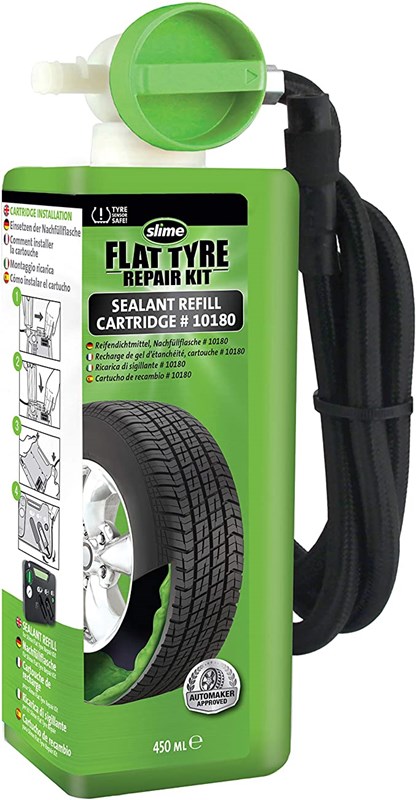
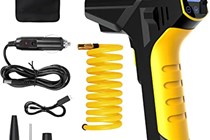
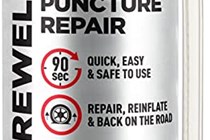
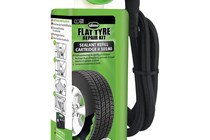
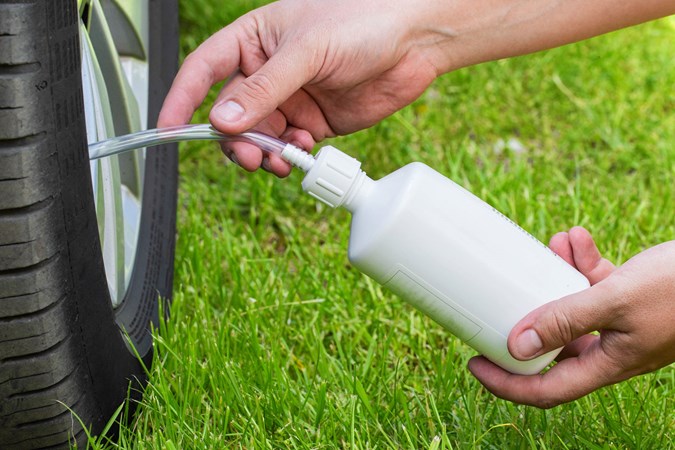
How to use puncture-repairing tyre sealant
Using tyre sealant is surprisingly easy but it’s worth taking your time to avoid making a mess and ensure a good result. Here’s a step-by-step guide to fixing a puncture with tyre sealant.
1. Prepare the repair kit
First, make sure you’ve stopped somewhere safe and suitable for working on your car. If you have them, put out a warning triangle and put on a high-vis jacket. Get the tyre sealant and repair kit out and read the instructions, or consult the associated section in your car’s owner’s manual. Familiarise yourself with the process before proceeding.
2. Locate the puncture itself
To ascertain whether the sealant stands a good chance of fixing the puncture, you need to identify where the puncture is. If you can’t see anything obvious like the head of a nail, listen for the sound of escaping air. If it’s a large hole, the sealant may not fill it. It will also not work if the hole is on the side of the tyre.
3. Leave any debris alone
If you spot something lodged in the tyre that has caused the puncture, such as a nail, do not remove it. Doing so could make the puncture worse.
4. Rotate the punctured wheel
Drive the car forward or backward slowly until the punctured area is in contact with the ground. Check your sealant kit’s manual in case the instructions recommend otherwise, though.
5. Prepare the car
Get any passengers out, turn the engine off and make sure the car is in gear or Park. Secure the car by putting the parking brake on, as well.
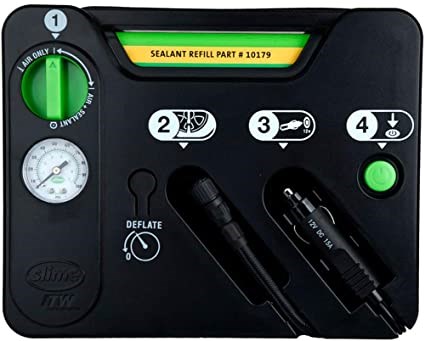
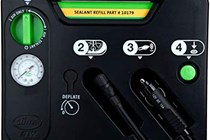
6. Attach the sealant and compressor, if required
The instruction manual for the repair kit will tell you how to correctly attach and employ the sealant, and the compressor if required. Some sealant kits involve filling the tyre with sealant first and then using the compressor to pump the tyre back up. Others need the sealant container attaching to the compressor and both being used at the same time. Put your gloves on first, in any case, before handling the sealant container.
7. Check the tyre pressure
If the sealant is used on its own, you’ll then need to inflate the tyre to the correct pressure. Some combined sealant and compressor kits will also leave your tyre at a higher pressure than normal, so you need to check the pressure in any case. If you don’t know the correct pressure for your tyre, consult your owner’s manual or look for a label on the inside of the driver’s door or fuel filler flap.
8. Immediately start to drive
Sealant kits require that you drive on the punctured tyre immediately to spread the sealant around so that it can seal the damaged area. Usually, this involves driving for a short distance of a few miles at speeds below 50mph. Check the instructions for your kit to find out exactly what’s required.
9. Head for a garage
Unless you’re close to your destination, it’s best to take your car to the nearest garage and get the tyre replaced immediately. Sealant is only a temporary fix and the tyre will need properly repairing or replacing. Drive slowly and gently so the sealant doesn’t fail.
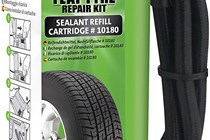
10. Order a replacement sealant kit
The 500ml bottle is for cars with tyres of 17 inches diameter or more. You just attach it to the air valve on the punctured tyre and let it do its work. No tools are needed, and it also inflates the tyre. The sealant is made of water-based foam that quickly finds and seals the puncture.
FAQs
-
How do I know if my tyre needs replacing rather than a repair?
If the puncture is on the sidewall or the tread is below the legal minimum of 1.6mm, it’s a strong indication that the tyre will need to be replaced rather than repaired.
-
How long can I drive on a space-saver tyre?
Space-saver tyres are only meant for short distances and low speeds, typically up to 50 miles and not exceeding 50 mph. Replace it with a full-size tyre as soon as possible.
-
Do I need to check the tyre pressure after changing the tyre?
Yes, always double-check the tyre pressure after installing a new one to ensure it’s at the recommended level. It’s better to be safe than sorry and avoid facing the same issue again.
Sign up to the Parkers Newsletter to keep up to date with more of the latest reviews, news, and recommendations from the Parkers team.
Just so you know, we may receive a commission or other compensation from the links on this website - read why you should trust us.