


If you’ve investigated professional-grade DIY car cleaning, you’ve probably come across snow foam. It’s that thick layer of aptly named white foam that detailers use as a pre-wash before cleaning the outside of a car.
Snow foam has become very popular among detailers for its dirt-softening capabilities and is now regarded as one of the key steps of a deep exterior clean. At first glance, it would appear as though detailers apply snow foam without much precision or methodology – just so long as the entire thing is covered. But is there a trick for applying snow foam?
On this page, we’ll explore what snow foam is and take you through a step-by-step guide on how to effectively use it to clean your car.
What is snow foam?
Snow foam is a car exterior pre-wash that breaks particulates on the surface down before they’re washed away by a car shampoo. By softening and lifting grit and grime away from the surface, snow foam minimises the risk of any particulates swirling or scratching the paint when you use a sponge.

It’s a relatively cheap and easy-to-apply product that, while not crucial to the detailing process, will likely contribute to better results.
Here’s our step-by-step guide to using snow foam
- Choose your snow foam
- Rinse your car
- Fill your lance
- Connect your lance to the pressure washer
- Spray snow foam on your vehicle
- Wait for several minutes
- Jet wash vehicle
- Follow up
1. Choose your snow foam
Before getting started, you will need to select a suitable snow foam for your car. Depending what you are looking for, you can choose from a variety of strengths for different cleaning tasks. You can even select from a range of rainbow colours and scents to make it a little more exciting.
2. Rinse your car
We recommend first giving your car a quick rinse in cold water before spraying the snow foam. This will allow you to get the top layer of dirt off your car before the foaming begins. So grab your pressure washer and start rinsing your motor down.
3. Fill your lance
To apply snow foam properly, you’ll need a snow foam lance. This is what you’ll equip to your pressure washer with the snow foam inside. Depending on the size of your car, you’ll need between 100ml and 200ml of snow foam liquid in your lance per wash. Use it sparingly as a little will go a long way.
Simply pour the liquid in first, then dilute with another 400ml to 600ml of warm water if necessary. It’s important to note that various brands of snow foam may have different ratios of water to formula so be sure to check this on the packaging.
4. Connect your lance to the pressure washer
Attach the snow foam lance to your pressure washer. While the lance will typically come with a connector for your pressure washer, it’s important to ensure you have the correct connector for your specific washer, as this may vary.
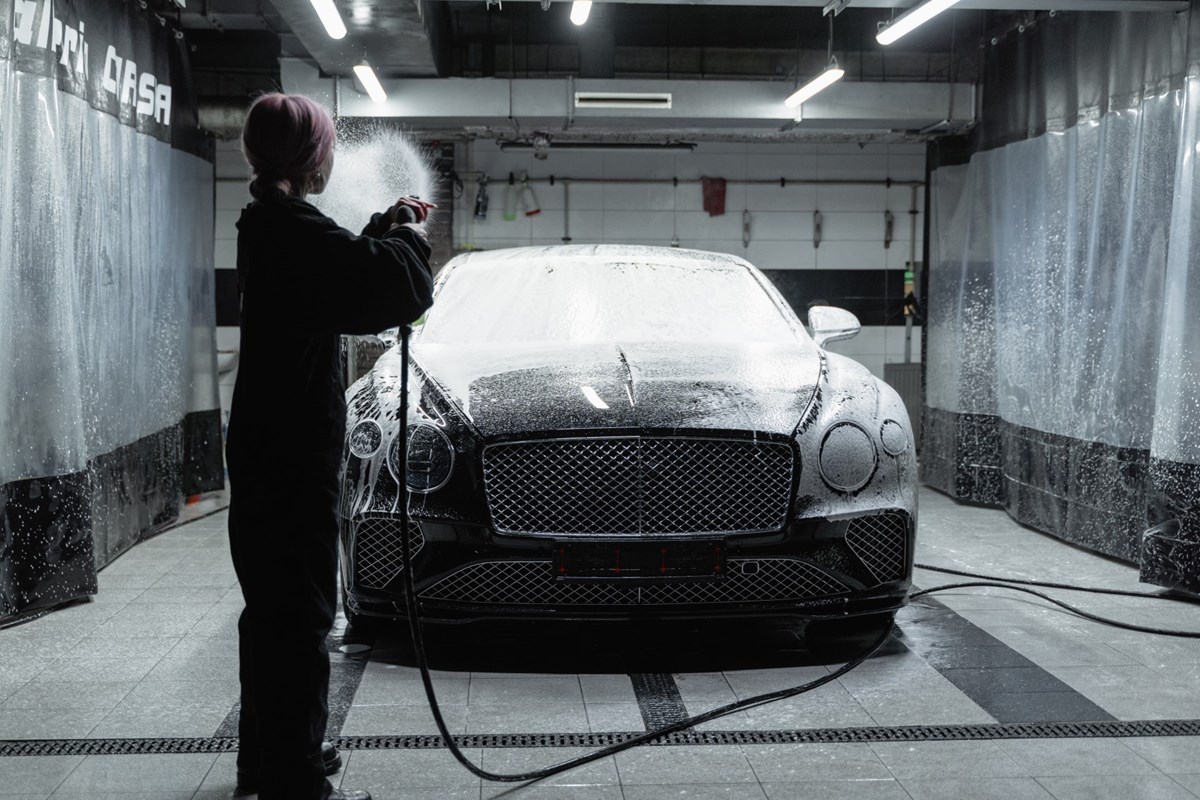
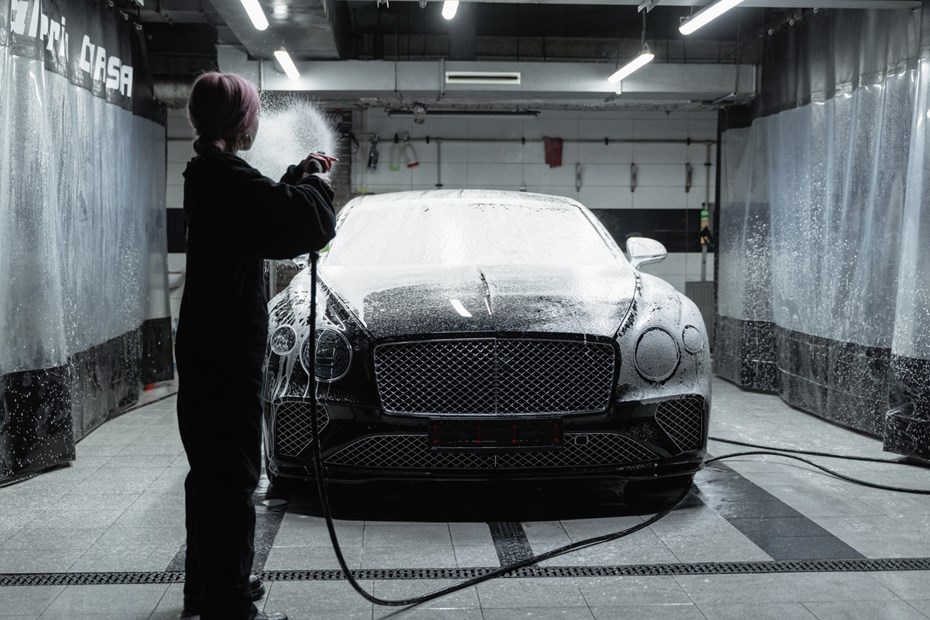
5. Spray snow foam on your vehicle

Now this is the fun part! Slowly walking the length of your vehicle on one side at a range of about three feet, start spraying the snow foam. Once you’ve sprayed the bottom, walk back along the same line to cover the top half of the same side.
Complete this same process around each side of your vehicle and the roof until the entire car is well covered.
Remember, walk slowly to ensure you cover every patch of bodywork. The snow foam won’t wash the dirt away, it will simply soften it in preparation for the car shampoo.
6. Wait several minutes
Once the entire car is covered in snow foam with no missed patches, leave it to sit for a couple of minutes. The foam will do its magic whilst you wait, tackling all the grime and dirt you have accumulated on your car since you last cleaned it.
Try and avoid leaving the foam on your car for more than a few minutes as it will start drying onto the car which can make it harder to wash off.
7. Jet wash the vehicle
Once you have waited a couple of minutes, detach the lance and rinse off the foam in neat sections with cold clean water from your pressure washer. We recommend working in lines from the bottom up to maximise your chances of removing grit and grime particles.
8. Follow up
Last but not least, follow up with your preferred method for washing your car, whether that involves shampooing or applying a ceramic wax. Then dry using a microfibre cloth or car blow dryer if you have one.
FAQs
Is snow foam worth it?
Yes, we think so. Of course, it adds an extra step to the car cleaning process which can already be quite time-consuming and also requires extra kit like a snow foam lance for your pressure washer. However, these drawbacks aside, it can really benefit your final results while giving you the peace of mind that you’re not rubbing dirt into your paint once you take a sponge to the bodywork.
Can you apply snow foam without a lance or a pressure washer?
For the best results, snow foam should be applied with a pressure washer as you’ll cover the most amount of bodywork in the best time. However, if you don’t have a pressure washer, there are some snow foam lances that can be connected to a garden hose. You may achieve some ‘fanning’ using this method but its performance won’t be anywhere near that of a lance attached to a pressure washer.
If you’re using this method instead, take your time and go over each section several more times than you usually would to ensure you cover all the paint.