


To keep your vehicle running smoothly, it’s best to conduct an oil check monthly. Surprisingly, many UK motorists skip this important step, with one in five neglecting it according to Kwik Fit in 2022. But running low on engine oil is a common mistake that can lead to pricey repairs if you don’t keep up with basic car maintenance. That’s why we’re here to guide you through the ins and outs of oil checks.
We’ve all experienced it: the engine oil warning light suddenly appearing, signalling it’s time for a top-up. However, relying solely on that isn’t enough; it’s very risky, and by the time it pops up, it could already be too late. It’s important to check the oil if you’re embarking on a big holiday road trip or driving on the motorway for extended periods of time. This can cause the engine to significantly heat or seize up if there isn’t enough oil in it.
How do I check the oil in my car?
The good thing is you don’t need any mechanical skills or experience whatsoever to check how much oil is in your engine. And we’ll take you through every step of the process in the guide below. And if that isn’t enough, we’ve included a video at the bottom of the page that walks you through each step visually, making it even easier to follow along.
When should you check the engine oil level?
First thing to note is that the engine should be turned OFF before you check the oil. Typically, it’s recommended to perform this check before you start your journey, when the engine is cold. However, cold oil has less volume, so you don’t get the most accurate reading.
The best time to check is about 10 minutes after you’ve turned the engine off. The engine itself will have cooled down enough that you won’t burn yourself on it, and the oil will still be warm enough to give an accurate reading.
Here’s your step-by-step guide to checking an engine’s oil
- Pop the bonnet
- Locate the dipstick
- Arm yourself with a cleaning cloth
- Pull the dipstick, clean it, then dip it
- Check the oil level
- Clean the dipstick again and repeat
- Assess the condition of the oil
- Top up the oil slowly
Click to see the relevant photos and a more detailed explanation.
1. Pop the bonnet
The handle to open the bonnet will be in one of the front footwells and likely has a little symbol showing a car with an open bonnet. Curiously, you open the bonnet of many older Fords by turning the key in a hole behind the front badge.
Pull the handle and the bonnet pops up. Lift the bonnet slightly and feel underneath for a catch that you’ll pull or push. You may have to bend down to look for it. On some cars, the latch pops through the radiator grille.
When the bonnet is released, lift it up. Some cars have a prop to hold the bonnet open, others have self-supporting struts. If you’re having trouble finding the handle, catch or prop, consult your car’s manual.
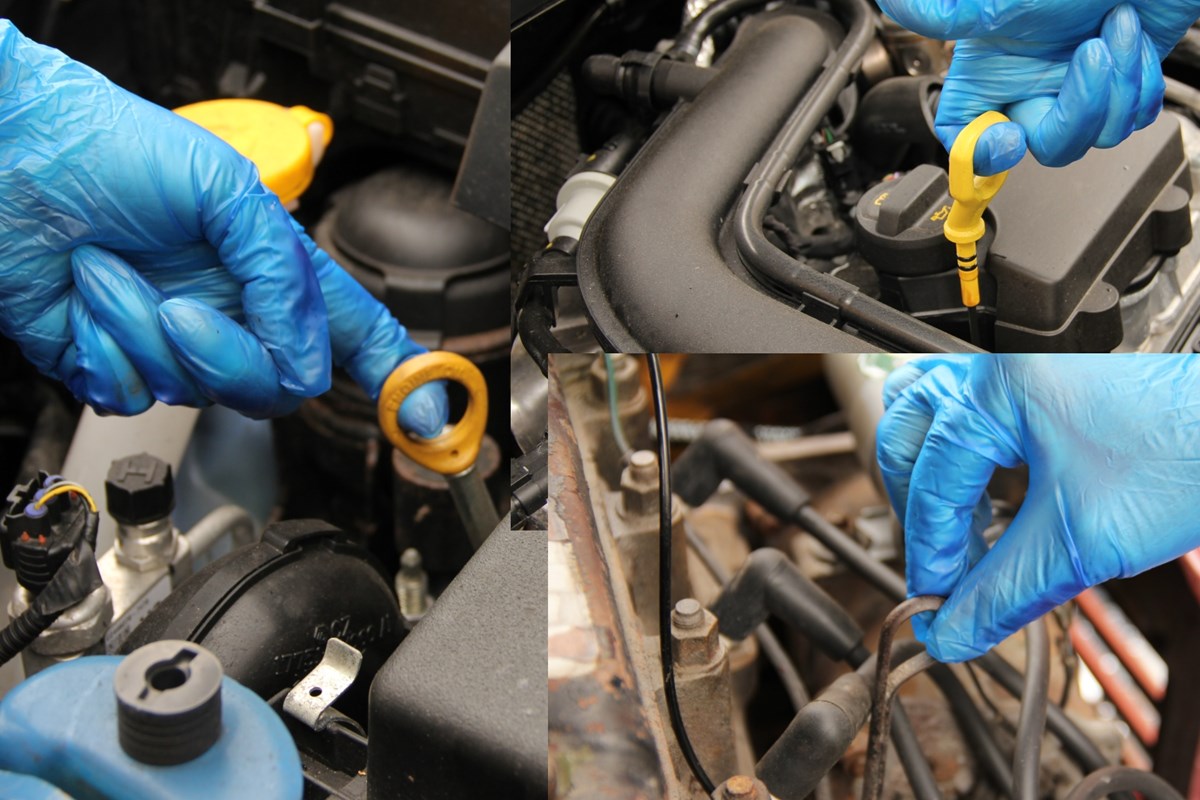
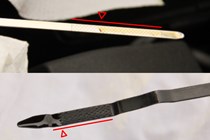
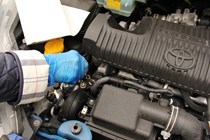
2. Locate the dipstick

You may want to grab some gloves at this point – checking the oil can be messy. The dipstick is usually found on top of or to the side of the engine itself. It’s easily spotted in pretty much every modern car because it has a yellow handle. If you can’t find it, consult your car’s manual.
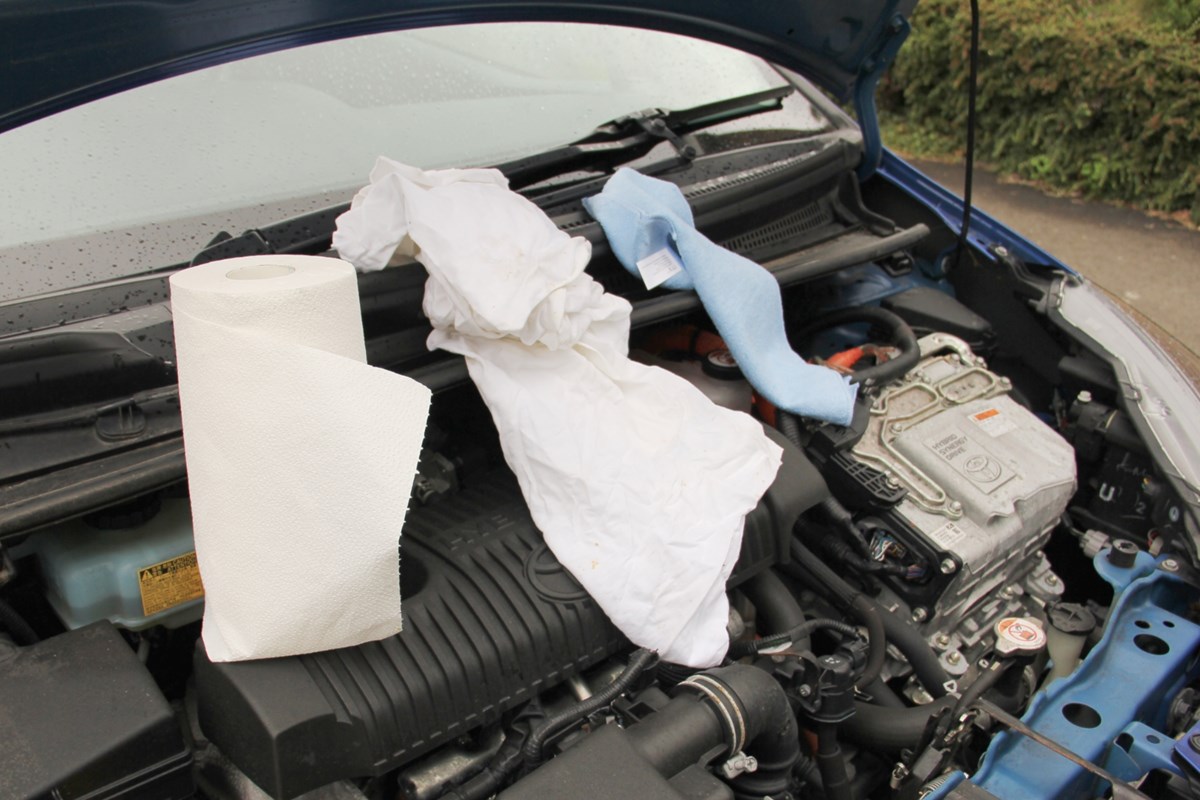
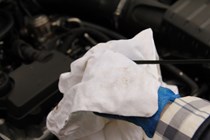
3. Arm yourself with a cleaning cloth

A decent microfibre cloth is ideal for wiping the dipstick, though a clean rag, paper towel or toilet roll will suffice. If you use the latter, tear off a thick wad so the oil doesn’t soak through.
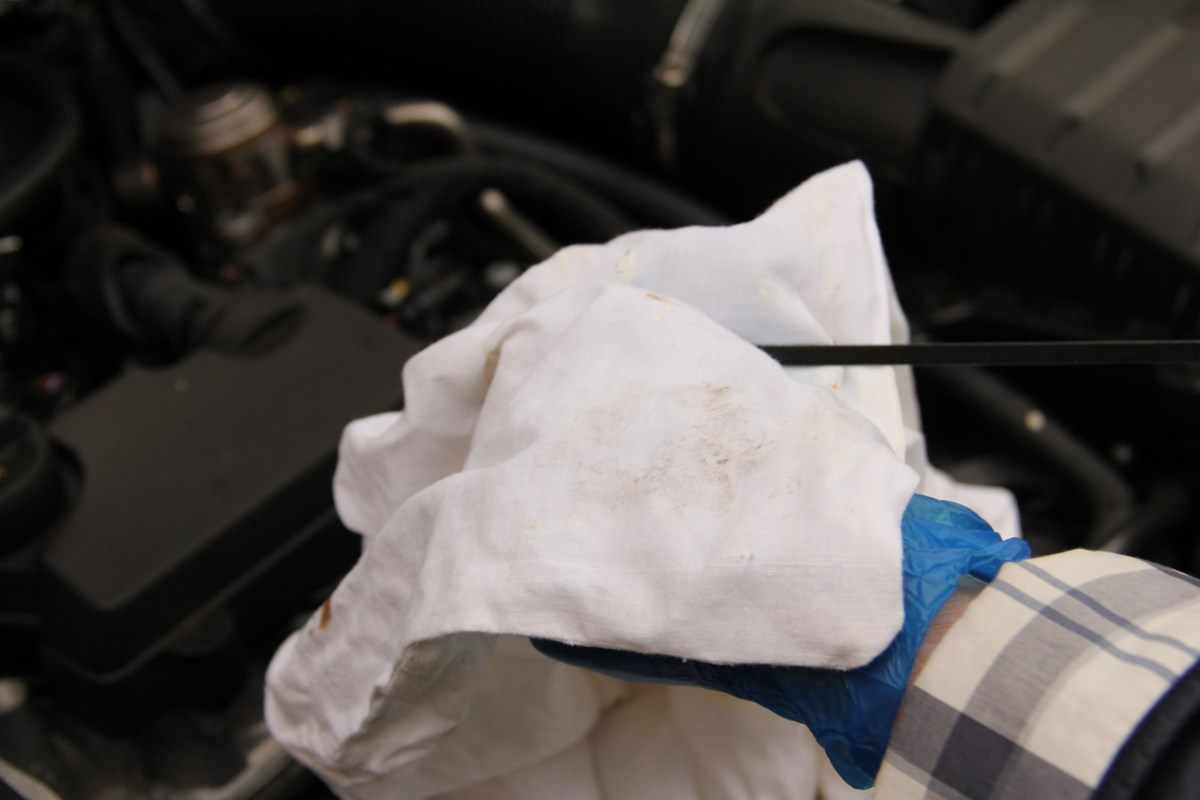
4. Pull the dipstick, clean it, then dip it

Pull the dipstick out, wipe it clean from top to bottom, then replace it in its hole, making sure it clicks into place. Wait about 10 seconds for the oil to coat the ‘stick.
5. Check the oil level
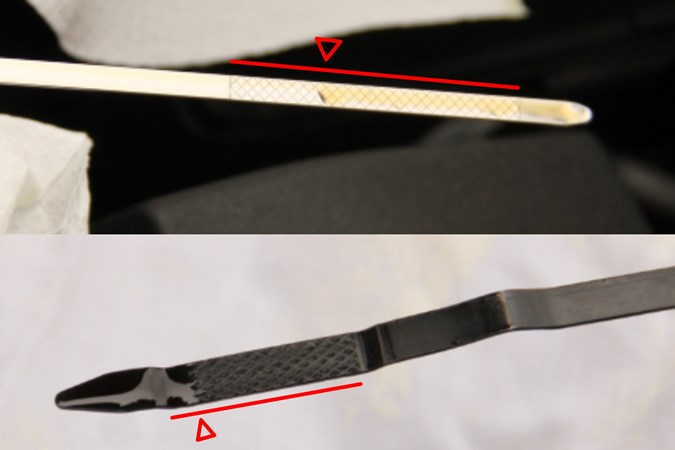
Pull the dipstick out again and look at the tip. There’s a gauge showing the minimum and maximum oil levels. It could be scored into the metal, or a plastic cap on the tip of the ‘stick. Note the point the oil reaches on the gauge.
6. Clean the dipstick again and repeat
Repeat steps four and five to make sure you get an accurate reading. If the oil level is near the upper end of the gauge, all’s fine and dandy. If the level is below about two-thirds, it’s advisable to top it up your engine oil.
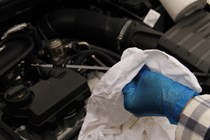
7. Assess the colour of the oil

While you have the dipstick in your hand, note the colour of the oil. Fresh oil is so clear it might actually be tricky to see, though it turns darker as it picks up dirt from the engine. If the oil is jet black, it’s time book your car in for a service, or at least an oil change. When you’ve finished assessing, replace the dipstick.
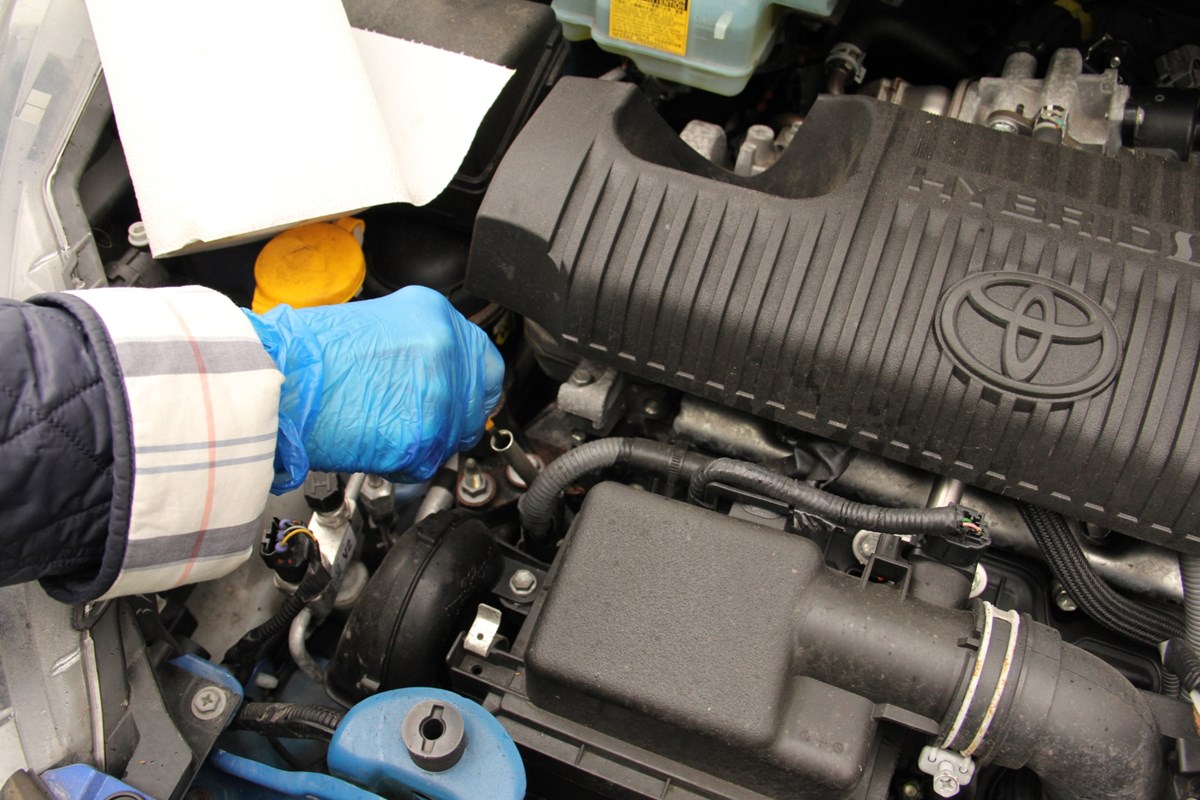
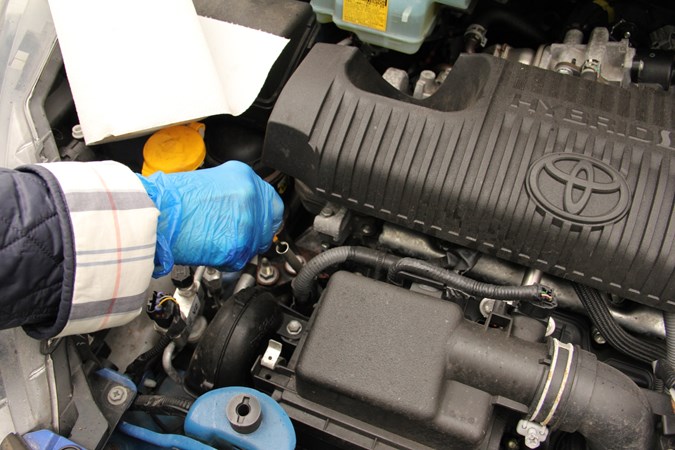
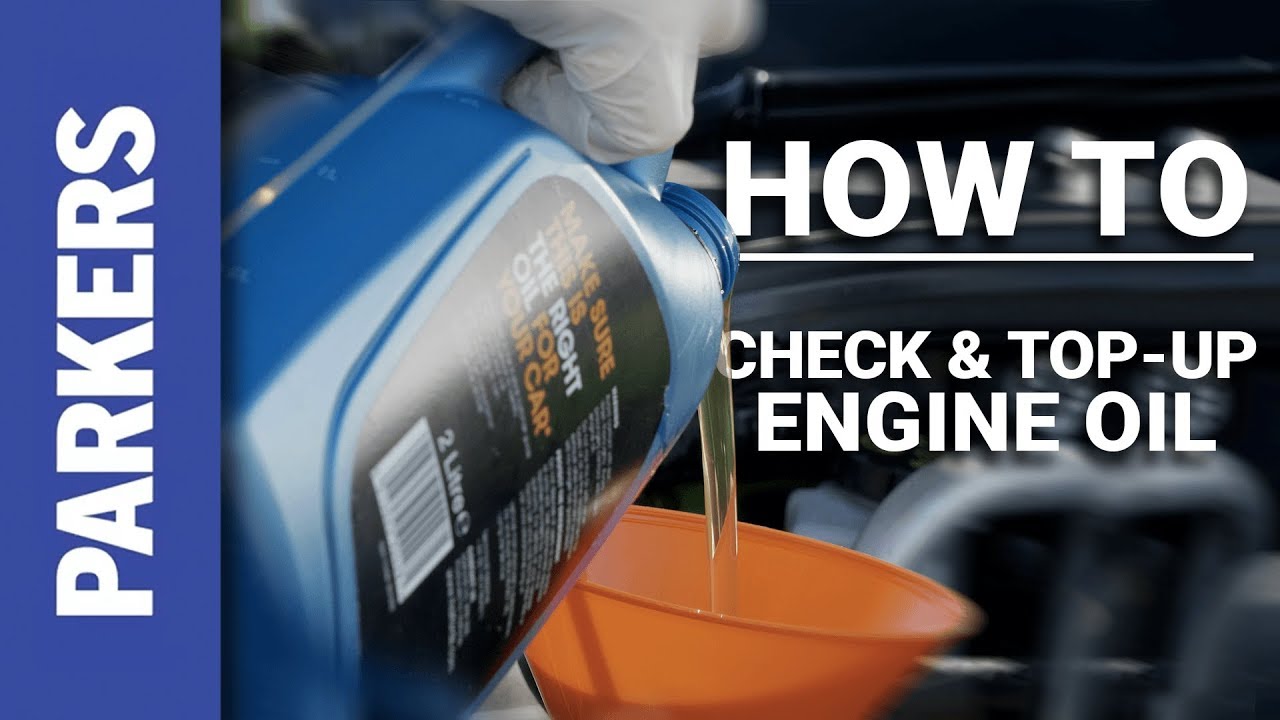
8. Top up the oil slowly
We’ll go over how to choose the right engine oil in a moment but first, before topping up, you need to locate the oil filler cap. It’ll be somewhere on top of the engine and may have an oil can symbol on it. If you can’t find it, consult your car’s manual. Twist and lift the cap off and put it somewhere safe.
You pour the oil directly into the hole. We recommend using a funnel to avoid making a mess. Oil is really difficult to clean up and can be a fire hazard if it gets onto hot parts of the engine.
Add oil a little a time, wait about 20 seconds for it to work its way down through the engine, then check the level on the dipstick. Repeat the process until the oil is at the maximum mark. Make sure you replace the filler cap before closing the bonnet.
Be careful not to overfill the oil. At the very least, the excess will burn off when the engine is running, sending clouds of blue smoke out of the exhaust. At worst, it can do serious damage to the engine.
FAQs
-
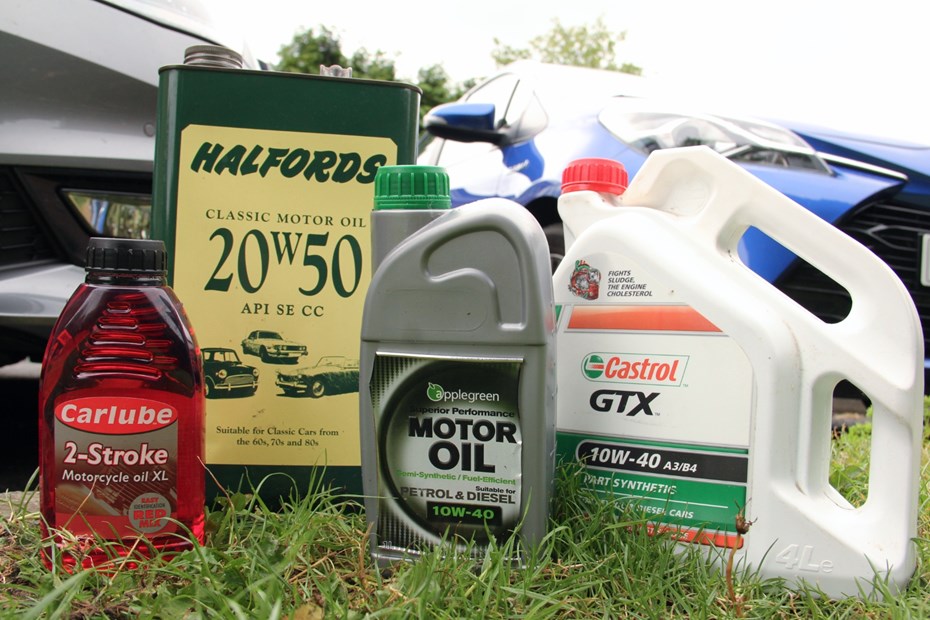
How do I choose the right engine oil?
Engine oil comes in many different flavours – 10W-40, 20W-50, 5W-30, etc. These rather confusing codes denote the viscosity of the oil. Which one you need depends on what sort of car you have. For instance, high performance cars need a relatively ‘thin’ oil like 10W-40 because their engines are built to fine tolerances. Most modern cars use 5W-30 but consult your manual or an online guide to find out exactly what sort of oil your car needs. -
What happens if I use the wrong engine oil?
Putting the wrong oil in your car could cause serious damage because it won’t circulate around the engine properly. If you’ve only added a small amount of the wrong oil, it’s unlikely to cause any significant problems so long as you finish topping up with the right oil. But we’d still recommend having an oil change done sooner rather than later. If you’ve poured in a lot of the wrong oil, get it changed as soon as possible and try to avoid driving the car in the meantime.
-
Can I top up engine oil when engine is hot?
You should never attempt to add oil to your vehicle when the engine is still hot. Ideally, waiting 20 minutes for your engine to slightly cool down before topping your oil up is recommended.
-
How often should I change my car's oil?
For most modern cars, an oil change is recommended every 10,000 to 12,000 miles, but this can vary depending on the manufacturer and driving conditions. That's not say that you shouldn't change your oil earlier than that, 5,000-10,000-mile changes are well recommended. Always refer to your owner's manual for the exact interval specific to your vehicle. If you regularly drive in harsh conditions, such as stop-and-go traffic, towing, or extreme temperatures, you may need to change the oil more frequently.
-
What happens if I don't change my oil?
If you skip oil changes, the engine won't get the proper lubrication it needs. This can cause metal parts to grind together, leading to increased wear and tear. As the oil ages, it also thickens and loses its ability to cool the engine, potentially causing it to overheat. Over time, sludge can build up and block oil passages, leading to costly repairs or even complete engine failure. Regular oil changes are essential to keep your engine running smoothly and extend its lifespan.
Here at Parkers, we’re all about making car maintenance easy. In the video below, we show you exactly how to check and top up your engine oil, step-by-step, so you can keep your car running smoothly.
Just so you know, we may receive a commission or other compensation from the links on this website - read why you should trust us.