


Keeping your car clean on the outside is one thing, but the real satisfaction comes from stepping into a spotless, fresh-smelling cabin. As someone who spends more time than I probably should fiddling with classic dashboards and battling dust in my long-suffering fleet of cars, I can tell you that a clean interior can completely transform how your car feels.
It’s not just about good looks, either – it’s about hygiene, value retention, and keeping everything working as it should. So, here’s how I tackle the job properly, with tips that work whether you’re dealing with sticky kids’ mess or just a build-up of everyday dust.
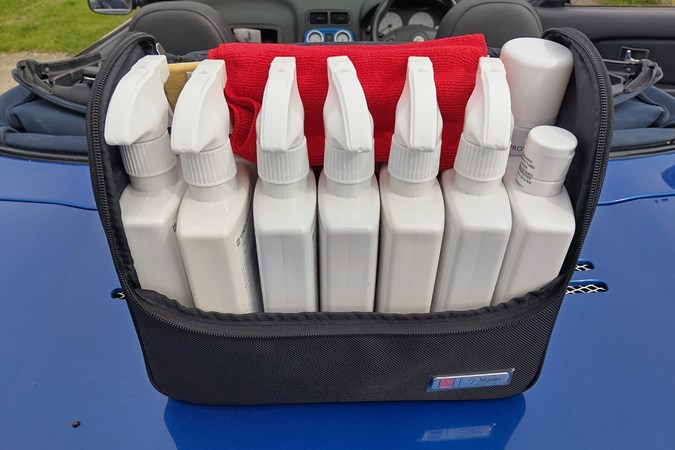
The essential kit you’ll need to clean your car’s interior
Before you get stuck in, it helps to have the right tools for the job. Here’s what I keep close to hand when giving any car a proper interior spruce-up:
- Vacuum cleaner – ideally cordless and with a crevice tool
- Detailing brush – perfect for air vents, buttons and trim
- Microfibre cloths – the more the better
- Bin bags – for all the clutter and wrappers you’ll inevitably uncover
- Upholstery cleaner – for fabric seats and carpets
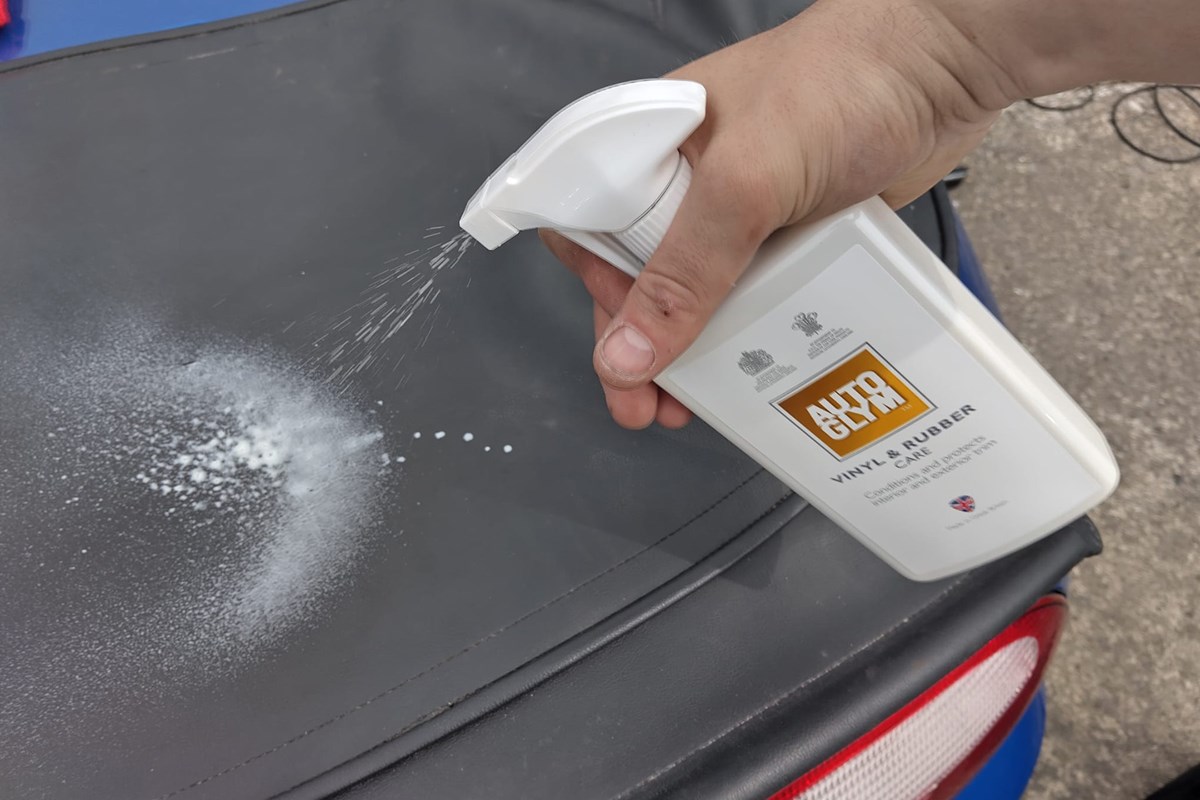
- Leather cleaner – only if your car has leather trim, of course
- Disinfectant spray or wipes – for killing germs on touchpoints
For simplicity’s sake, I mainly relied on Autoglym products here, but there are plenty of alternatives, many of which we’ve tested in our car cleaning product reviews. If you want to stock up quickly, there’s also an Autoglym store on eBay that covers off most of the list above.
You don’t need to spend a fortune: most of this stuff is probably already lurking in your cleaning cupboard. But trust me, the right kit makes the job so much easier and much more satisfying.

How to clean the inside of a car
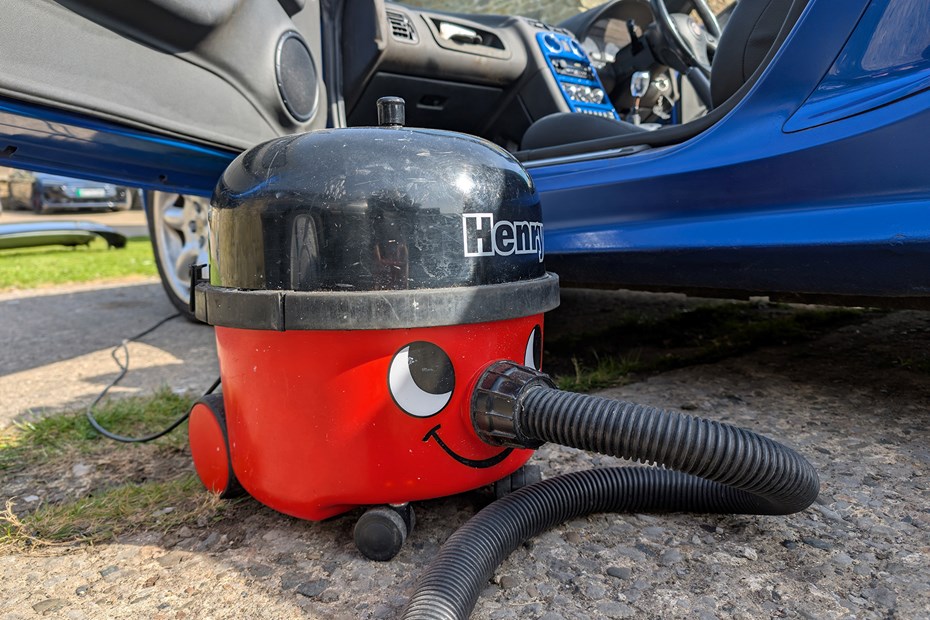
Step 1: Start with the big clear-out
First thing’s first, get everything out. Floor mats, child seats, takeaway coffee cups (we’ve all been there). Empty the boot and glovebox too while you’re at it. This is the one time you’ll want your car to look worse before it gets better.
Then I give the whole thing a good hoover. I use a cordless vacuum with a crevice tool to reach down the sides of the seats and under the pedals – where all the gravel and crumbs like to hide. Don’t forget the boot – mine always seems to collect more dirt than the front footwells.

Step 2: Attack the dashboard and plastics
Once it’s vacuumed, I move on to the dashboard, door cards and centre console. A microfibre cloth and a decent interior cleaner is the best combo. I avoid anything too shiny or greasy, because I don’t want to be blinded by the sun hitting a siliconed dash.
I also keep a detailing brush handy to sweep out vents, buttons and awkward corners. You’ll be amazed how satisfying it is watching years of dust vanish from your air vents with a soft flick of the wrist.
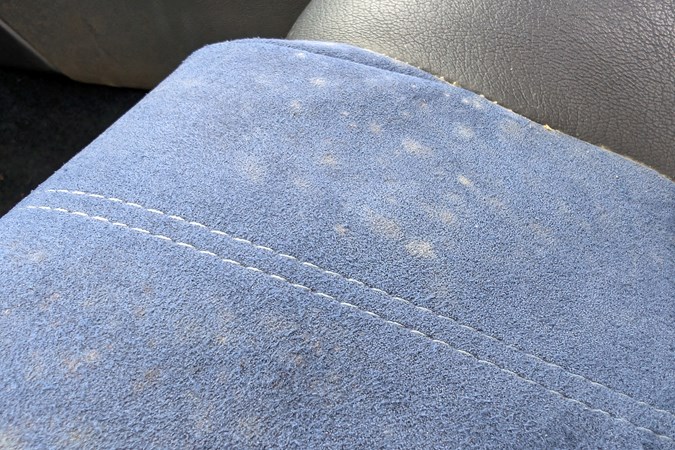
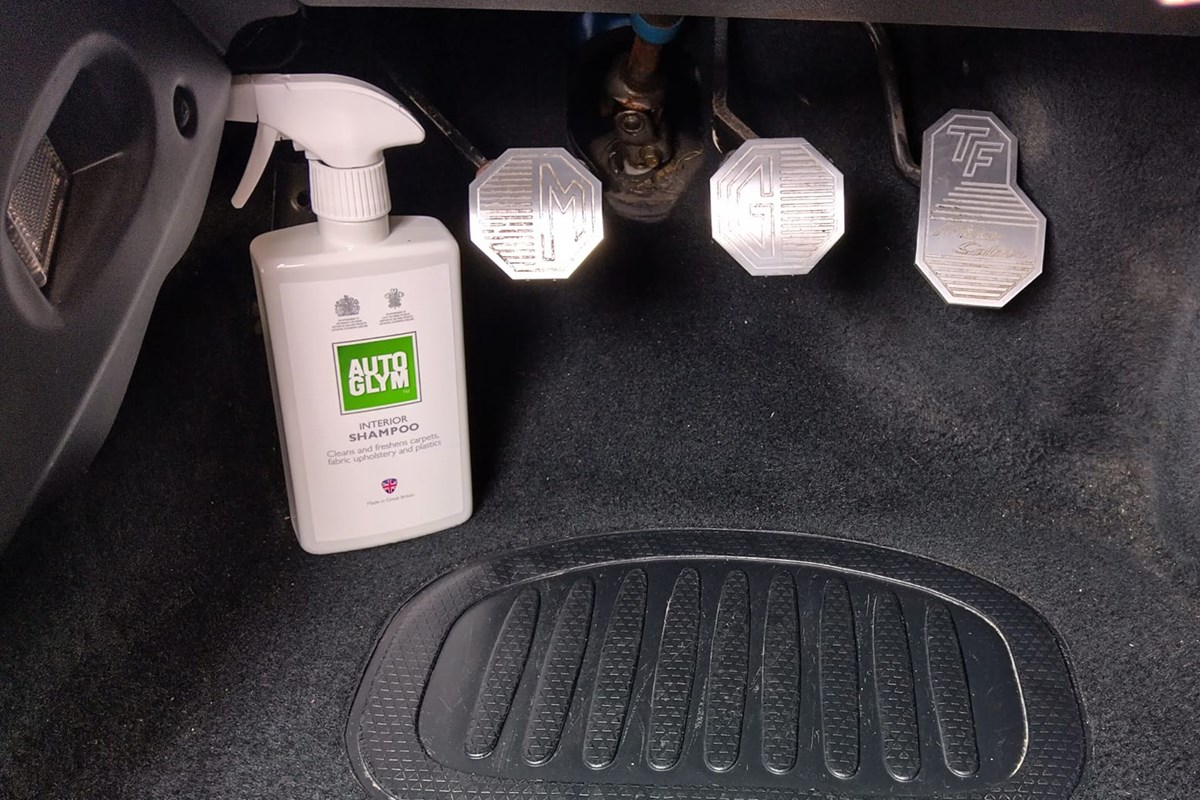
Step 3: Deal with the upholstery
Whether you’ve got fabric or leather seats, they need some love. For cloth upholstery, I use a foaming cleaner, scrub gently with a soft brush, and then blot dry with a clean towel. It lifts coffee stains, paw prints and that weird stuff that just appears when you have kids.
Leather’s a bit more specialist. I stick to a proper leather cleaner and conditioner, and a favourite of mine is Gliptone‘s Leather Care range. No baby wipes, please, no household sprays – just the good stuff designed to keep it supple without drying it out. A clean leather seat feels brilliant under you and helps stop cracking over time.
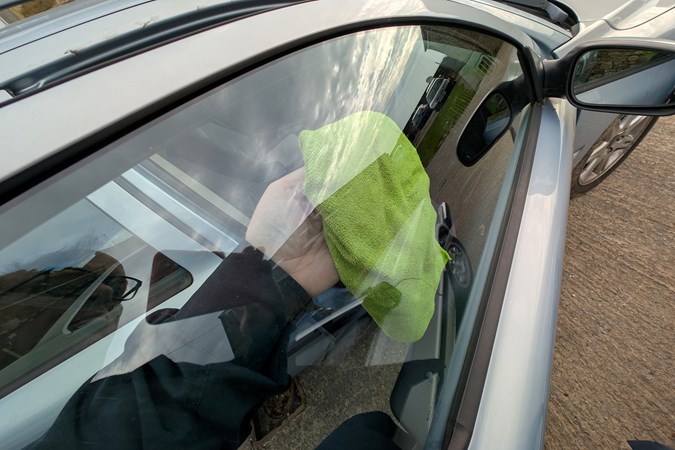
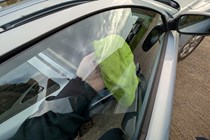
Step 4: Clean the glass on the inside
This is a step a lot of people skip, but it makes a huge difference. Interior glass picks up fingerprints, road film and haze from heating systems. I use a dedicated glass cleaner and two microfibre cloths – one for applying and one for buffing off.
Pro tip: clean the windscreen last. That way you don’t keep putting your grubby hands all over it as you finish the rest of the job.
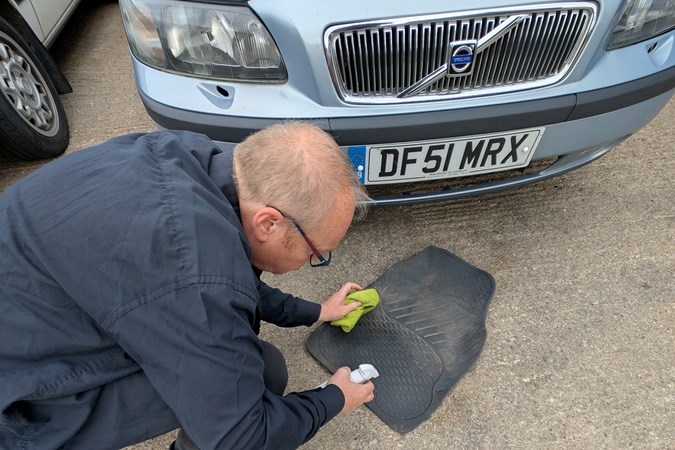
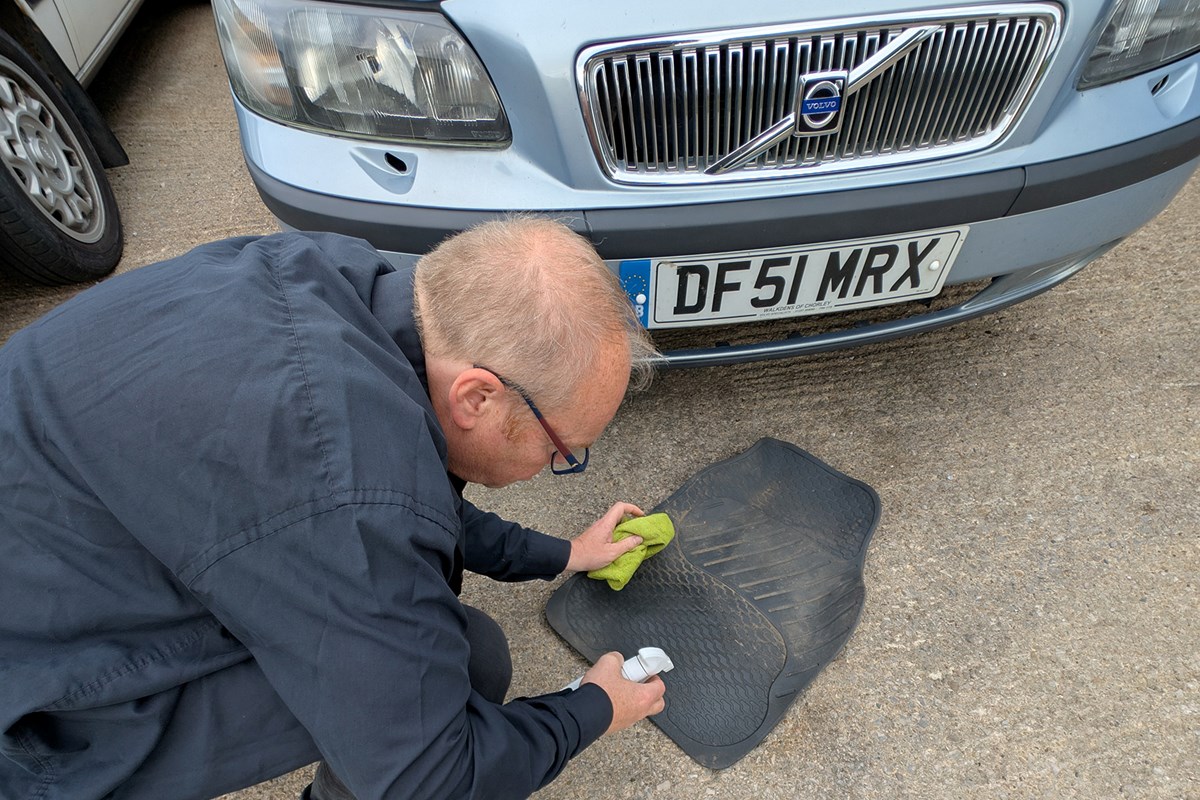
Step 5: Sort the mats and carpets
Floor mats take a pounding. I remove them, shake out the grit and vacuum thoroughly. If they’re rubber, they get a wash and scrub down outside. If they’re carpet, I’ll hit them with upholstery cleaner, then hang them up to dry.
For the carpets, I spot-clean any stains, but otherwise a vacuum usually does the trick. Just remember to move the seats – there’s usually a year’s worth of snack debris hiding underneath.

Step 6: Finish with the details
Once everything’s cleaned and dry, I go around with a final cloth to buff and tidy. Then I pop a fresh air freshener in (subtle, please – nothing that smells like a teenage lad’s gym bag) and put everything back neatly.
If I’m feeling fancy, I’ll spray a light interior scent designed for cars – it adds that ‘just valeted’ feel without being overpowering.
Final thoughts: Worth every minute
It might take an hour or two, but cleaning your car interior properly always feels worthwhile. It doesn’t just make your car look and smell better – it makes driving feel better, too. And if you’re thinking of selling or trading in, a clean cabin adds instant appeal.
So next time you reach for the sponge, don’t stop at the bodywork. Take some time to show your interior some love as well. You’ll thank yourself every time you climb in.
FAQs: Everything you need to know about cleaning your car’s interior
-
How often should I clean my car's interior?
It depends on how you use your car, but I aim to give mine a full clean every month or so. If you’ve got kids, pets or you eat in the car, you might need to do it more often. A quick vacuum every week helps keep on top of things.
That said, don’t beat yourself up if life gets in the way. Just give it a proper once-over when it starts to look or smell a bit grim. -
How to keep your car's interior clean?
Keeping your car’s interior clean can feel like fighting a losing battle. But it doesn’t have to be if you follow these simple and effective tips:
• Keep a small bin in your car to collect empty wrappers, that otherwise are easily lost and never found under your car seat. You'd be surprised what you'll find down there, especially when you have children in the car.
• Steer clear of eating in the car, especially messy foods that crumble easily or have a strong smell such as drive through food.
• Invest in protective car seat covers. This is a gamechanger, especially if you have young children who like to cause spillages on your back seats. Not only that, it will provide extra protection against UV sun damage that can otherwise fade your car seats.
• Consider an over-the-seat organiser to store travel items and entertainment for kids. This will keep your car in check and avoid random items being left in places they shouldn't be. -
What’s the best way to get rid of bad smells in my car?
Start by finding the source, whether it’s an old takeaway under the seat or damp carpets from wet shoes. Clean the interior thoroughly, especially the seats and mats. Upholstery cleaner can work wonders on mystery smells.
Once it’s clean, you can use a car-specific air freshener or an interior scent spray. Just don’t overdo it, as a hint of freshness is nicer than something that smells like a cheap nightclub. -
Can I just use household cleaning products inside my car?
You can, but I wouldn’t always recommend it. Some household sprays can be too harsh for car materials and might leave greasy marks or even damage surfaces over time. That’s especially true for leather seats and touchscreens.
It’s worth picking up dedicated car interior cleaners. They’re designed for the job, they smell better, and they’re often safer on plastics, fabrics and trim. -
What should I use to clean touchscreen displays and dials?
For screens and instrument panels, I use a soft, dry microfibre cloth and nothing else – unless it’s really mucky, in which case I’ll slightly dampen the cloth with water. You don’t want to scratch or smear the surface with harsh products.
Avoid sprays directly on the screen and never use alcohol-based cleaners unless it’s a product designed specifically for in-car tech. -
Is it worth paying for a professional interior valet?
If you’re short on time or want a really deep clean, especially before selling your car, then yes, a professional valet can make a big difference. They’ve got the gear to get deep into fabrics and plastics.
But for regular upkeep, you can absolutely do it yourself with a few basic tools. Follow the steps above and you’ll be surprised how close to ‘showroom’ you can get at home.
Sign up to the Parkers Newsletter to keep up to date with more of the latest reviews, news, and recommendations from the Parkers team.
Just so you know, we may receive a commission or other compensation from the links on this website - read why you should trust us.