


There is a saying in photography that the best camera is the one you have; likewise, the best dash cam is the one you have fitted.
That’s fine in principle but is small comfort when you’ve got yet another 12V cable demanding space in your already crowded cigarette lighter or USB ports. There’s a remedy to this, which is to get your dash cam hardwired. This method of dash cam fitting means your camera is always powered and always ready to go, and it’s also neat and tidy.
Not only will you get rid of the clutter, but many dash cams also offer extra features when hard wired. These are primarily parking modes. Some can even report the location of your car (if they have a network connection), making it easy to locate them on the app.
How to install a dash cam: hardwiring a camera
Your dash cam is likely to be designed to run from a USB cable or its own dedicated power cable. In some cars, such as Skodas, there may even be a USB port up by the mirror to deal with that whole annoying ‘cables up the windscreen’ mess.
You can, of course, tuck and tidy the regular USB cable when fitting a dash cam. However, why not link the camera to your car’s use? On and recording when driving, and still able to capture footage when the car’s switched off too.
Most hardwiring kits for permenant dash cam installation are manufacturer specific. At the most basic level, they connect to the car battery, and if it were still the 1970s (or your car is 1970s) that’s fine. But these days, a typical hardwiring kit taps into the fuse box without any permanent modifications to the car’s wiring loom.
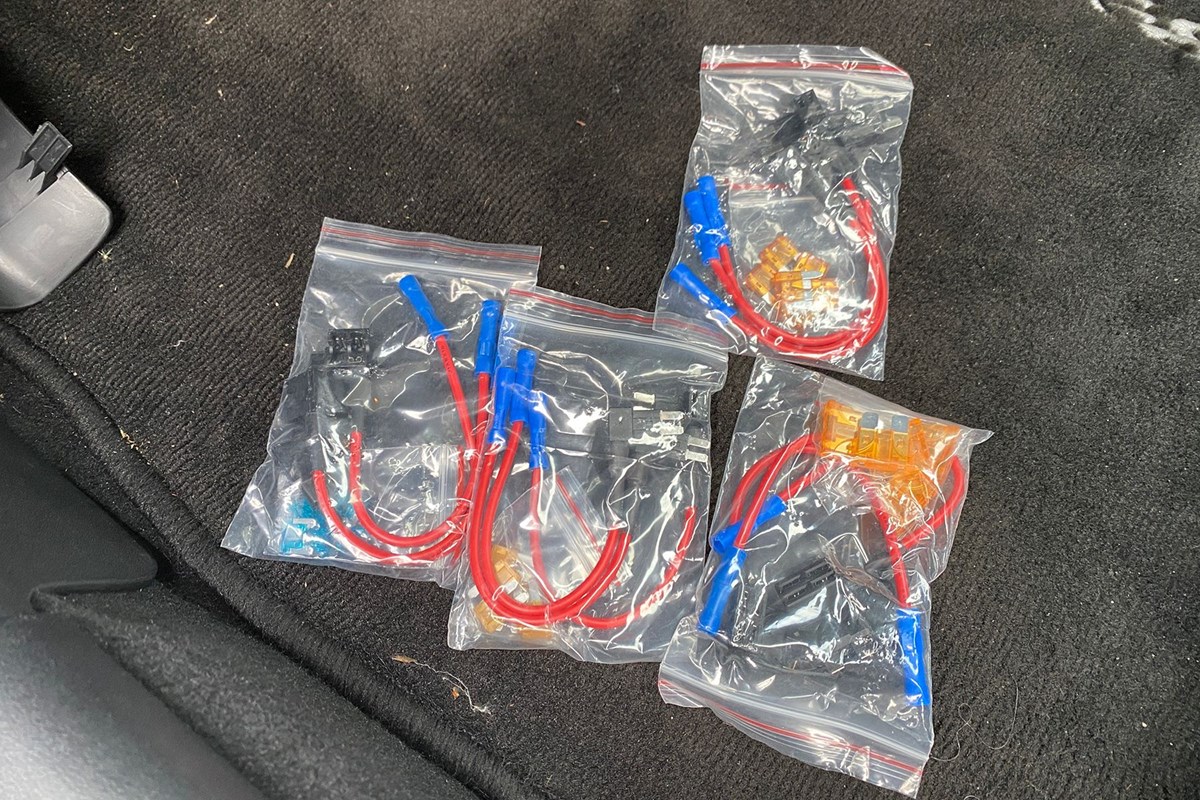
You don’t even need to cut any wires because affordable and simple ‘fuse taps’ can be used (also referred to as ‘add-a-circuit’ or ‘pigtails’). These come in shapes to fit most common blade fuse styles and take two positive feeds from the same fuse point, returning the original circuit and fuse unmodified.

Fuse taps are very safe, non-destructive and simple to use. The only downside is that for crowded fuse boxes they may not fit, but that’s quite rare.
Check your car’s handbook or Google for a permanent 12V (24V for heavy-duty vehicles) circuit and a switched feed, usually called ‘Acc’ or Accessory. As a rough guideline, if it works with the car switched off that’ll be a permanent feed, and there’s usually an audio one that’ll do the job. If not, central locking or electric seats (remember that removing the fuse to fit the tap might need memory resetting though). Accessory circuits might be heated seats, a dedicated accessory fuse, or a second one for audio.
Using two feeds tells the camera which mode it should be in. In most cases, it also avoids flattening the car battery. This is because dash cam parking modes are usually designed to switch off at a pre-set voltage.
If there isn’t a fuse box in the dashboard, glovebox or footwell to get to you have two options. Older cars may have a standard ISO car audio loom that provides those feeds, or you can get a longer cable that will reach fuse boxes in the boot or under the bonnet.
Experienced dash cam installers will know there are plenty of other options, but they’re car model-specific and may involve splicing into existing looms. If in doubt get a competent and qualified auto electrician for that type of installation.
Dash cam installation: no more suction cups
Check the dash cam brand’s accessory catalogue for a stick-on mount when it comes to fitting a dash cam. For semi-permanent installation, you want a 3M pad mounting.
Some manufacturers, such as Garmin, have an ingenious magnetic disc that is strong but still allows easy removal of the camera. Others go for fierce factory-strength designs, like Thinkware’s range. Interested? Check out our best dash cams list for some Thinkware dash cam reviews.
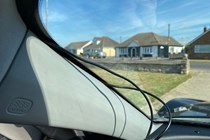
Either way, find a position that minimises obstruction, usually between the mirror and the windscreen. Get it centred and then work out how much cable is needed to run along the top of the windscreen and down the passenger side pillar to reach the fuse box. Why the passenger side? Unless your fuses are very easy to access (like those on early Mercedes SLKs) you’ll have a much nicer job not trying to work around the pedals and steering wheel.

At this point, don’t do anything with the trim, get your power cable and identify the permanent and switched feeds, and the corresponding fuses you want to use. As a rule, go for the highest-rated circuit to add a load too. Dash cams don’t take a lot of power, but those 20A and 30A fuses will usually have more leeway than low-power circuits.
It helps if those circuits aren’t anything you rely on, too. Hence, the ideal fuses to go for are ones for audio systems or similar, rather than lighting or locks.
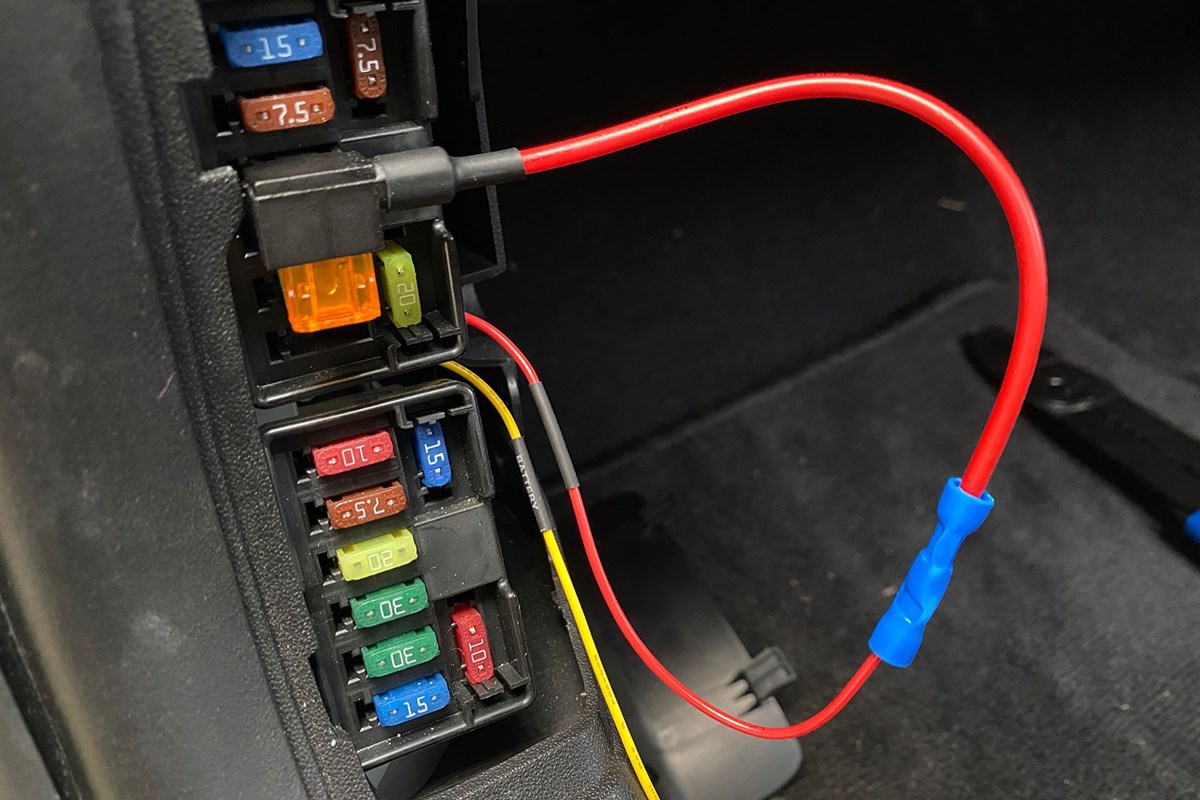
Take your fuse taps and note which side the wire comes out of. Fuse boxes have a live/hot side, which can be checked by taking out the fuse and testing the connections it plugs into with a multimeter. The wire on the tap should be on the opposite side of the live pin, as the fuse you’re going to add will protect that circuit.
You’ll have two fuse holders on the tap, check the instructions for any variation but usually, the original fuse goes in the lower spot, and the new circuit fuse goes in the upper one in line with the wire. Choose a low-rated fuse for the dash cam circuit – they don’t need a lot of power.
Once connected you can check if the fuse box will close. It should, but you may need to make a hole or get creative to feed wires in. You should also make sure your camera powers up.
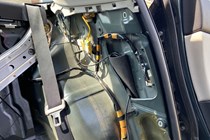
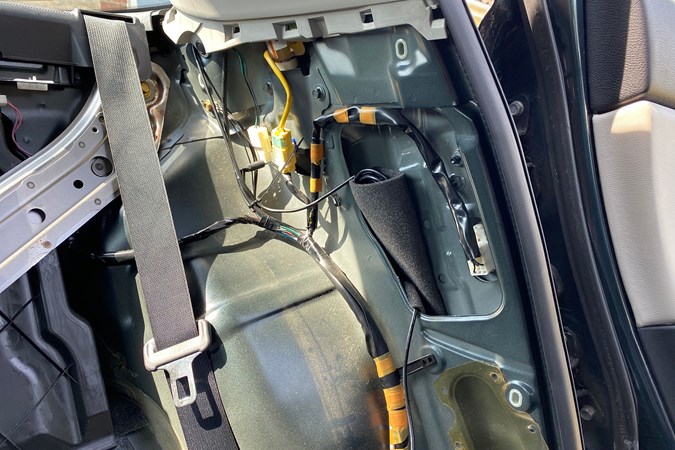
How to fit a dash cam: adding a rear cam
As a rule, the easiest route for a rear camera power cable is along the sills and up. Sill trim is often easy to remove and far away from airbags. If it isn’t secured with screws, you’ll usually find instructions online to avoid hidden clips. On many cars, it just lifts up and pops out.
Be careful when feeding wires near airbags during dash cam installation, if doing so. Use foam wrapping, cable ties and 3M sticky cable holders to secure loose cable so it doesn’t rattle. Don’t run cables along the roof or pillars where they could interfere with curtain airbags. If in doubt, follow the edge of the window and the shortest route to the floor, or stick to factory wiring paths.
Once it’s fed in, join the fuse cables properly with crimps or solder and heat shrink. Check it all still works as planned, then put your trim back. If there are screws to hold the trim double check you’re not about to trap a cable.
Tempted by a dash cam set-up that watches what’s going on behind you, as well as in front? Have a look at some of the top options around in our guide to the best dual dash cams.
Preparing a dash cam in a car for long-term storage
Now you’ve got the dash cam fitted and hardwired, you’re basically done. There may be a couple of extra steps though, such as setting a battery protection voltage.
A large memory card is a good upgrade for cars left parked in busy areas for long periods, and if you have a connected/cloud dash cam, there are obviously benefits to parking near suitable Wi-Fi access. If your car is in long-term storage use a battery conditioner or solar panel to keep the battery topped up and camera protection active.
As a last resort, there are battery backup solutions, both manufacturer specific and generic, to keep your dashcam running. For the best overall protection, a dash cam with front, car interior and rear-view cameras, plus 4G/LTE connection and a battery backup, is ideal. That’s even better if it’s supported by good cloud storage and stable apps.
Which UK dash cams are best for hardwiring into my car?
Of the dash cams we’ve tested, these are the ones that really shine when hardwired into a car.
Thinkware dash cams
Flat, unobtrusive, and usually without screens, Thinkware’s cameras are designed around the assumption they’ll be fitted forever. You can’t even get suction cups for most of them. These have ‘bare’ hardwiring kits as standard and give the user lots of flexibility in configuring battery protection. Very much the professional driver’s choice and a great, if expensive, setup for one-car families too. You can remove the camera, but the large plastic mount plate and lose wires dangling mean you won’t want to. Thinkware dash cams also often feature in our best dash cams guide.
Thinkware F70
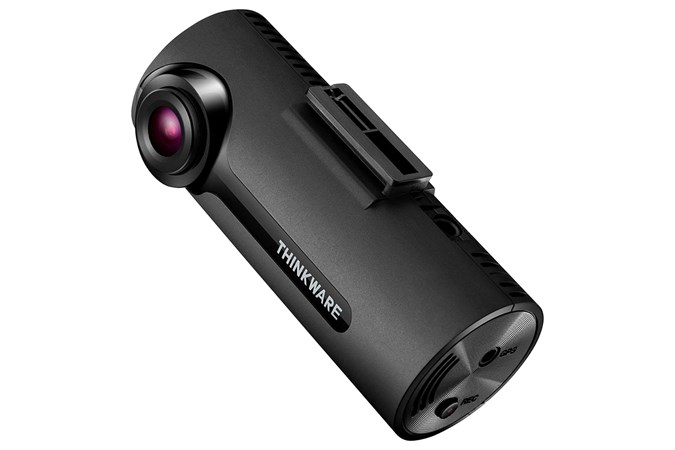
Price: £99.00 | VIEW OFFER
Nextbase dash cams
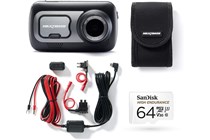
Nextbase’s cameras benefit less from hardwired mounts but make swapping between those mounts very easy so if you’re sharing a car between drivers, or own several vehicles, this is the solution. The Series 2 models share the same kit, with a clever magnetic mount. You’ll want the GPS version, but there’s no price difference. Nextbase includes fuse taps with the cable, and installation is simplified in that there’s only one lead to connect (but switched supplies won’t extend parking mode time).
The Nextbase 522GW is one of our very favourite dash cams thanks to its useful features and relative value.
Nextbase 522GW Dash Cam with Hard Wiring Kit

Price: £199.95 | VIEW OFFER
Garmin dash cams
Garmin’s cameras use conventional USB connections for power and are very self-contained. Like Nextbase cameras, they feature an internal battery which allows a period of parking protection, but an accessory hardwiring cable unlocks the full potential. Garmin cameras usually attach to a small magnetic plate stuck to the windscreen making them easy to swap between cars or remove; the cable is a USB-style plug you’ll have to detach. Parking near a Wi-Fi hotspot benefits the Garmin greatly as it uploads incident videos, but you only have the past 24 hours unless you’re paying for a subscription.
The Garmin Mini 2 is a tremendous little dash cam. A bit expensive but so easy to use.
Garmin Dash Cam Mini 2
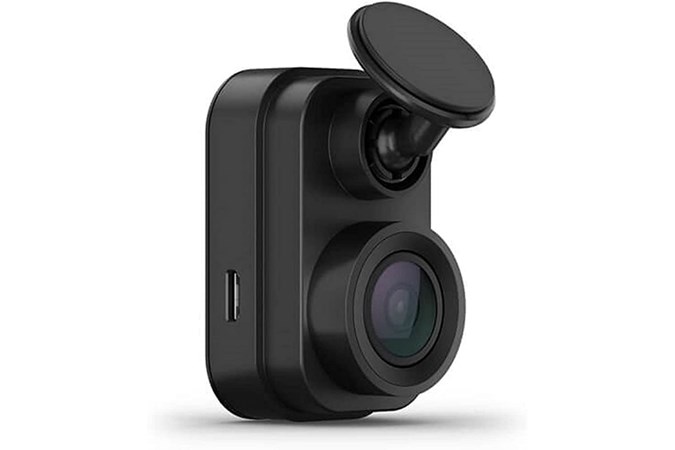
Price: £119.99 | VIEW OFFER
Road Angel dash cams
Road Angel’s cameras can be hardwired for parking mode, live feed and alerts, and offer this flexibility at a lower cost than rivals. There are several Road Angel dash cam fitting kits, but the most expensive with full parking mode support does include fuse taps and convenient connectors as well.
Road Angel Halo Ultra
Price: £195.00 | VIEW OFFER
Is permanently installing a dash cam by hardwiring it worth it?
We wouldn’t have written this guide if it wasn’t. Just getting rid of the accessory power cable is enough for some drivers, but hardwiring a dash camera also almost always unlocks the full potential of your dashcam. It provides CCTV-style security on your drive or parking space, gathering evidence for carpark hit-and-runs, and means the camera is always present and active when your driveway.
Unlike factory-fitted cameras and black boxes, every one of these cameras retains the option to turn them off, and the hardwiring stops at a plug that can be easily disconnected should you ever want to disable the camera.
Sign up to the Parkers Newsletter to keep up to date with more of the latest reviews, news, and recommendations from the Parkers team.
Just so you know, whilst we may receive a commission or other compensation from the links on this website, we never allow this to influence product selections – read why you should trust us